What is the Three Thousand Trees of the Hawk's Song in Fantasia Three Kingdoms 2? A guide to playing the Three Thousand Trees of the Hawk's Song in Fantasia Three Kingdoms 2
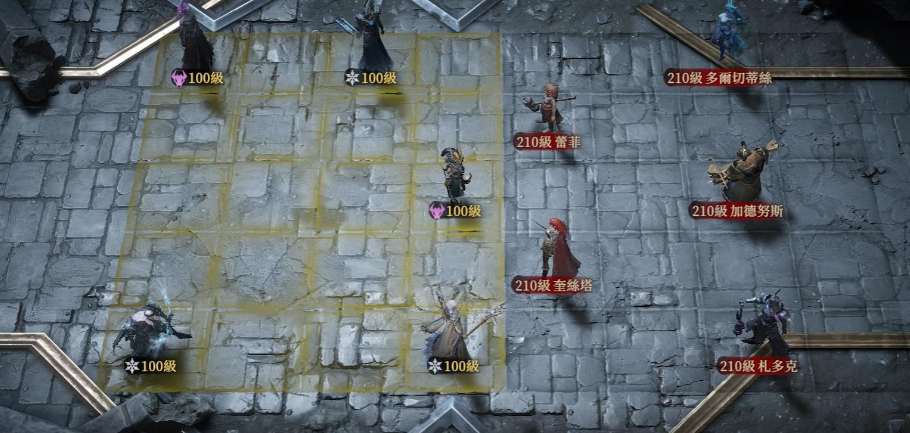
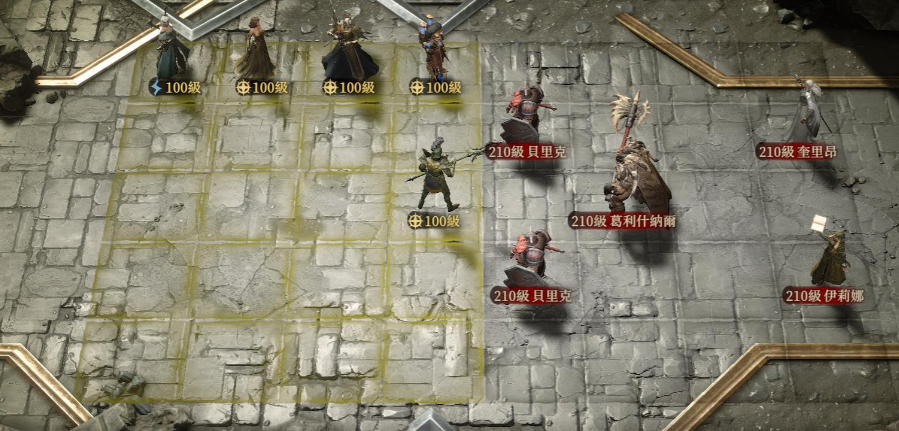
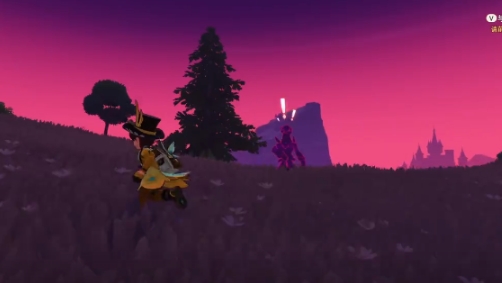
There are many gameplay elements in Three Kingdoms Fantasy Land 2: The Song of the Warhawk, including the Thousand Trees. So, what is the Thousand Trees in Three Kingdoms Fantasy Land 2: The Song of the Warhawk? The Thousand Trees is actually a special gameplay feature here. Once you complete Chapter 4-1 of the game's missions, you can unlock it smoothly. Generally, with a bit of effort, you can unlock it quickly, but before that, it's also important to understand its basic gameplay to pique your interest. To find the Thousand Trees, after successfully unlocking it...
2025-04-22 16:56:37
How to Play the Challenge Mode in Jian'an Wai Shi: A Guide to the Challenge Mode
04-22
What items are there in Jian'an Wai Shi? A list of Jian'an Wai Shi items.
04-22
Analysis of the Strength of the Modern Warship Aegis Yamato
04-22
How to Choose Modern Warship Destroyers Recommended Modern Warship Destroyers
04-22
Goose and Duck Kill Mobile Game Beginner Guide Sharing Goose and Duck Kill Mobile Game Tutorial for Beginners
04-22
Rock Kingdom World Ulata Skill Combination Guide Rock Kingdom World Ulata Best Personality Recommendation
In this grand adventure world, Ullata possesses unique skills and has quite good attributes, making it a relatively promising combat partner in the current lineup. Today, we will introduce the skill pairing guide for Ullata in the洛克王国world. When pairing, you might as well take a look at the above content to understand the combination of skills and the recommended personality. Thunderbolt Flash + Thunder's Fury + Chain Lightning + Thunderstorm Arrival. Thunderbolt Flash serves as Ullata's core attack...
2025-04-22 16:56:34
Introduction to the Test Configuration of The Songs of the Warlords 2: Ballad of the Hawk Detailed Explanation of Test Benefits for The Songs of the Warlords 2: Ballad of the Hawk
04-22
Sharing of Jian'an Wai Shi Liu Bei's Skill Characteristics What are the skills of Jian'an Wai Shi Liu Bei?
04-22
How to play the Uncontrolled Evolution Blueprint mode: A guide to the Uncontrolled Evolution Blueprint mode
04-22
Fingertip Pixel City Hero Guide and Recommendations
04-22
Download Channels for the Chinese Version of Door Kickers Action Squad Sharing the download for the Chinese version of Door Kickers Action Squad
04-22


