Black Beacon Character Strength Tier List Guide Which Black Beacon Character is Stronger
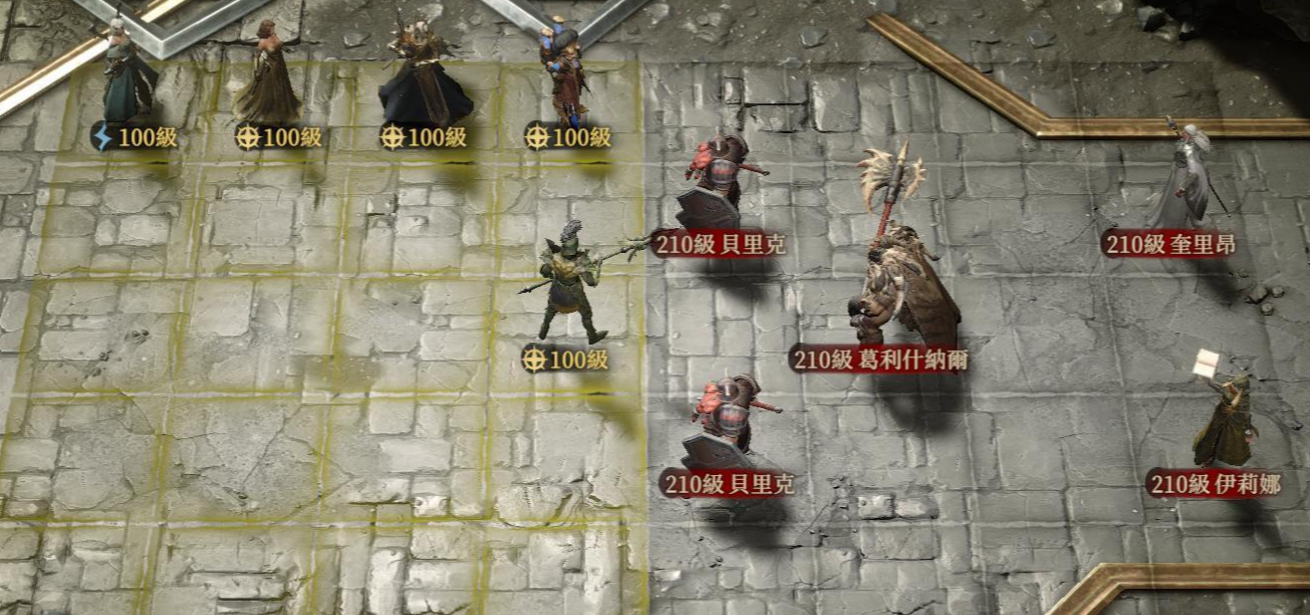
In the world of games, the strength of a character can also affect the player's efficiency in clearing stages and their combat experience. Based on the character's skill mechanics and their contribution to the team, game characters can be directly divided into several tiers. The Black Beacon character strength list helps identify which characters stand out. Players can refer to the recommendations below. Ireshan: is a good choice for the battlefield, possessing excellent attack methods and also having the ability to move positions. Can...
2025-04-22 16:11:32
Modern Warship Sparrowhawk Tips Sharing How to Play with Modern Warship Sparrowhawk Missiles
04-22
Modern Warship SMX-25 Gameplay Sharing How to Play Modern Warship SMX-25
04-22
How to Obtain the Modern Warship SMX-31 Sharing the Methods to Acquire the Modern Warship SMX-31
04-22
How to Play with RBS15 in Modern Warships: A Guide to Playing RBS15 in Modern Warships
04-22
When will the national server of Modern Warships be launched? Introduction to the launch time of the Modern Warships national server
04-22
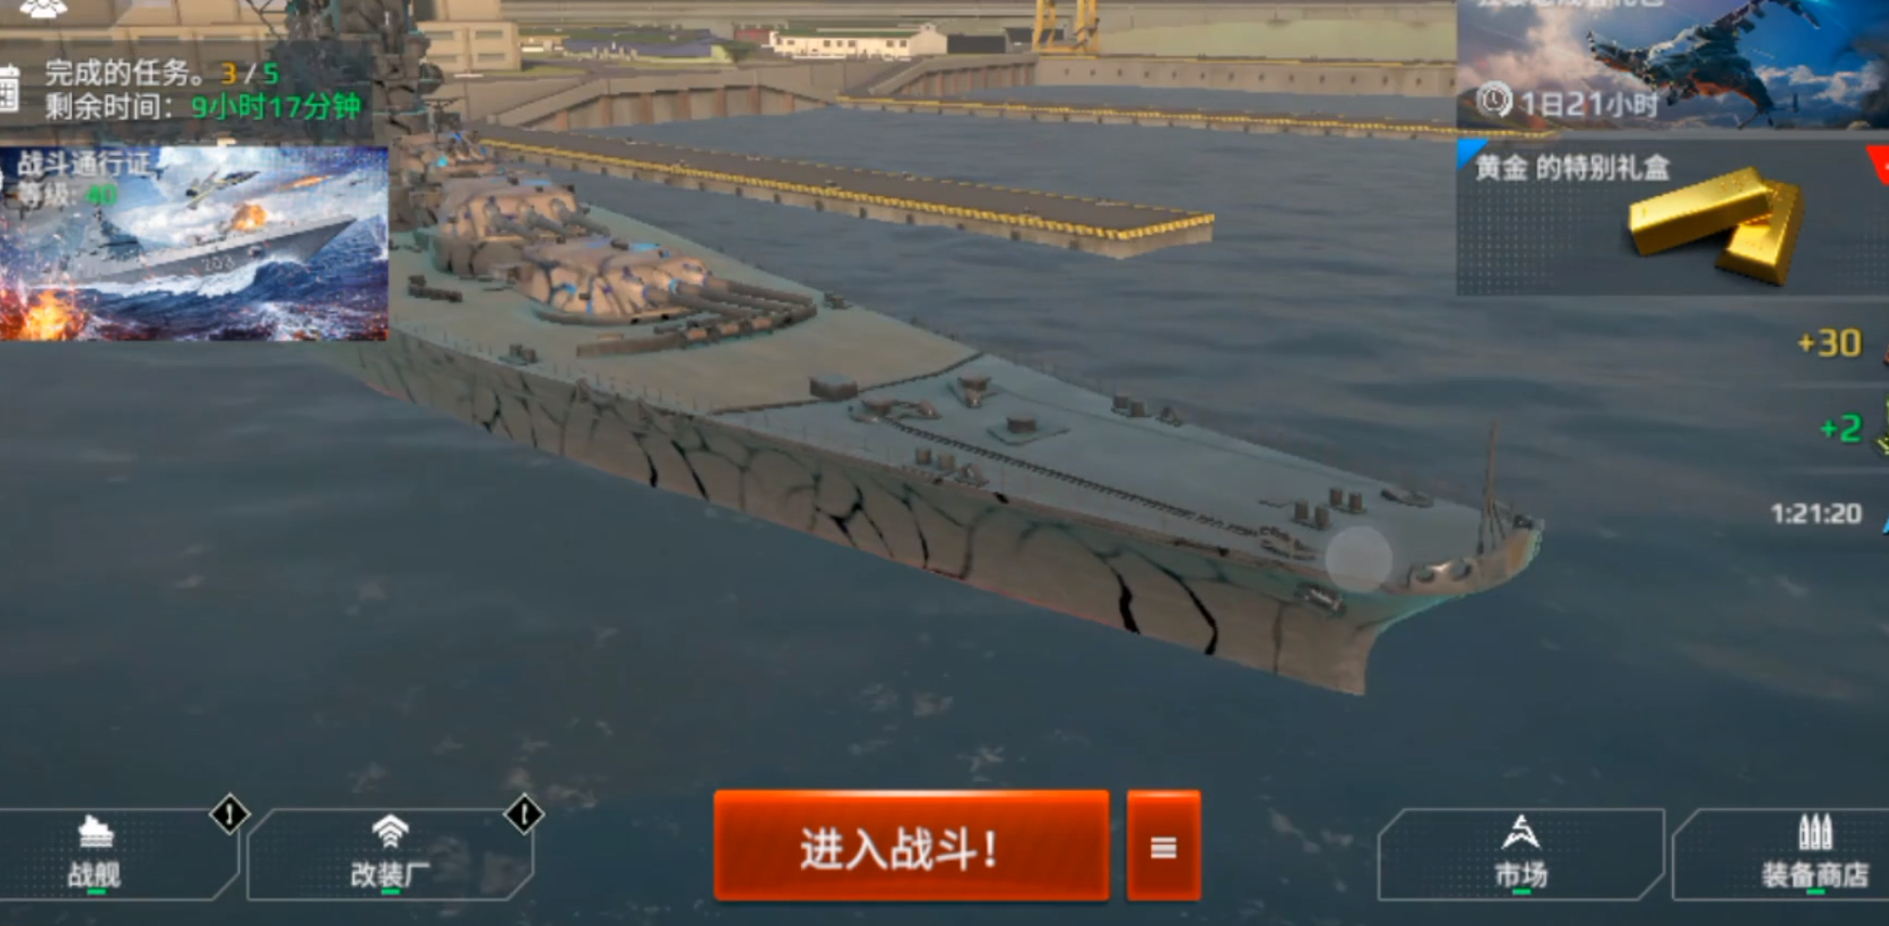
Introduction to Modern Warship Modification Factory and Its Process
This content brings you an introduction to the modern warship modification factory gameplay. In the game, the modification factory is a very important feature. Players can upgrade and modify their warships through the modification factory, increasing the combat performance of the warships. Below, we will provide a detailed introduction to the process and precautions of using the modification factory. Interested friends, let's take a look! After players build the "Arsenal" base building in the game, they can unlock the modification factory function. In the modification factory...
2025-04-22 16:11:12
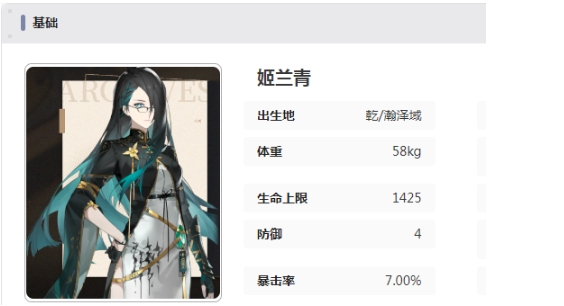
Is YiHuan available on mobile? Is YiHuan a mobile game or a PC game?
04-22
Where is Doudou in the洛克王国world? Location to catch Doudou in the洛克王国world It seems there was a repetition of the term "洛克王国" which translates to "Rock Kingdom." Here's the corrected translation: Where is Doudou in the Rock Kingdom world? Location to catch Doudou in the Rock Kingdom world.
04-22
Dragon Soul Traveler Guide: Tips for Beginners
04-22
How to Choose Air Defense Weapons for Modern Warships Recommendations for Civilian Air Defense Configurations on Modern Warships
04-22
How to Play Modern Warship PSF01 Sharing of Modern Warship PSF01 Gameplay
04-22


