How is the modern warship Belgorod? Introduction to the modern warship Belgorod
The Belgorod submarine in modern warships is a modern submarine with powerful long-range strike capabilities, primarily tasked with conducting long-range attacks and tactical suppression. Today, I will introduce how the Belgorod performs in modern warships. However, this submarine's weaknesses are also quite evident, including insufficient anti-submarine capabilities and lower maneuverability. Players who want to learn more can read on in the article. The core weaponry of the Belgorod is its torpedo tubes, especially its nuclear torpedoes, as the only...
2025-04-22 15:43:38
Legendary Shop Management and Quick Leveling Guide How to Level Up in Legendary Shop Management and Crafting
04-22
How is the modern warship HMS Royal Port? A beginner's guide to the modern warship HMS Royal Port.
04-22
How to Speak in Goose Goose Duck Mobile Game: A Guide to Communication
04-22
How to Play Silver and Crimson Falling Journey: Introduction to the Falling Journey Event Gameplay
04-21
Is the mobile game Goose Goose Duck fun? Detailed introduction to the Goose Goose Duck mobile game
04-21
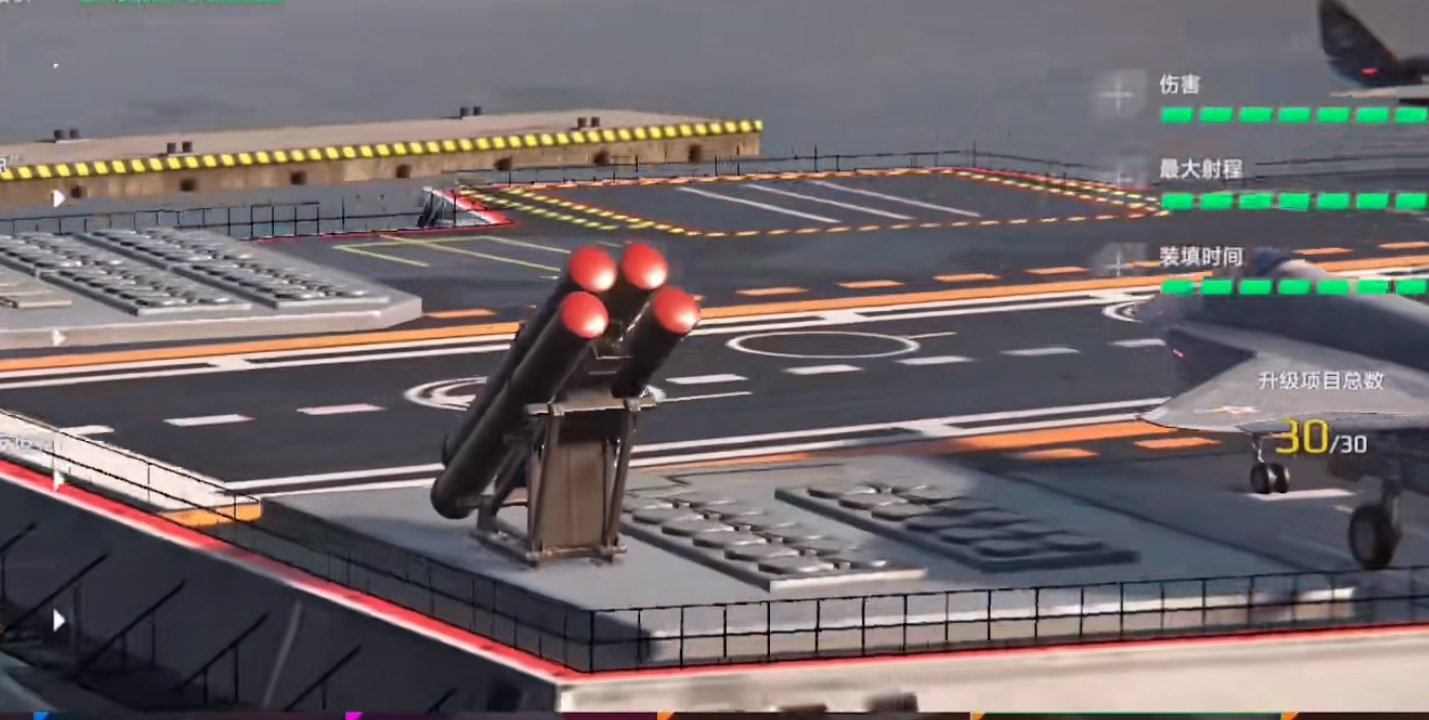
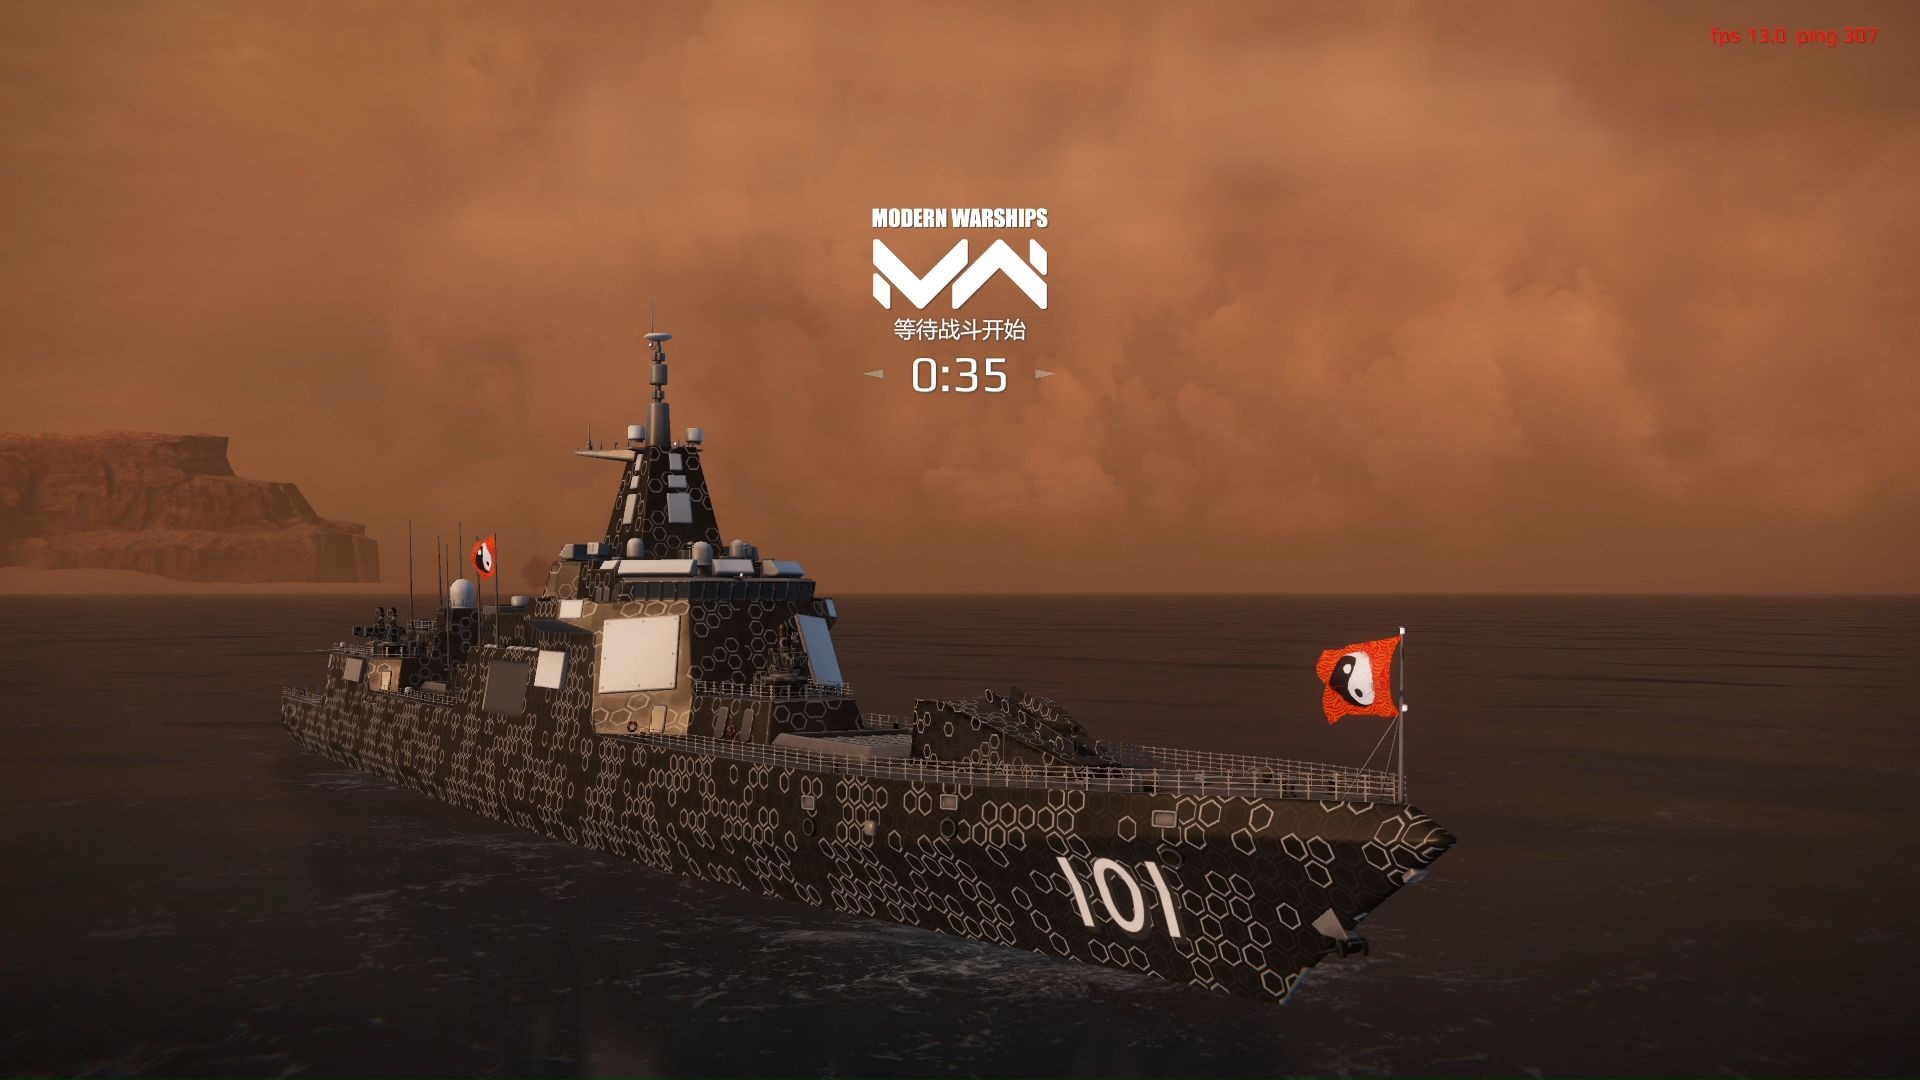
Introduction to Secondary Missiles on Modern Warships
What are the Tier 2 missiles in modern warships? Missiles are one of the important weapons in the Modern Warships game, and different types of missiles have different combat advantages. Today, I will give you an overview of the Tier 2 missiles in the game. I hope that through my introduction, everyone can gain a better understanding of the Tier 2 missiles, making it easier to choose when configuring weapons. Anti-ship missile Tomahawk: This is a cruise missile belonging to the White Eagle faction, with long range, low flight altitude, and a certain level of stealth...
2025-04-22 15:43:27
What are the professions in Spirit Beast Adventure? A detailed explanation of the professions in Spirit Beast Adventure.
04-22
How modern warships, aircraft carriers, and planes return to base: A guide for modern warship, aircraft carrier, and plane return navigation
04-22
Recommended Free Trading Platform for Fully-Leveled Ball Ball Heroes Accounts Sharing of Ball Ball Heroes Account Trading App
04-22
Has "Below the Cloud Sea" changed its name? Has the mobile game "Below the Cloud Sea" undergone a name change?
04-21
Share the public beta time of Goose Goose Duck mobile game, when will the Chinese server of Goose Goose Duck mobile game be launched?
04-21


