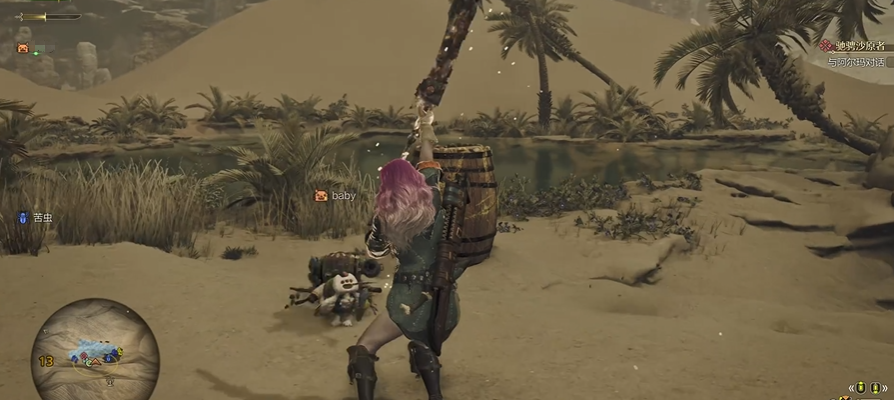
There is a very pleasant surprise, even though the public beta of "Monster Hunter: Wilds" has ended, we can still continue to enjoy the fun of the game through self-built servers. So this article will bring you a detailed guide on how to set up a single-player server for Monster Hunter Wilds and play locally. Without further ado, let's dive right into the topic.
【biubiu Accelerator】Download the latest version
》》》》》#biubiu Accelerator#《《《《《
I. Setting Up a Single-Player Server
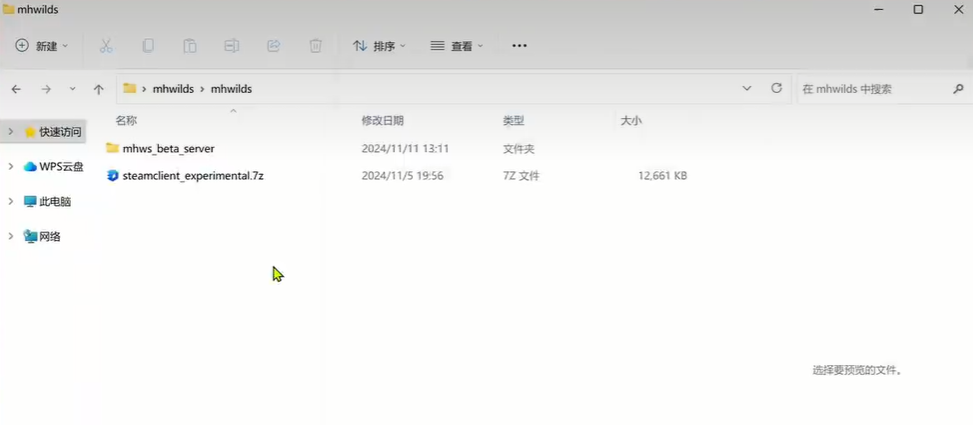
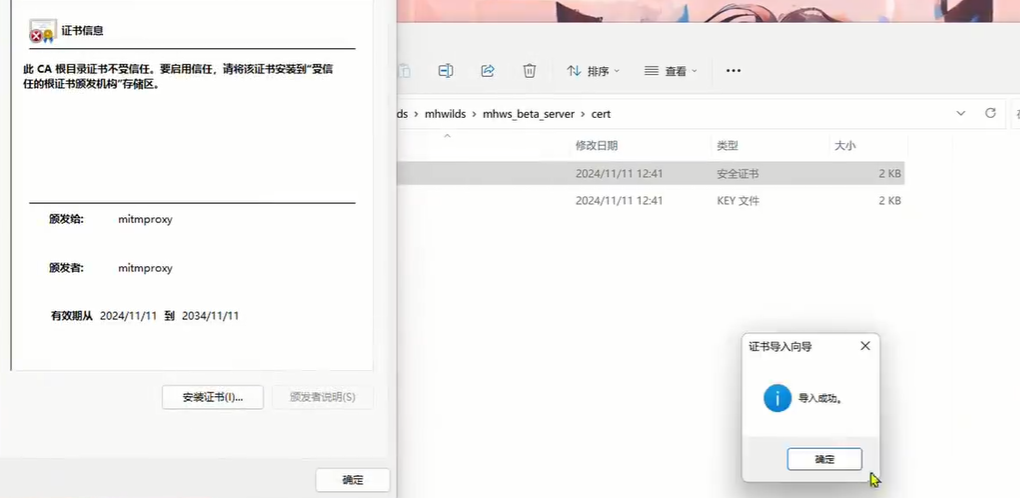
First, make sure you have prepared the latest mhwilds tool. Next, go to the mhws_beta_server\cert directory, then double-click the root.crt file and follow the prompts to click "Install Certificate" to complete the certificate installation process. Upon success, a prompt box saying "Import Successful" will pop up.
Next, we need to edit the hosts file. The document location is under C:\Windows\System32\drivers\etc\. To ensure the changes are successful, you must right-click the text editor (such as Notepad) and select "Run as administrator". Paste the following code:
127.0.0.1 hjm.rebe.capcom.com
127.0.0.1 40912.playfabapi.com
into the Hosts file. After that, save and close the Hosts file.
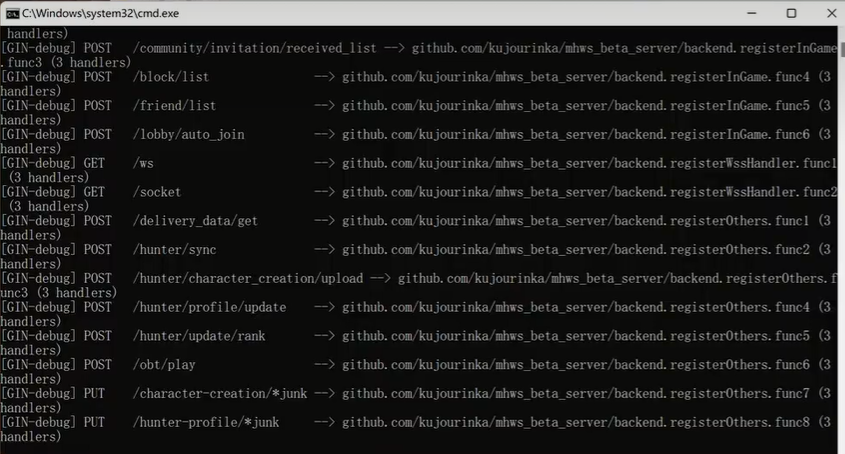
After completing the above steps, double-click the start server.bat file and click "Allow network access" in the dialog box that pops up so that the server can start normally and accept network connections. When a black window appears, it indicates that the server has been successfully set up. It is important to note that during the game, do not close the server window, or you will not be able to enter the game.
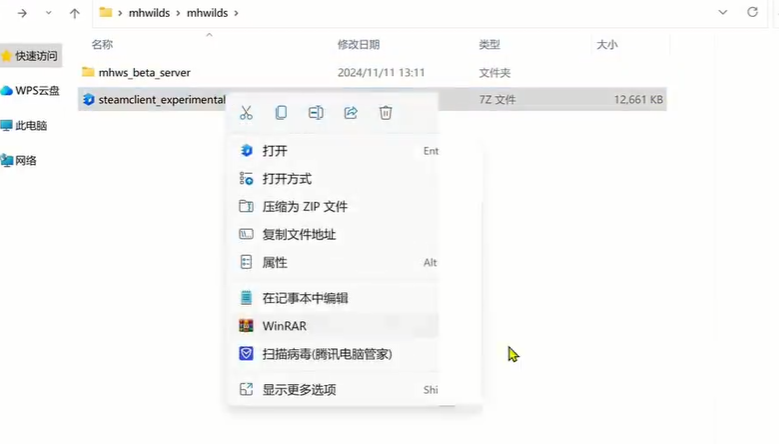
Finally, extract the steamclient_experimental compressed package to the root directory of the "Monster Hunter: Wilds" game to ensure that the game client can use experimental features or fixes.
II. Entering the Game
Extract the "Tinkle Experiment" file package. We will use the files inside to browse and replace local files later.
Open the Steam client, right-click the "Monster Hunter: Wilds" game icon, and select "Browse Local Files."
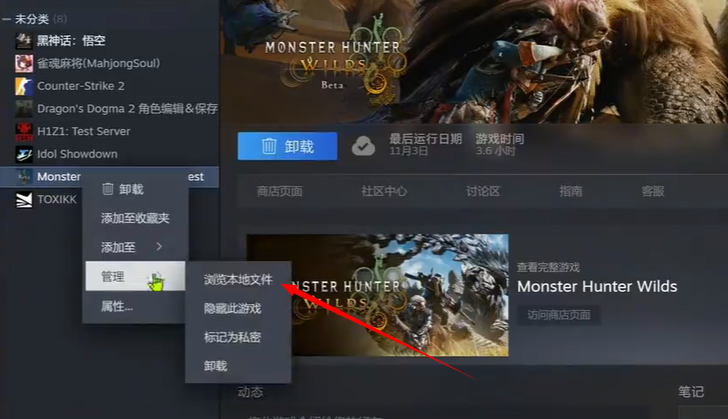
Copy the extracted "Steam Client Experience" file to this directory. Then double-click to open "Steam Client Loader X64.exe."
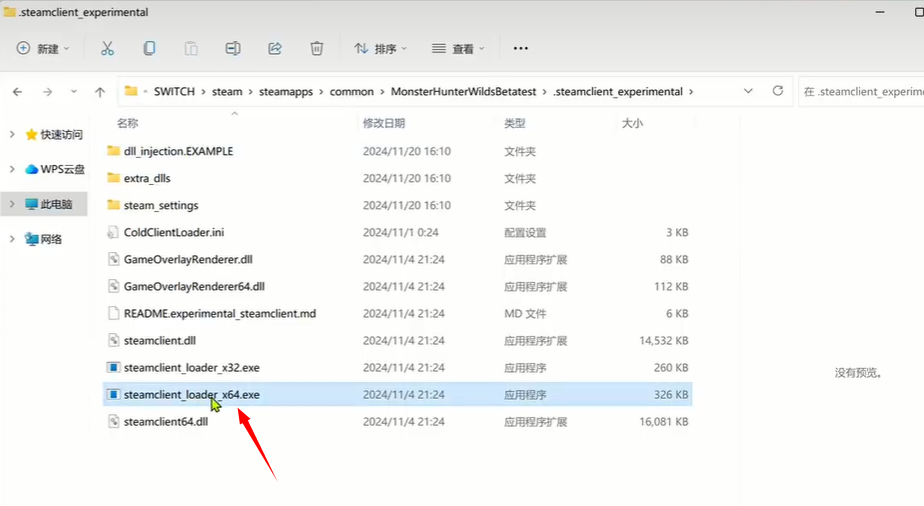
Now, the entire process is complete. This exe file is now the new startup item, and by opening it, you can smoothly enter the game and enjoy the fun of the single-player server. Of course, if the waiting time when opening is too long, it may be due to poor network conditions, in which case you can open the biubiu accelerator to speed up. Using it prevents disconnection, making the experience even more enjoyable. From February 7th to 17th, enjoy limited-time free acceleration service for "Monster Hunter: Wilds," and participate in the lottery event for a chance to win the game itself, exquisite merchandise, and up to 365 days of acceleration duration and other surprising gifts!
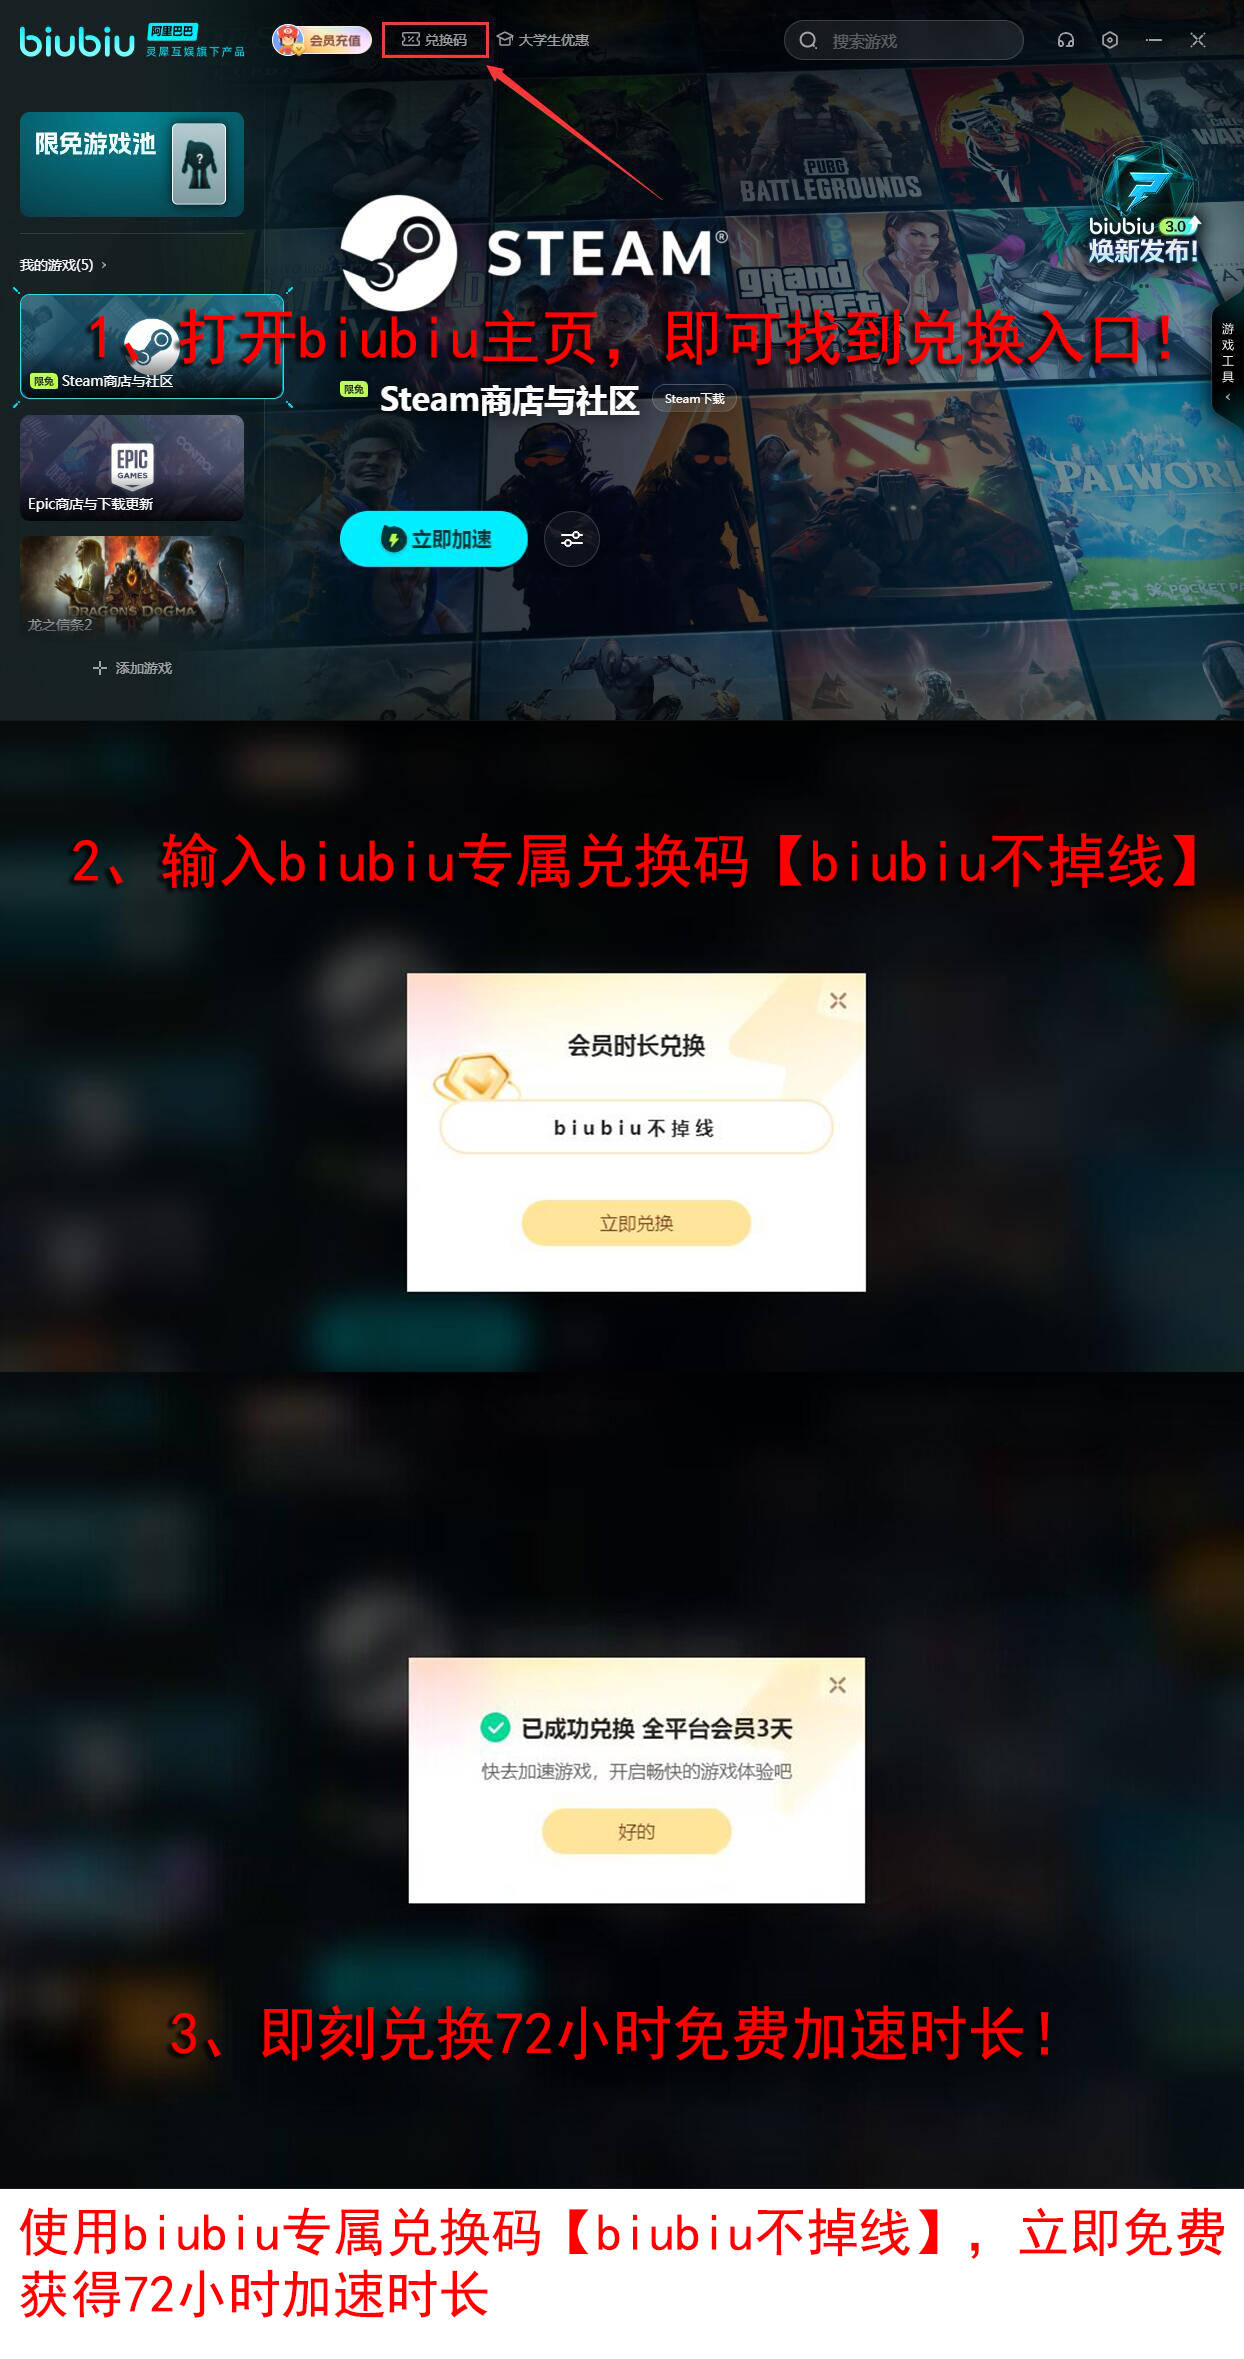
Daily benefits are also available, don't forget to claim them. Registering a new account immediately activates the 3-hour trial benefit for newcomers. There is also a code 【biubiu no disconnection】that can get you an extra-long 72 hours, totaling up to 75 hours.
The guide on how to build a server from scratch for Monster Hunter Wilds has been introduced. If you have already deleted "Monster Hunter: Wilds" from your Steam, you can also download an offline version. The operation steps are the same; just copy the new "Client Experiment" file to the game's root directory and open it. I hope this tutorial helps you build a server for "Monster Hunter: Wilds" and enjoy the game!
