June's Journey: Find the Object
Game Introduction


Hot Strategy
Where are the hidden items in Jian'an Wai Shi? A guide to finding the hidden items in Jian'an Wai Shi.
Where are the hidden items in Jian'an Wai Shi? In this game, besides the items that can be easily obtained by completing tasks, there are also some items that are hidden quite cleverly and are not easy to find. Have you also encountered situations during the game where you need to use some less common and somewhat special items but don't know how to get them smoothly? The answer is hidden in the content that I will share next, so let's continue reading together.
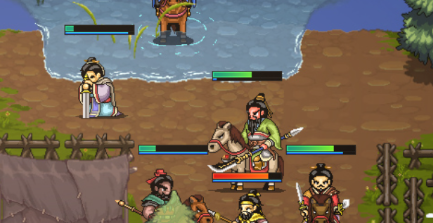
Let's first talk about some of the good stuff hidden in the Zhuo County Hu-Driving Battle. When players successfully complete the achievement task of this level, they can receive a reward of a portion of wheat porridge. Achieving the "Vigorous Youth" achievement will bring additional surprises, allowing you to get two more pieces of cowhide. There are also many medicines hidden in this map scene waiting for players to discover. Among them, there are two live blood grasses, which are hidden at (12, 7). There is also a soybean, located at (9, 10).
In the mission "The First City Under Heaven," there are also many hidden items. Unlocking these items is pretty simple; during the mission, just pay attention to the NPCs that appear and chat with them warmly. The items obtained through this method are mostly precious cultural relics, such as the Si Mu Wu Ding and the Spring and Autumn of Yanzi.
When traveling around, you may occasionally find some precious golden items hidden in the stalls of itinerant merchants. These itinerant merchants' whereabouts are not easy to predict, as they do not set up their stalls in fixed locations. Therefore, whenever players enter a new area, they should pay more attention to the surrounding stalls. If you happen to encounter an itinerant merchant, you're really lucky; with just a little silver, you can find golden treasures from them. Of course, the prices and specific uses of these items are random.
During the progression of the game's story, some hidden items may quietly appear. As everyone immerses themselves in advancing the main storyline, based on the dialogue with NPCs, each person can make different choices. Because of this, different choices lead to different outcomes, and the items ultimately obtained will vary. So, friends can try different choice paths, and maybe they will get the items they want.

You have now learned where the hidden items in Jian'an Wai Shi are. In today's shared content, I have explained in detail for everyone. There are quite a few hidden items in the game, and the methods to obtain them vary. Therefore, while playing the game, you can explore and try more.
Digital Monster Source Code Cave Gameplay Guide: How to Find Caves in Digital Monster Source Code
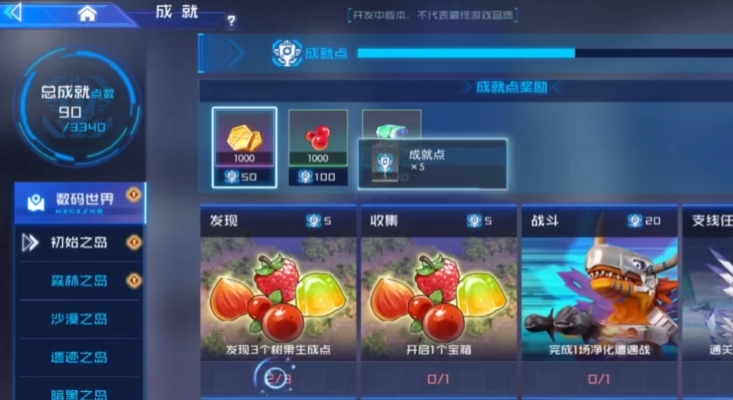
Today, I'm bringing you a guide on the cave gameplay in Digimon Source Code, The cave gameplay is a very unique and challenging part of the game. Exploring caves not only allows players to obtain abundant resources but also has the opportunity to unlock unique gameplay, greatly promoting the progress of the game. Next, I will introduce in detail how to find caves in Digimon Source Code and related gameplay strategies.
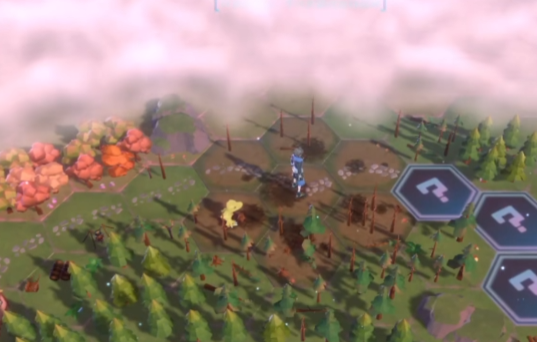
The game's map is vast and rich, containing diverse scenes such as forests and ruins. Caves are hidden within these different terrains. Players need to explore like real adventurers on the large map. When moving Digimon on the map, always pay attention to the surrounding environment. Special terrain undulations, recesses in mountain walls, or mysterious light and shadow effects may all be hints of cave entrances. For example, in a forest scene, if an area with sparser tree growth is found, along with obvious rock piles or an unusual path leading to the mountains, there is a high possibility that a cave is hidden here.
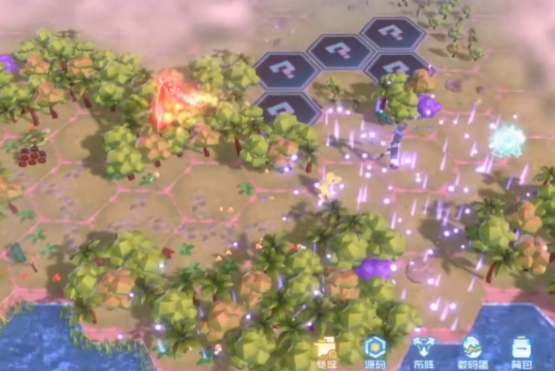
In the game, various main quests, side quests, and daily tasks are released. Some tasks will directly or indirectly lead players to find caves. Carefully read the task descriptions and follow the prompts from the task objectives. Main quests may require players to search for a mysterious Digimon, with clues pointing to a mysterious valley. Upon reaching the valley, players will discover the hidden cave. In side quests, residents might inform players about strange energy fluctuations in specific areas; following this clue can also lead to finding the location of the cave.

Based on the types of enemies that may be encountered inside the cave, reasonably match the Digimon lineup. If the cave hint indicates more fire-attribute enemies, bring water-attribute Digimon as the main force, using attribute advantages to gain combat superiority. At the same time, ensure that the team includes Digimon with healing, buffing, or control skills to deal with various combat situations. Before entering the cave, prepare enough recovery items. These potions can quickly restore the status of Digimon during battle intervals, ensuring the continuity of battles. Additionally, you can carry some special items. Defeating enemies during cave exploration will earn experience rewards.
I have finished introducing the content of the Digimon Source Code cave gameplay guide, Caves usually have complex terrain, making it easy to get lost. The game generally provides a mini-map inside the cave. Players should check the map at all times to understand their location and the surrounding environment. Mark important locations promptly. This way, during the exploration process, you can quickly find your target based on the marks.
What are the items for revival in adversity? A guide to items for revival in adversity.
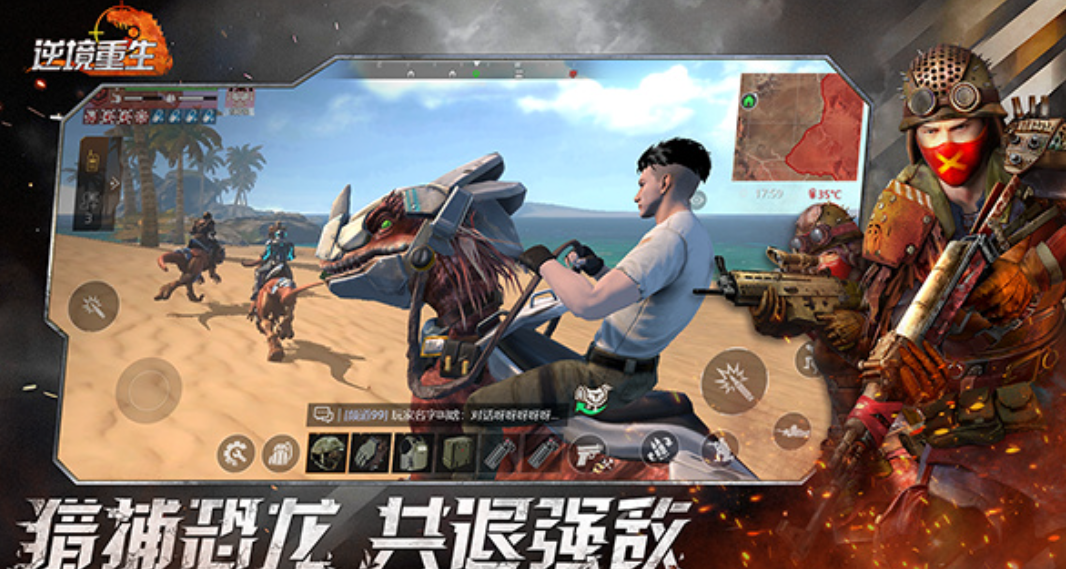
In this perilous world, adversity rebirth items and props are like scattered key treasures, not only allowing us to turn the tide in the face of zombies, but also helping to quickly replenish when supplies are scarce. Many newcomers may not yet fully understand each item, so the following item guide will deeply analyze the function of each one, helping everyone to use them better.
1. Electric Drill
It is the only tool that can mine titanium, but it needs to be powered by a battery to start.
2. Stone Axe
This is a basic logging tool made from stone, mainly used for collecting wood.
3. Dinosaur Taming Food
If given to a dinosaur, it can directly tame it, but it needs to be used after it has calmed down.
4. Dinosaur Calming Jam
Can make the dinosaur enter a calm state, which is essential for taming it.
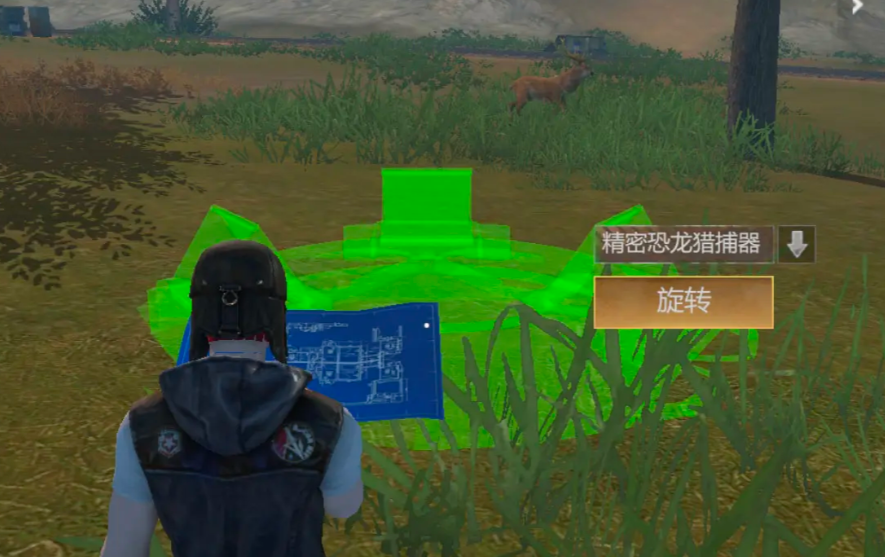
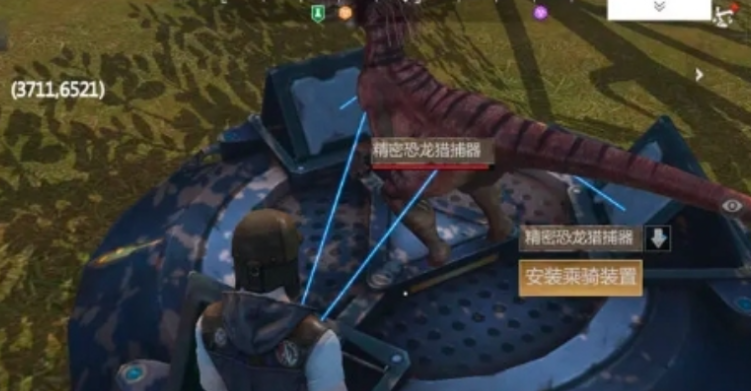
5. Dinosaur Trap
Can be set up in the wild; once a dinosaur enters, it can be captured. However, this item is disposable and should be used with caution.
6. First Aid Bandage
A bandage for dressing wounds. When used on a character, it restores 30 health points per second for 8 seconds.
7. Adrenaline
A powerful medicine for treating injuries. Using it immediately restores 1000 health points.
8. Medical Kit
Used for treating serious injuries. It restores 80 health points per second for 8 seconds when used on a character.
9. Anti-Pollution Reagent
Provides protection against damage in polluted areas, with an effect lasting 15 minutes.
10. Defibrillator
An item suitable for use in near-death situations, helping to escape a near-death state and immediately restoring 300 health points.
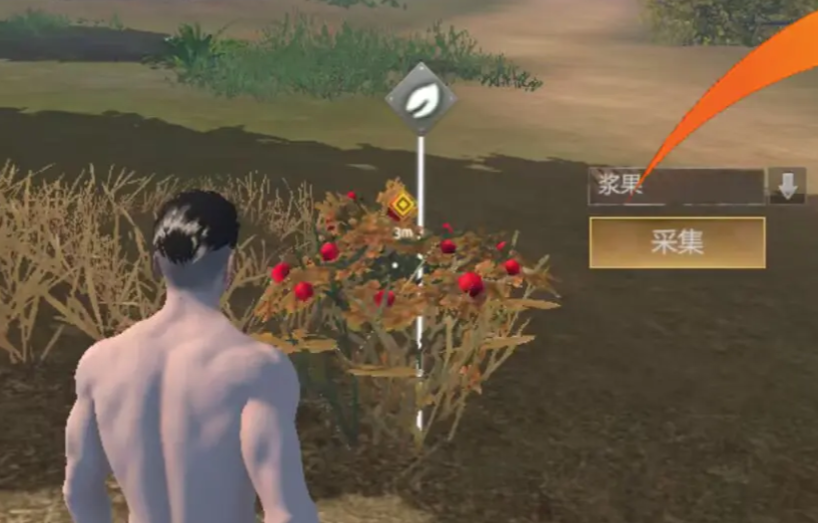
11. Berries
Wild fruits commonly found in the woods. Eating them directly can restore a small amount of hunger and thirst, and they can also be used as cooking ingredients.
12. Meat
Unprocessed raw meat that can be used to stave off hunger in emergencies, restoring your hunger level.
13. Mineral Water
Pure, uncontaminated bottled water that can be used for cooking or directly consumed to restore your thirst level.
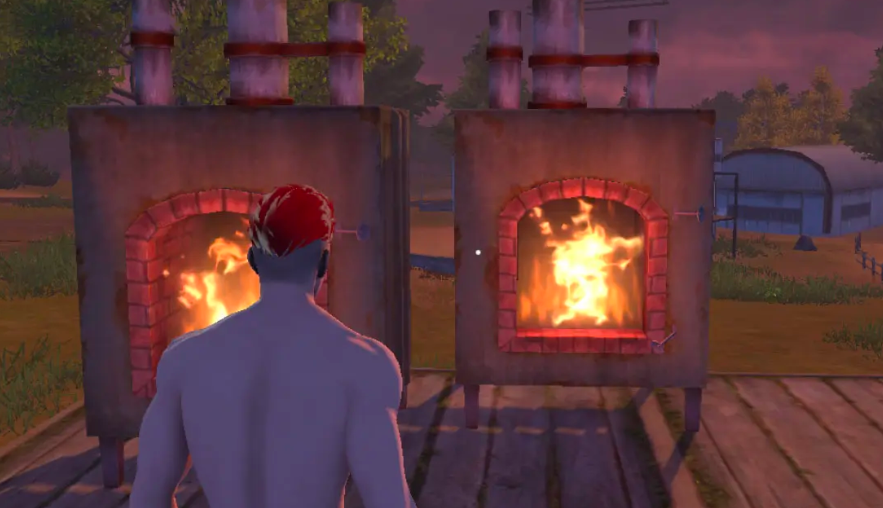
14. Burnt Jam
A dish made primarily from berries. It can last for a long time and restores a small amount of hunger.
15. Burnt Ribs
A dish made from fresh meat, capable of restoring a large amount of hunger.
16. Wood
A basic material obtained by cutting down trees, which can be used for building houses, making various items, or processing into charcoal.
17. Charcoal
An item obtained by processing wood, which can be used to make gunpowder.
18. Cloth
A material obtained by harvesting nettles, which can be used to make armor or medicines.
19. Animal Hide
Obtained by hunting and killing animals in the wild, mainly used for making armor.
20. Basic Parts
A material obtained by scavenging barrels on the roadside, which can be used to make various items.
21. Iron Can
An item that can be obtained through gathering in the wild. It can be placed in a decomposer at home to break down into various parts and iron ingots.
22. Biological Toxin
An item dropped by toxic creatures, which can be used to make various medicines.
23. White Fur
Mainly obtained from polar bears and arctic wolves, it can be used to make armor.
24. Dinosaur Skull
The skull of a dinosaur, which has a chance of being obtained when you kill one. It can be used to make bone tools.
25. Battery
A common small battery that provides a small amount of power.
26. Diesel
Collected from the outside, it can be used as fuel for generators.
27. Sulfur Powder
A material used to make gunpowder, refined from sulfur ore.
28. Refined Iron Ore
Obtained by mining, it can be smelted into refined iron ingots in a furnace.
29. Iron Ingot
A material obtained by processing iron ore, which can be used to make firearms, armor, and facilities, etc.
30. Basic Book
A very useful resource that can be used for research and development once obtained.
31. High-Quality Spring
A high-grade material obtained through manufacturing, used to make some superior quality firearms and ammunition.
32. Elevator Access Card
An item used to activate the hospital elevator, which can help us explore the underground research facility.
Due to space limitations, the adversity rebirth item guide will be shared up to this point. The above content deeply analyzes the unique uses of various common items. After understanding these, newcomers should be able to use them reasonably in this apocalyptic world, easily cope with every challenge, and steadily advance towards the peak of survival.
What are the items in Adversity Rebirth? A List of Adversity Rebirth Items
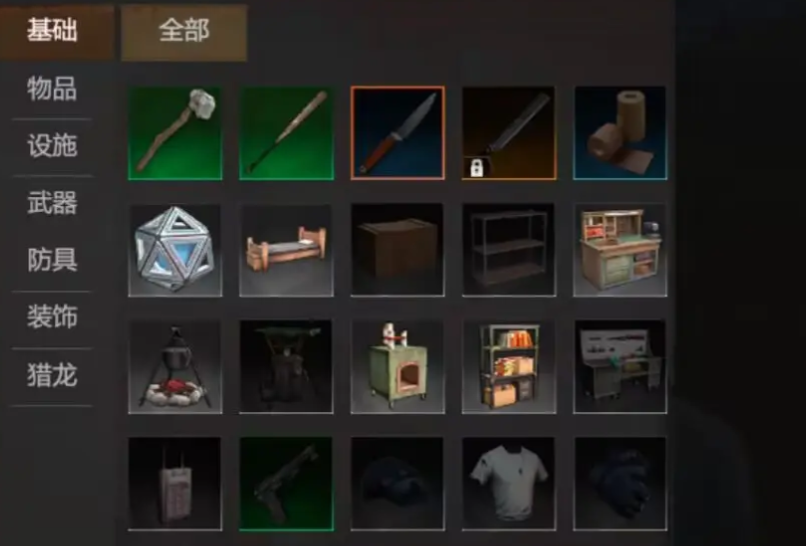
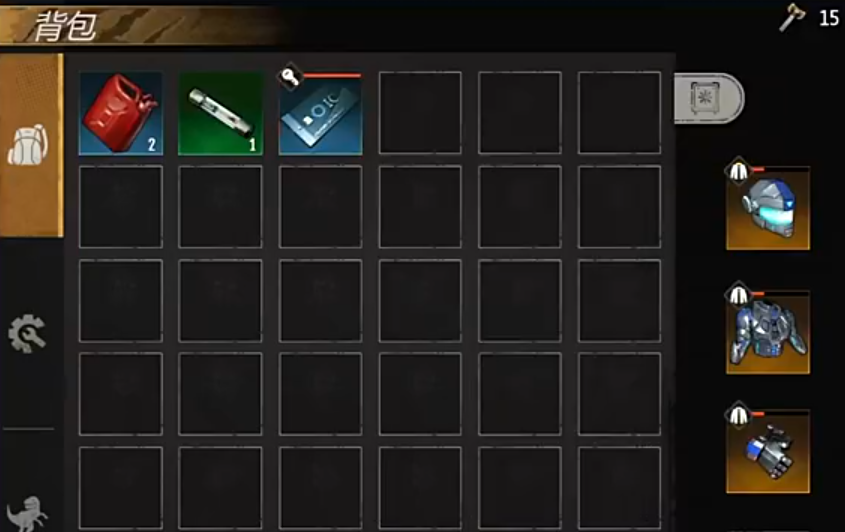
There are actually many items for rebirth in adversity, after all, this game is a post-apocalyptic survival type. When players experience the game, they will encounter a large number of items. After all, players need to meet their survival needs and also need to explore, which requires weapons, equipment, and items necessary for survival. Below is a simple sharing of related content about items for rebirth in adversity, making it easier and more convenient for players to experience the game.
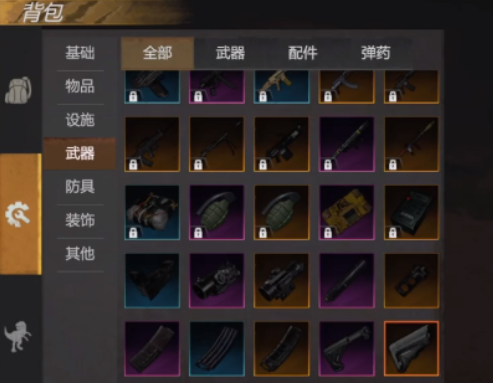
In this game, weapons are particularly important, and there are multiple types of weapons. Different weapons often have different functions and effects. However, these all belong to items, for example, basic weapons that are commonly seen in the game include knives, swords, and other melee weapons, which are mainly suitable for close combat. Ranged weapons include firearms, bows and arrows, etc. The game also involves special weapons, such as explosives, traps, etc.
The game also involves props, which are also particularly important. The props involved throughout the game include anesthetic arrows, capture tools, calming jam, food, etc. These props have different uses but are also very important in the game.
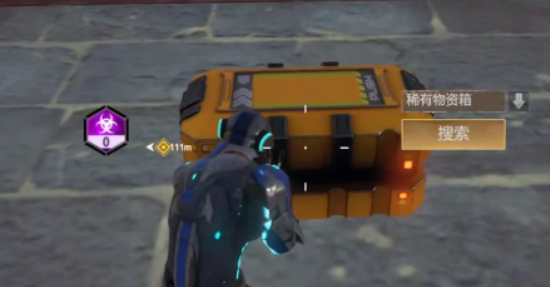
Actually, the game also involves other items, such as rare repair fluids, compass fragments, pendants, etc. Players should try to obtain these items, and obtaining them requires completing various tasks or directly facing various challenges.
The main items for rebirth in adversity are the above points. In fact, the game also involves some basic items, like wood and stone. These items can meet the player's survival needs and are needed when playing the game. However, players should note that to survive as much as possible, they need to collect resources.
How to Obtain Items in the Hero Adventure Team Cargo Store: Sharing the Sources of Items in the Hero Adventure Team Cargo Store
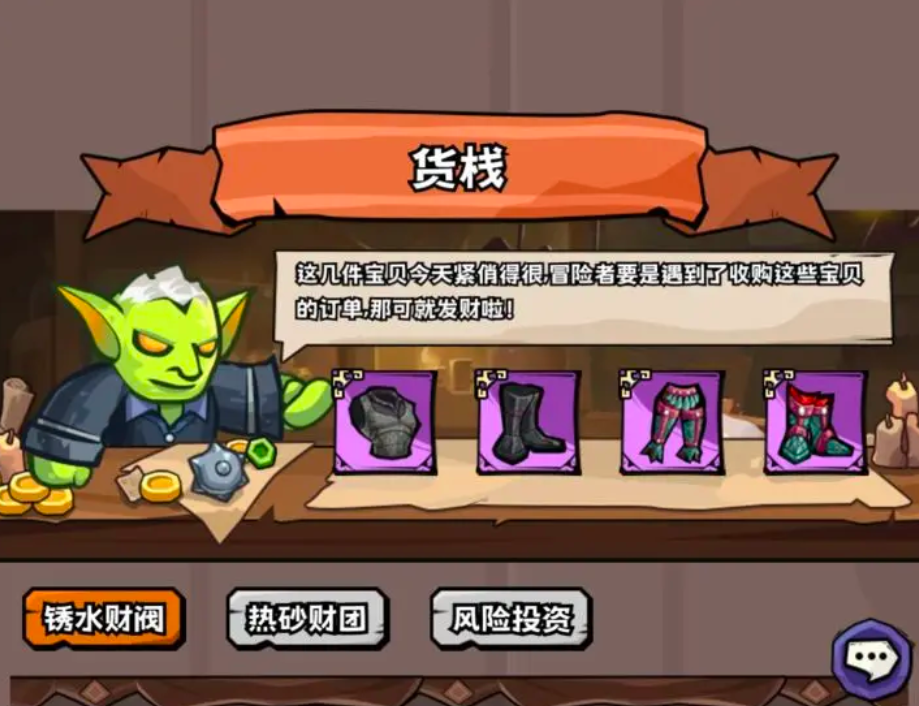
The Hero Adventure Team's warehouse is a very important area, where various items and resources can be stored and managed. Therefore, it is particularly important in the game. When players are experiencing this game, they also need to check the warehouse in time to understand their item situation. However, some players have questions about how the items in the warehouse come about. Below is an introduction to this aspect of the content.
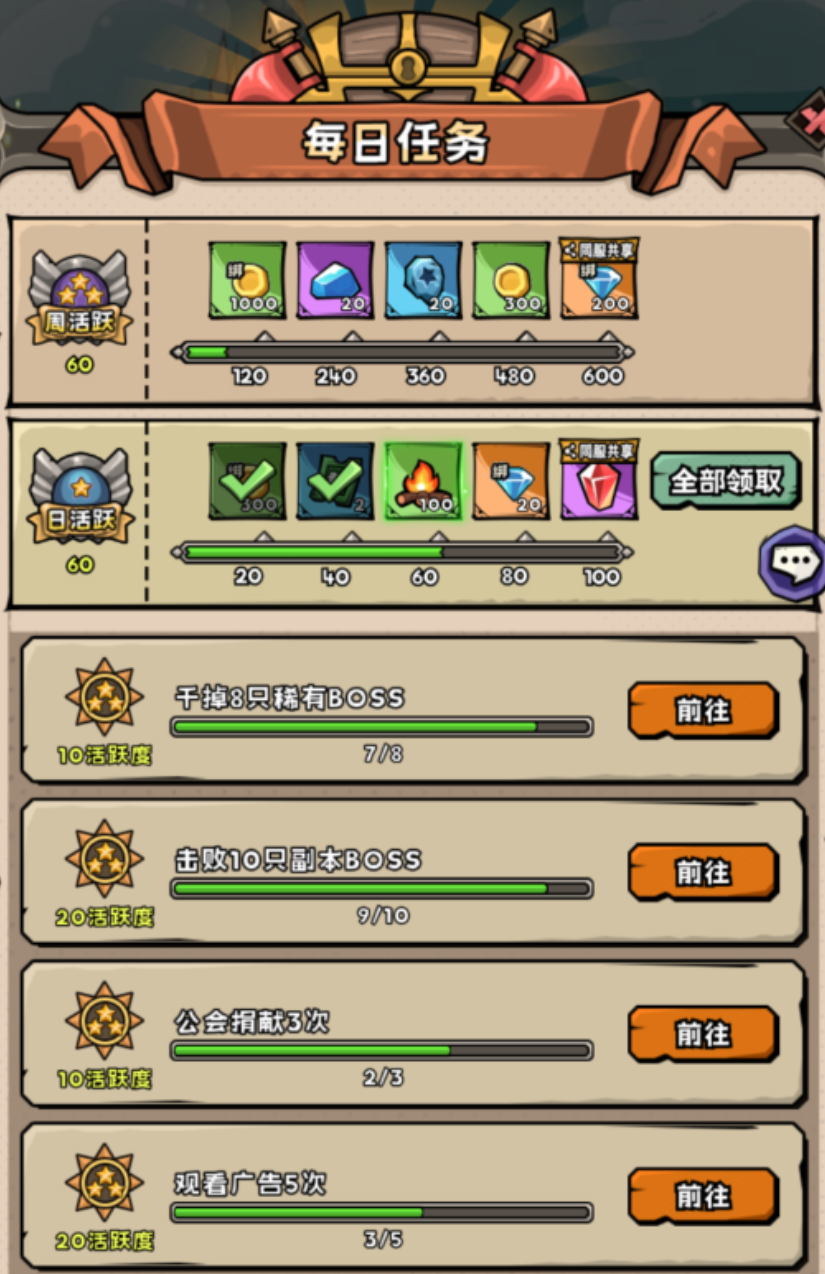
The sources of items in the warehouse mainly come from several aspects. For example, if players complete daily tasks on time, the game will reward them with many things, such as equipment, materials, gold coins, etc. Once the player has these rewards, they can directly place them in the warehouse.
The game "Hero Adventure Team" supports idle play. If players do not have enough time to experience the game, they can try idling. During idling, they can also earn rewards, and once they have these rewards, players can directly put them into the warehouse. These rewards are commonly seen as equipment, materials, experience, etc.
If players challenge dungeons, once they succeed, they can obtain some precious equipment and materials, and these materials and equipment can also be automatically placed in the warehouse. Therefore, the warehouse is a particularly important area, mainly helping players store various items and resources.
Additionally, some players may need special items, at which point they can go directly to the shop to purchase them. After purchasing, these items are also directly placed in the warehouse.
The items in the "Hero Adventure Team" warehouse come from multiple sources. For players, they can always check the quantity and type of items they own, and while experiencing the game, they need to organize these items in a timely manner. For those items that are no longer needed, players can also sell them.
Dive Dave's Vortex Search Guide: How to Find the Vortex in Dive Dave Mobile Game
Today, we're bringing you a guide on how to find the whirlpool in Diver Dave. Sometimes, while you're having a great time in the game, you might get stuck on this mission. Don't worry, below we'll explain how to complete it. After reading this, you'll be able to finish the task like a pro, challenge the great white shark, and reap rich rewards! Are you ready? Let's dive into the deep sea together!
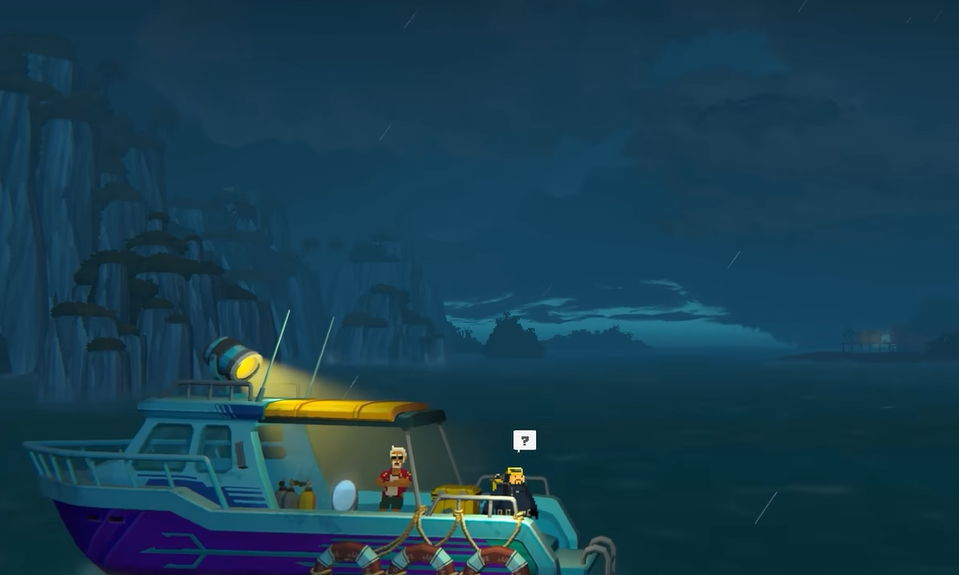
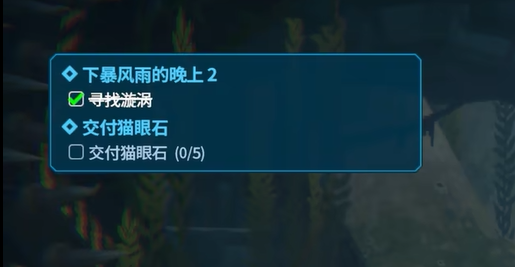
First, the trigger for the mission is a bit special; it's not always available. You need to wait for a stormy night to start this mission. You might wonder: when does the storm come? Unfortunately, it's random, so you may need to be patient and wait for a storm. If there isn't one today, don't worry, just wait a bit longer. Once the storm comes, the mission will automatically trigger.
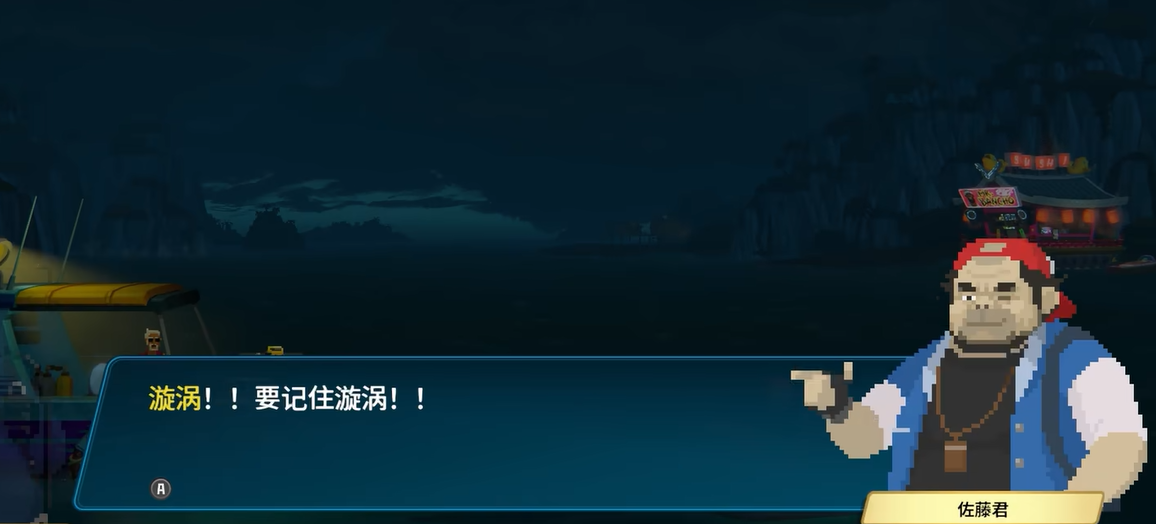
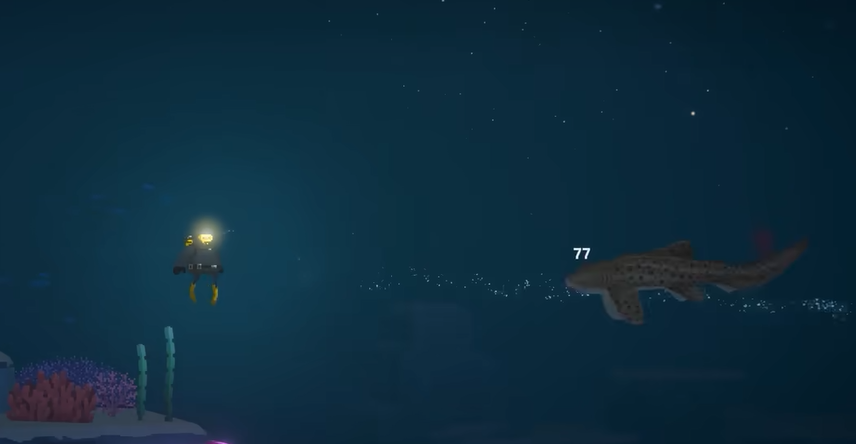
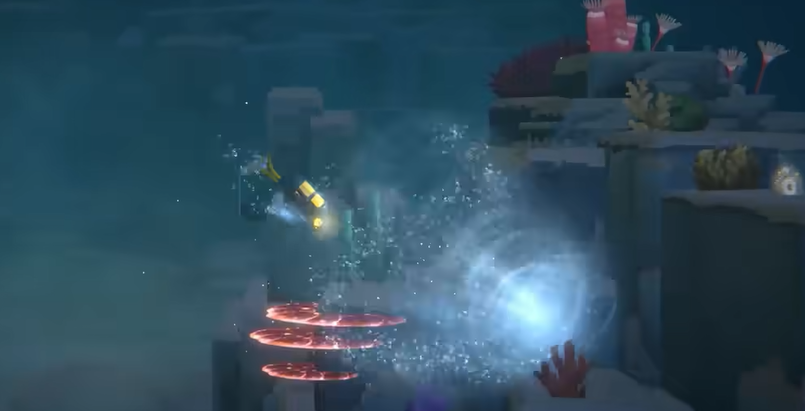
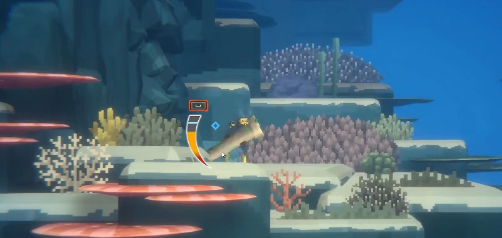
Once the mission is triggered, you can prepare for a night dive. Your diving area is within the 0-50 meter shallow water zone, and the key to the mission is to find that mysterious whirlpool. The whirlpool's location is not fixed; it's randomly generated, so you need to be prepared to search repeatedly within this range. Fortunately, there will be a very noticeable sound of water flow near the whirlpool. When you hear the sound getting louder, it means you're getting closer to the whirlpool. Take this opportunity to "scout" with your ears and follow the sound. With a bit of luck, you'll find your target quickly.

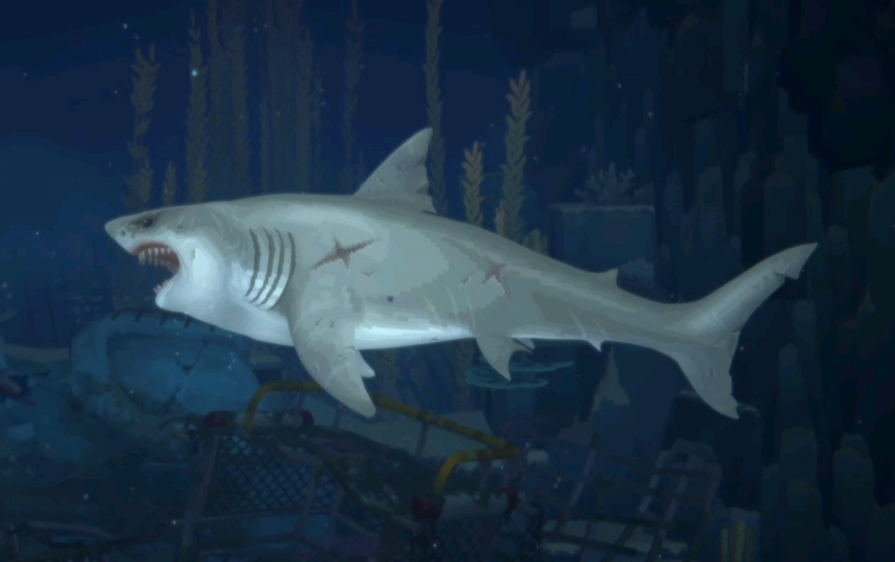
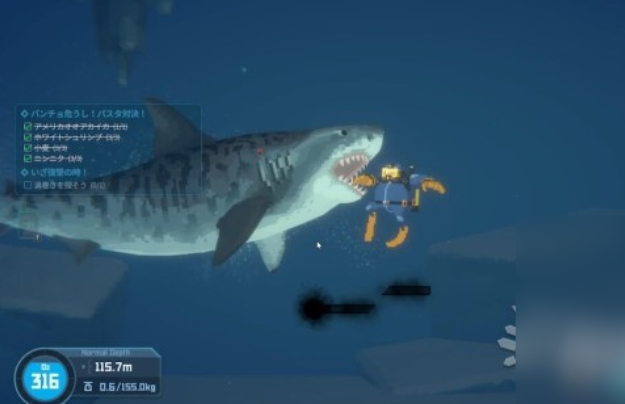
After finding the whirlpool, the real challenge begins—the great white shark! Don't underestimate it; this boss is no joke. To defeat it smoothly, you need to prepare some essential equipment. Here are a few weapons and accessories that can boost your combat power: the first is a Level 2 torch, which can deal good damage to the great white shark. The second is a powerful weapon. The third is an eight-bullet magazine; more bullets mean more output, which could save your life at a critical moment. The last one is the octopus accessory, which can help you move flexibly in battle and increase your chances of survival. If you don't have the octopus accessory, you can choose one that increases your sprint speed by 30%, allowing you to dodge the great white shark's attacks faster. Additionally, remember to bring a Level 2 sleep sniper to cool down the great white shark and disrupt its attack rhythm.
Once the battle starts, the great white shark will charge at you without hesitation. It will pause briefly before reaching you, which is the best time for you to deal damage. Remember to seize this short opportunity. During the fight, you need to maintain a certain distance from the great white shark so that it won't hit you with its head. If you get too close, you won't be able to avoid the collision. Moreover, the great white shark will use the whirlpool skill, creating a series of combo attacks. The key here is to keep a suitable distance to avoid being hit by consecutive attacks. If the whirlpool's attack range is too large and you can't dodge, use up-and-down movements to evade flexibly. Don't be afraid; mastering these evasion techniques will make it easy to handle the situation.
After defeating the great white shark, you've successfully completed the "Find the Whirlpool" mission. The rewards for completing the mission are quite generous, including substantial experience points, items, and extra title bonuses. Overall, although this mission seems a bit complex, as long as you follow the guide, prepare the right equipment, and master the operations, it's not too difficult.
Above is the content of the Diver Dave whirlpool-finding guide. On a stormy night, in the deep sea whirlpool, all you need is the right equipment, wisdom, and skills to easily defeat the great white shark and complete the mission. We hope this guide helps everyone. Wishing all players success in defeating the boss and reaping rich rewards!
Diver Dave's strategy for finding the baby whale Diver Dave mobile version guide to finding the white whale location
In this article, the editor shares with you a guide on how to find the baby whale in the game Dive Dave. In this game, players need to immerse themselves in a series of rich main and side quests to unlock various rewards. During this process, many mission objectives, such as specific animals or hidden props, are often hidden in deeper waters, leaving many players still searching for the baby whale.
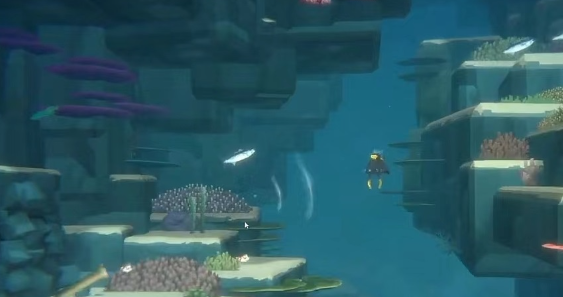
The initiation of this task stems from an accidental discovery underwater—a humpback whale's silhouette. However, facing the whale's calls, players feel puzzled, unsure of the information contained within. Therefore, they decide to call Ellie and play the recording for her. After listening, Ellie gently explains that it is the humpback whale calling its calf, and this baby whale is the target of the player's current mission. Thus, the prelude to the task concludes smoothly, and the official search journey begins. Equipped with diving gear, players slowly descend into the mysterious underwater world. Players can explore the vast underwater map while also collecting useful resources, which might come in handy during the journey ahead.
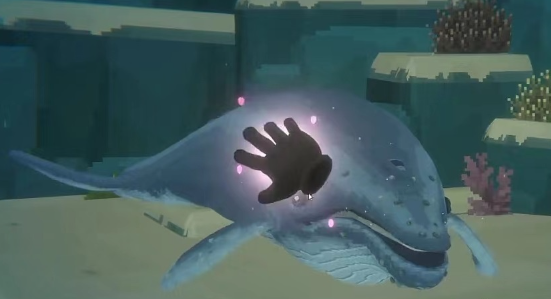
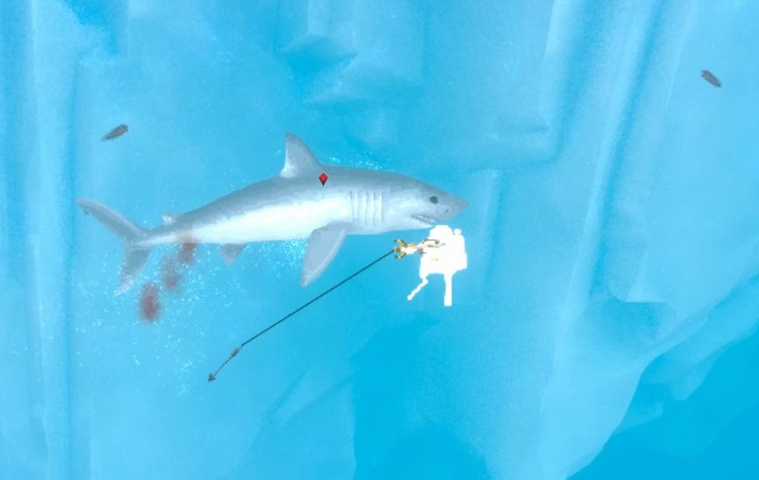
If nothing is found in the shallow water area, consider gradually advancing towards the deep sea. Players continue to dive until they locate a yellow can, where there will be sonar signals nearby as a hint. After receiving the signal, please patiently search the surrounding area thoroughly. Eventually, players will find the target in a corner of a cave. First, find a way to move the obstructing rocks because the baby whale is hiding behind them. Even after moving the rocks, the baby whale may not come out on its own, so players need to venture deeper into the cave to find it. Subsequently, a scene unfolds: the baby whale was startled. At this point, players need to approach and soothe it by gently touching it. Note, however, that one attempt at soothing may not be enough; it usually takes about three attempts before the baby whale calms down.
After gently soothing it three times, players carefully guide the whale back into the vast open sea, remaining highly alert to prevent any fish from approaching or attacking. If fish try to get close or attack, players can quickly and appropriately use their tools to guide them away or ensure they do not pose a threat. Once the surroundings are safe, the baby whale will continue swimming upwards until the process is completed.

The above is the complete guide on how to find the baby whale in Dive Dave. The game sets up many tasks without providing detailed instructions or explanations, encouraging players to use their common sense and wisdom to actively explore and discover. Although this may require considerable time and effort, it is precisely this process that allows players to enjoy the full experience.
How to find the vortex in Diver Dave, Diver Dave mobile version vortex finding guide
In the game Diver Dave, players are provided with a wealth of missions to experience. Today, I have compiled a detailed guide for the mission where Diver Dave searches for the whirlpool. Many players find this task challenging and wonder how to complete it. The steps outlined in this article are already quite detailed. Just follow the steps in the article, and you will be able to defeat the boss and claim your rewards.
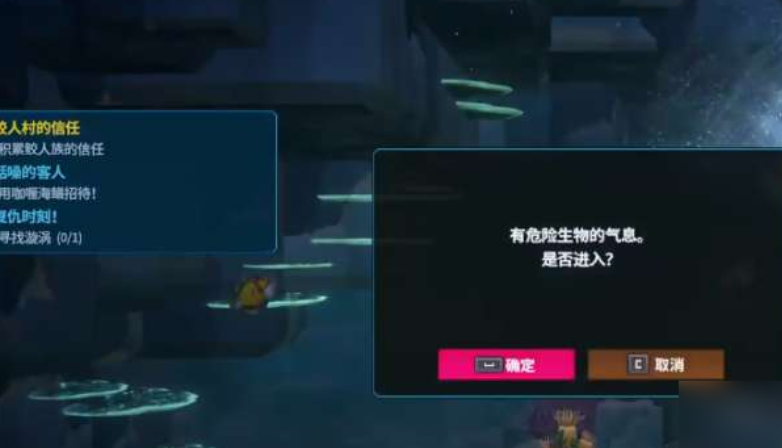
This mission is triggered at a specific time—it can only happen during a stormy night, and this timing is relatively random. If you don’t encounter it on a given day, you may need to wait until the next storm arrives. After successfully setting out, players need to perform a night dive within the shallow water area between 0 to 50 meters. Carefully search this area, and you will find a whirlpool appears. The location of the whirlpool is random and not fixed. Additionally, there will be a noticeable sound of water flow near the whirlpool, which gets louder as you get closer.
After finding the whirlpool, you can enter it and defeat the boss, the Great White Shark. To beat this boss, first, ensure you have the right equipment. I recommend using a Level 2 Torch with eight bullets. It’s also best to bring an Octopus Accessory. If you don’t have one, you can bring a 30% Sprint Accessory and a Level 2 Sleep Sniper.
Once the battle begins, the Great White Shark will charge directly at the players but will pause slightly before hitting you. This pause is the best opportunity to attack. Also, try to maintain a good distance during the fight so that it won’t use its head to attack you. Finally, it will use water vortexes to launch continuous attacks. You can avoid this skill by maintaining the right distance. If you can’t avoid it, you can dodge by moving up and down.
In today's content, I have summarized a fairly complete process guide for the mission of searching for the whirlpool in Diver Dave, including specific methods to defeat the boss. Completing the mission is not difficult. First, ensure you carry the appropriate weapons and equipment before seeking out the boss. This way, you can defeat it smoothly in the shortest time possible.
Recommend


Strategy

How is the Breach Action Squad Shield Bearer? Introduction to the Breach Action Squad Shield Bearer
Agent Fergie of the Breach Action Squad, how is she? Introduction to Agent Fergie of the Breach Action Squad
Supernatural Action Team Xiaoyao Play Techniques Characteristics of New Employee Xiaoyao's Play Style in the Supernatural Action Team
How to Defeat Eternal Flame Demon in Valor Land: A Guide to Fighting Eternal Flame Demon in the Valor Land Mobile Game
Detailed Explanation of Skill Pairing for World Fitcat Coach in洛克王国世界健猫教练技能搭配详解洛克王国世界健猫教练极品性格 It seems there was a misunderstanding. Here is the correct translation: Detailed Explanation of Skill Pairing for World Fitcat Coach in Rock Kingdom and the Best Personality for World Fitcat Coach
Tips for Clearing the Breach Action Squad Without Damage How to Clear the Breach Action Squad Without Taking Any Damage