Swordash
Game Introduction


Hot Strategy
How to Play with the Greatsword in Wild Origin: A Guide to Operating the Greatsword
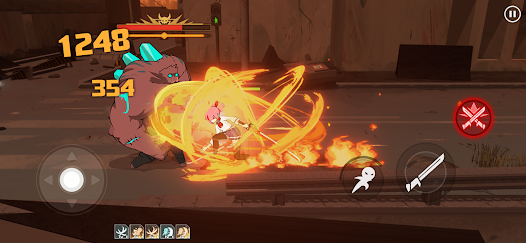
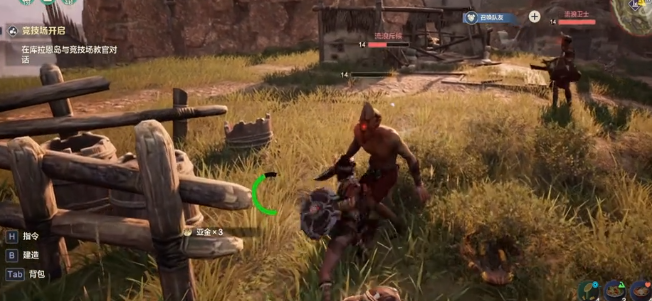
The greatsword is a damage dealer in the game, especially in the wilderness, where its overall damage effect is quite impressive. As a two-handed heavy weapon, the greatsword indeed has a prominent performance in the game, with strong damage capabilities. How to play the Wild Origin Greatsword? If you want to know, you can follow the detailed introduction below.

During the charging process, the greatsword can form a powerful attack, allowing the player to gain brief damage. The physical damage caused by the greatsword is quite good, so the combat skills will mainly focus on elemental stacking. Currently, this weapon also has two rock elemental skills, which, after use, can complete a short-distance movement.
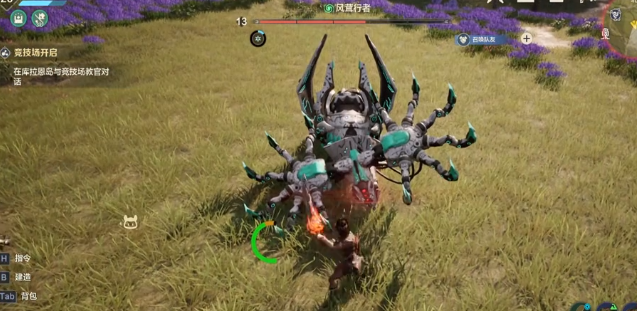
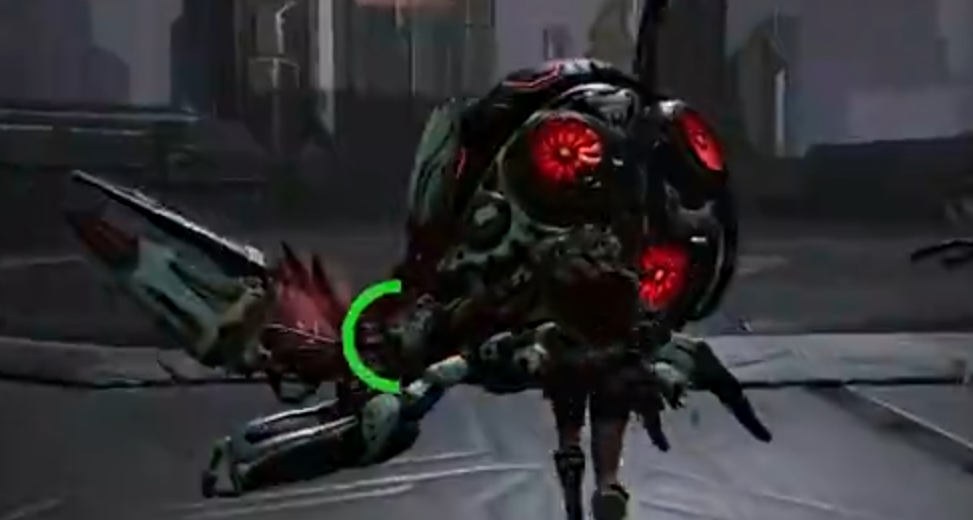
In regular boss fights, the greatsword mostly focuses on chipping away at the boss's health, and using Maka effectively can absorb a lot of aggro, making the damage relatively high; basically, every hit counts. You can carry an electric attribute combat skill, and once all attributes are fully stacked, the boss will immediately enter a paralyzed state.
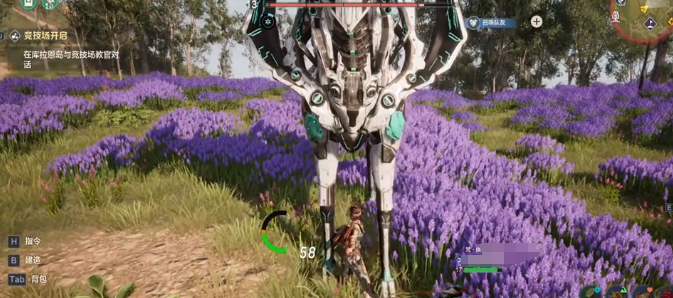
The greatsword generally does not require specific combat food; choosing vegetables with higher health points is fine, such as a light and sweet vegetable juice or stir-fried vegetables. When selecting Maka for battle, try to pick those with higher aggro and higher health, which can have a restraining effect.
How to play the Wild Origin Greatsword? The above introduction is quite detailed and has already told you how to play. After the charging action, the player needs to immediately press dodge, and once the shoulder charge appears, quickly hold down the attack. At this point, it can cause a powerful explosive damage. Players can actually go and control it to see the effect.
How to Play with One-Handed Swords in Wild Origin: A Guide to One-Handed Sword Gameplay
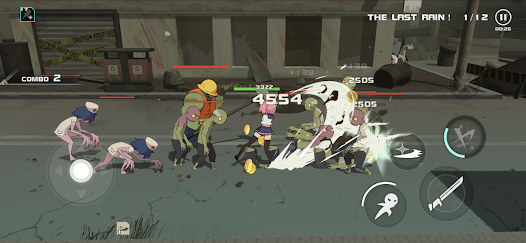
The one-handed sword is a common weapon in the game and is quite versatile, offering significant advantages no matter what kind of monster you're facing. How to play with the one-handed sword in Wild Origin? If players are unsure how to use the one-handed sword, they can follow the content below, which will introduce specific usage methods.
This weapon is quite powerful, but don't forget to use it in conjunction with a shield. The one-handed sword differs from the two-handed sword; although it doesn't deal as much damage, its flexibility during combat is evident. Combat skills can also be released relatively quickly.
During regular combat, after pairing the one-handed sword with a shield, you can get close to the enemy. As long as you find the right opportunity, you can release a block and counterattack, dealing significant damage. Even if you are knocked back by the enemy, there's no need to worry too much; at most, you'll lose some stamina, and there won't be a noticeable drop in health.
In combat, the one-handed sword generally focuses on blocking and countering. Players should also reasonably choose some combat food, such as stamina recovery and increasing stamina cap foods. During battles, don't forget to select some high-damage maca, as the one-handed sword does not deal a lot of damage and needs timely replenishment.
How to play with the one-handed sword in Wild Origin? After reading the above introduction, everyone should now know the specific operation methods. Additionally, during actual combat, if the distance is far, you can use a sprint and then add a jumping attack, which not only directly deals damage but also effectively closes the distance with the enemy.
Recommended Skill Combinations for the Sacred Sword in洛克王国世界圣剑技能搭配推荐洛克王国手游圣剑选什么技能 It seems there was a slight misunderstanding. Here's the correct translation: Recommended Skill Combinations for the Sacred Sword in the World of Rock Kingdom, Which Skills to Choose for the Sacred Sword in the Rock Kingdom Mobile Game
Sacred Sword is a very magical spirit in the world of洛克王国 (Rock Kingdom), with the unique setting of only being able to use the first position skill. This makes many players unsure about how to match skills for Sacred Sword, thus failing to unleash its full potential. However, don't worry; the recommended skill pairing for Sacred Sword in the Rock Kingdom will help everyone solve this issue. Let me introduce to you what skills Sacred Sword should choose.
The reason why many people find it difficult to pair Sacred Sword's skills is mainly due to its characteristic as the Upright Sword. In battle, except for the skill in the first position, all other skills are locked, so only the first position skill can be used against enemies. However, it should be noted that there are several skills in Sacred Sword's skill set that have a transmission effect, which moves down one position at the end of Sacred Sword's turn. This is also the foundation for matching Sacred Sword's skills.
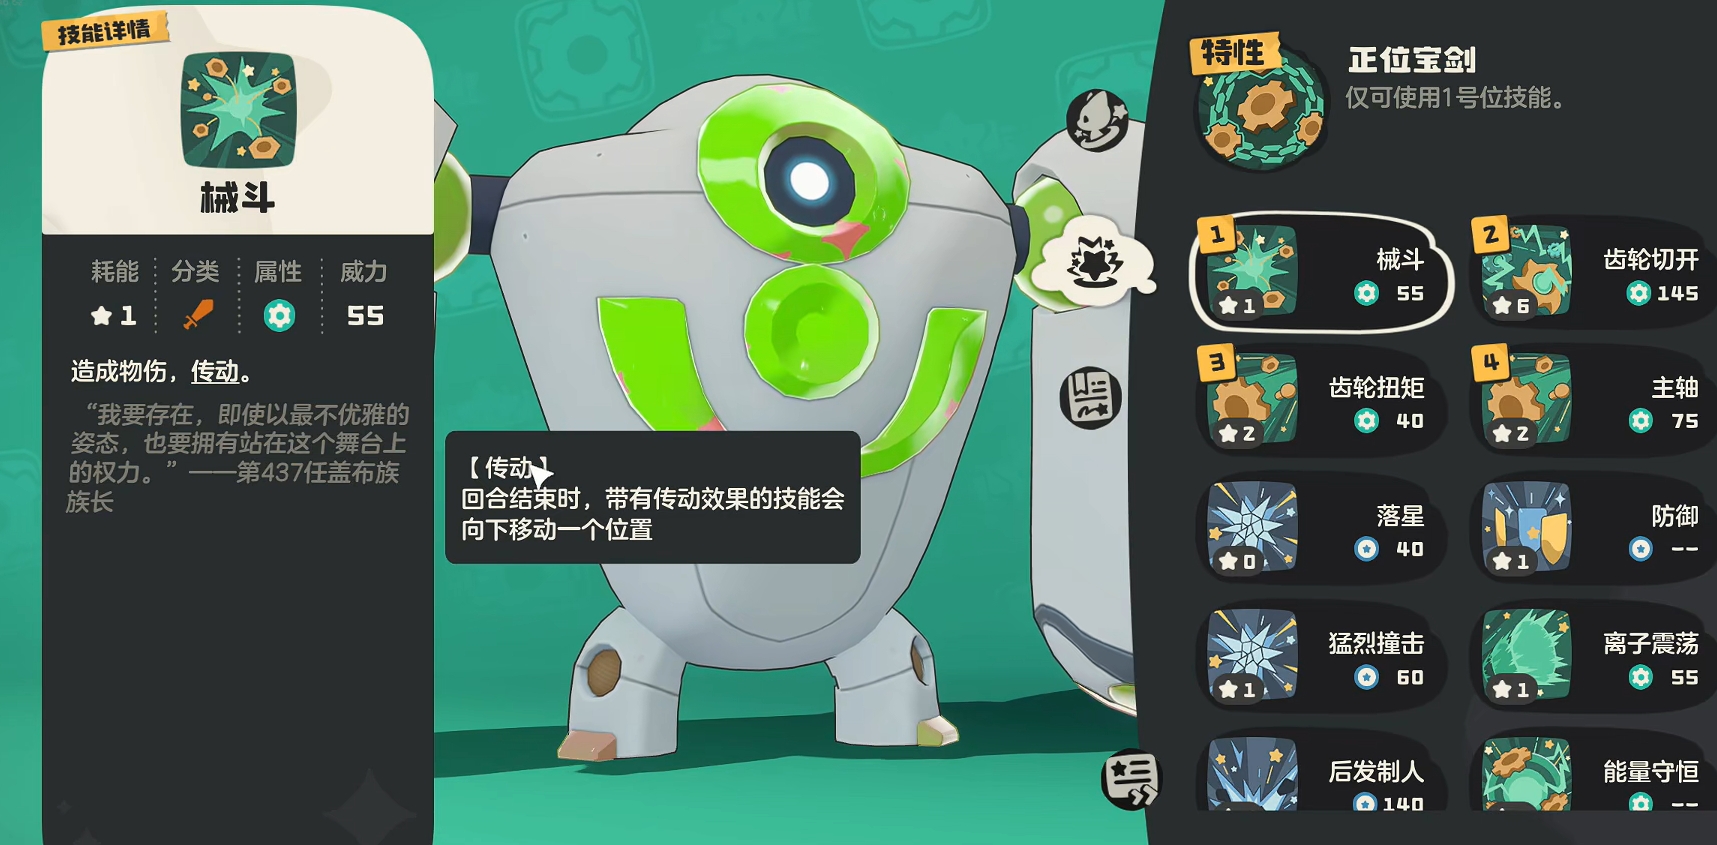
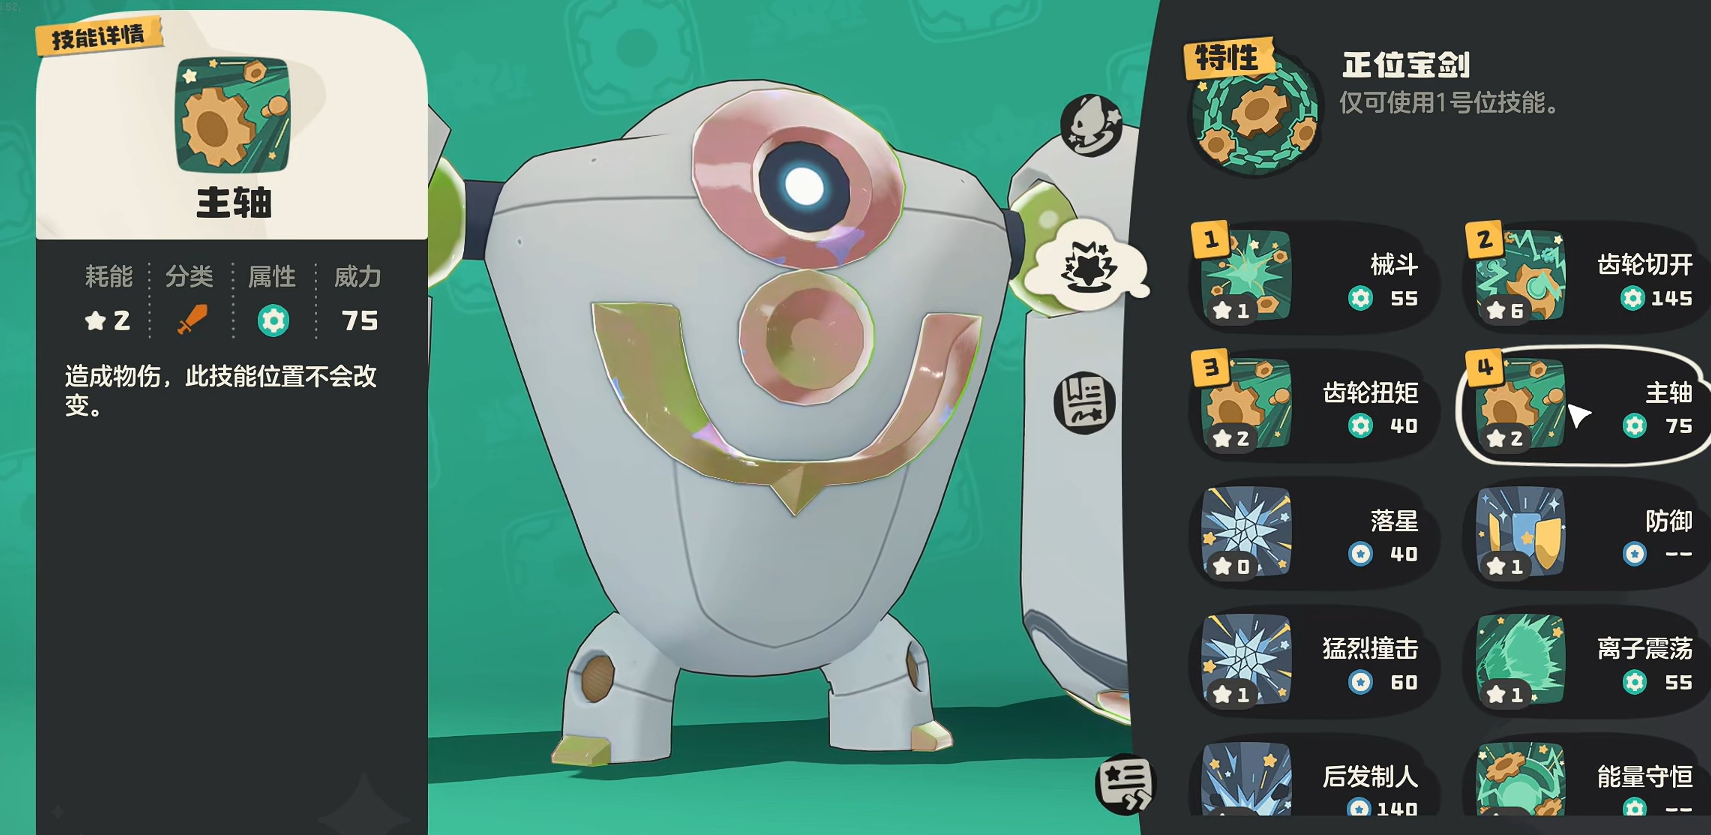
For the choice of skills in the first and second positions, you can select Mechanized Combat and Gear Slash. Both of these skills have good damage capabilities and come with a transmission effect. Coupled with the third position skill, Gear Torque, which increases damage when changing positions, this allows Sacred Sword to deliver high bursts of damage. For the fourth position skill, you can choose the Main Axis skill. Although it cannot change positions, it enables the first three skills to work well together.
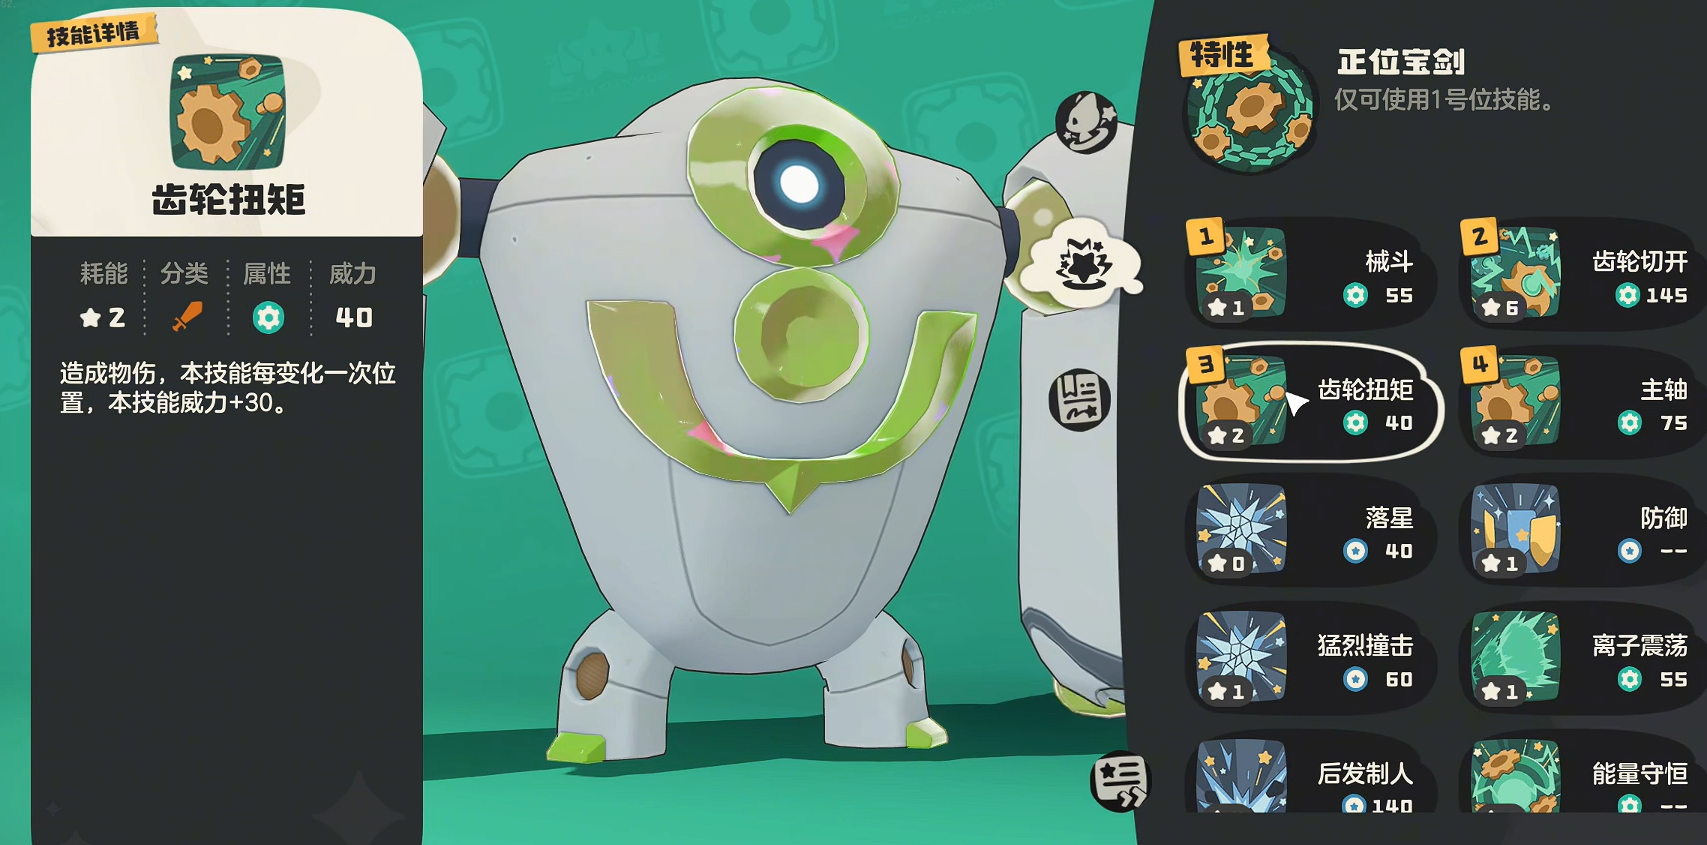
In actual combat, after using the first position skill, Mechanized Combat, since the fourth position skill, Main Axis, does not change positions, the third position skill, Gear Torque, will move to the first position. At this point, this skill has already received the damage increase from changing positions, allowing it to deliver the first burst of damage. In subsequent cycles, Sacred Sword will follow the skill sequence of Gear Slash, Mechanized Combat, and Gear Torque, ensuring that Gear Torque always receives two damage boosts.
The above is all the content regarding the recommended skill pairing for Sacred Sword in the Rock Kingdom. Although Sacred Sword can only use the first position skill, under the influence of the transmission effect, this becomes a strong point. You might want to try the suggested method, which I believe will satisfy everyone.
How to Play with One-Handed Swords in Wild Origin: A Detailed Guide on Using One-Handed Swords
The one-handed sword is one of the weapons that players can obtain in the game Wild Origin. The one-handed sword has its own characteristics and techniques, so it's important to master them. Today, I will talk about how to play with the one-handed sword in Wild Origin. Since this game emphasizes combat operation skills, you need to be familiar with the weapon before using it. So, what are some tips for using the one-handed sword? Let's take a look together.
As the name suggests, the one-handed sword is a type of single-handed weapon, characterized by high flexibility and the ability to both attack and defend. First, it can be used in conjunction with a shield, forming a sword and shield combination. This allows for both attacking and quickly switching to defense during combat, increasing operational fault tolerance through shield defense, and also utilizing the shield counterattack effect. Additionally, the one-handed sword is very flexible when attacking; its front and back swing actions are relatively short, and its attack frequency is high. It can quickly switch between attack motions in battle. In dealing with small, agile enemies and complex combat scenarios, it has great applications.
In actual combat, the basic attack of the one-handed sword consists of five segments, with an attack range being a relatively small fan-shaped area in front of the player, capable of damaging multiple enemies within the area. The one-handed sword also has a charged attack mechanism, featuring two segments of charged heavy attacks. These attacks are slower but deal higher damage, making them suitable for dealing with less agile and more health-heavy enemies. In terms of special attacks, it includes rolling attacks, jumping attacks, and attacks while sprinting, which can hit enemy weak points and increase damage output. With these special attacks, it's important to note that you should flexibly utilize the advantages of these attacks during operation.
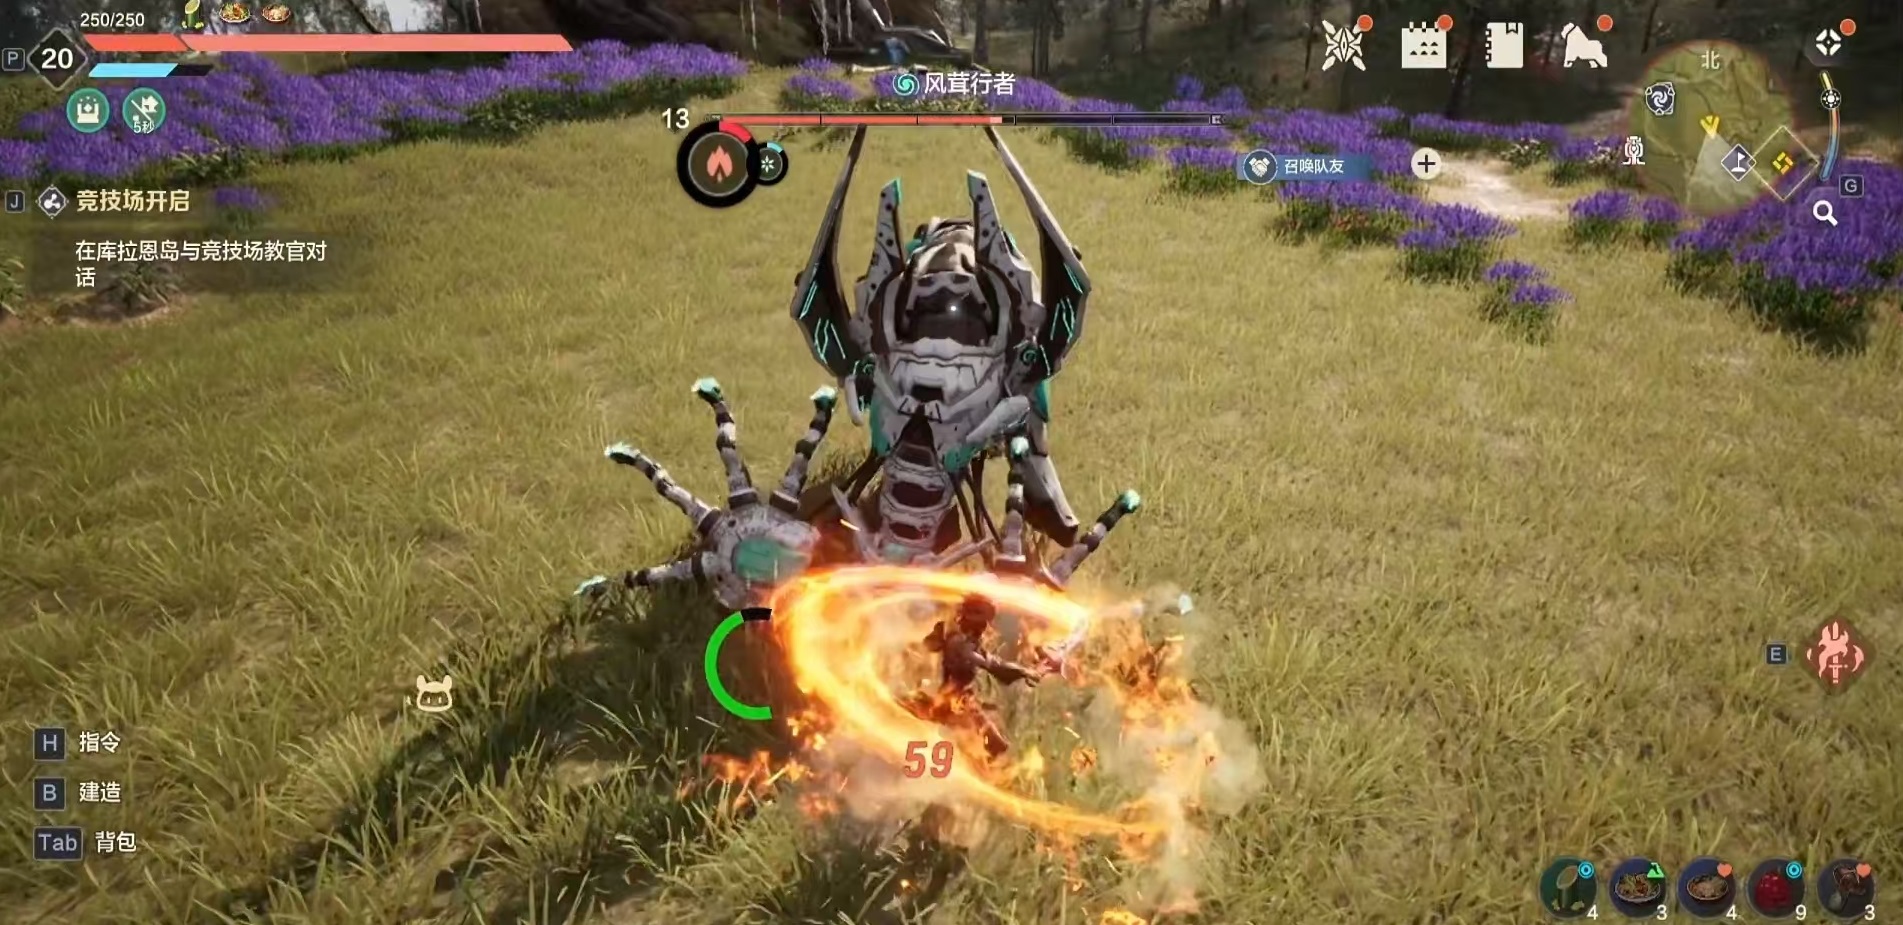
In terms of combat skills, the one-handed sword currently only has lightning and fire elemental skills. By utilizing the elemental advantage system, you can effectively counter ice and water bosses. Try to choose skills with area-of-effect (AOE) attacks, such as the Whirling Flame Slash, to efficiently deal damage and hit most targets when facing multiple enemies.
After reading today's guide, I believe you now have a clearer understanding of how to use the one-handed sword in Wild Origin. In combat, it's essential to leverage the flexibility of your operations. Avoid standing still and attacking; instead, combine movement and skills. This is where the advantage lies.
How to Play with the Greatsword in Wild Origin: An Introduction to the Greatsword Gameplay
Today, I will explain how to play with the greatsword in Wild Origin. I believe that in the game Wild Origin, what everyone enjoys the most is using various weapons for combat, which is also a very distinctive feature of the game. However, different weapons have different usage techniques, and one must understand them clearly before knowing whether they are the type of weapon they like. As a very cool weapon, it's important to figure out how to use the greatsword.
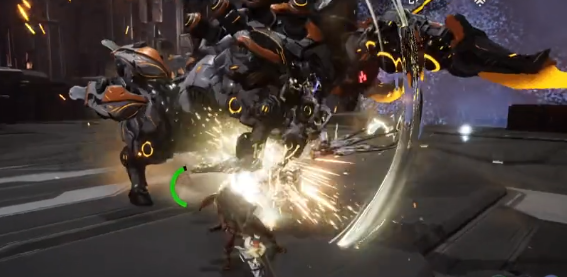
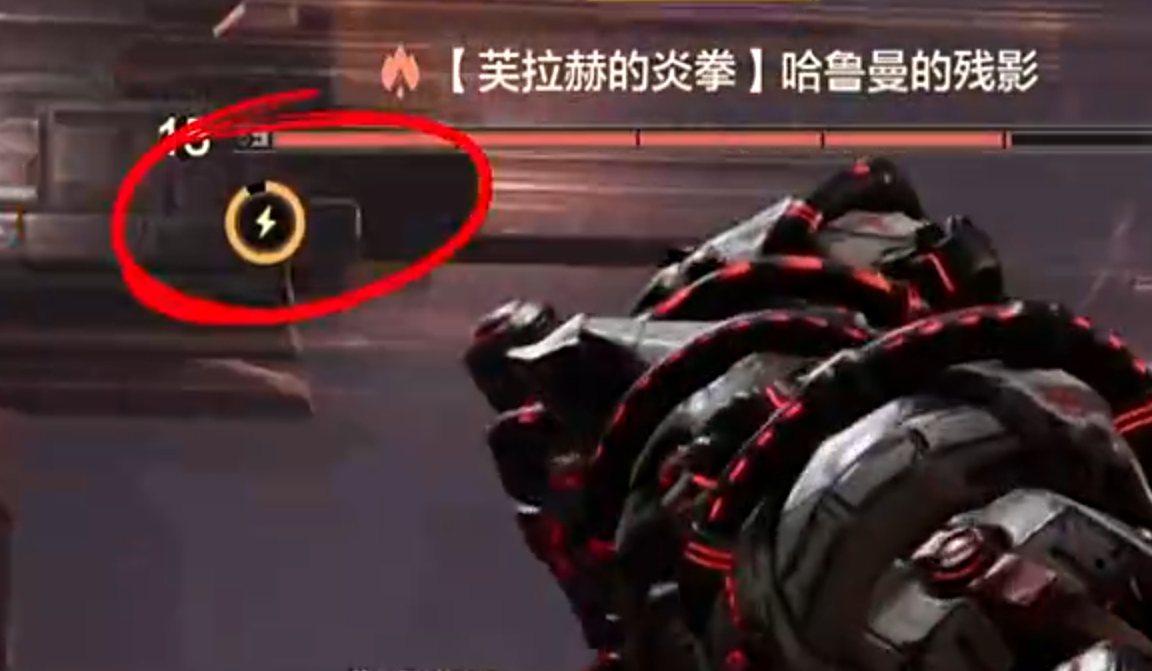
The weapons in the game are divided into one-handed and two-handed, and the greatsword is a two-handed heavy weapon. The greatsword has extremely high physical damage, capable of dealing very high damage to enemies in a single attack. In the three-stage charging state, the damage is even more extraordinary, which is the most important reason why many players love using the greatsword. When charging with the greatsword, it also has an additional super armor effect. Having super armor means it's hard to be interrupted, so the attack rhythm won't be affected. Only during the intervals between each charge attack can you possibly be interrupted. Once the weapon glows from charging, it means you've entered the super armor state.
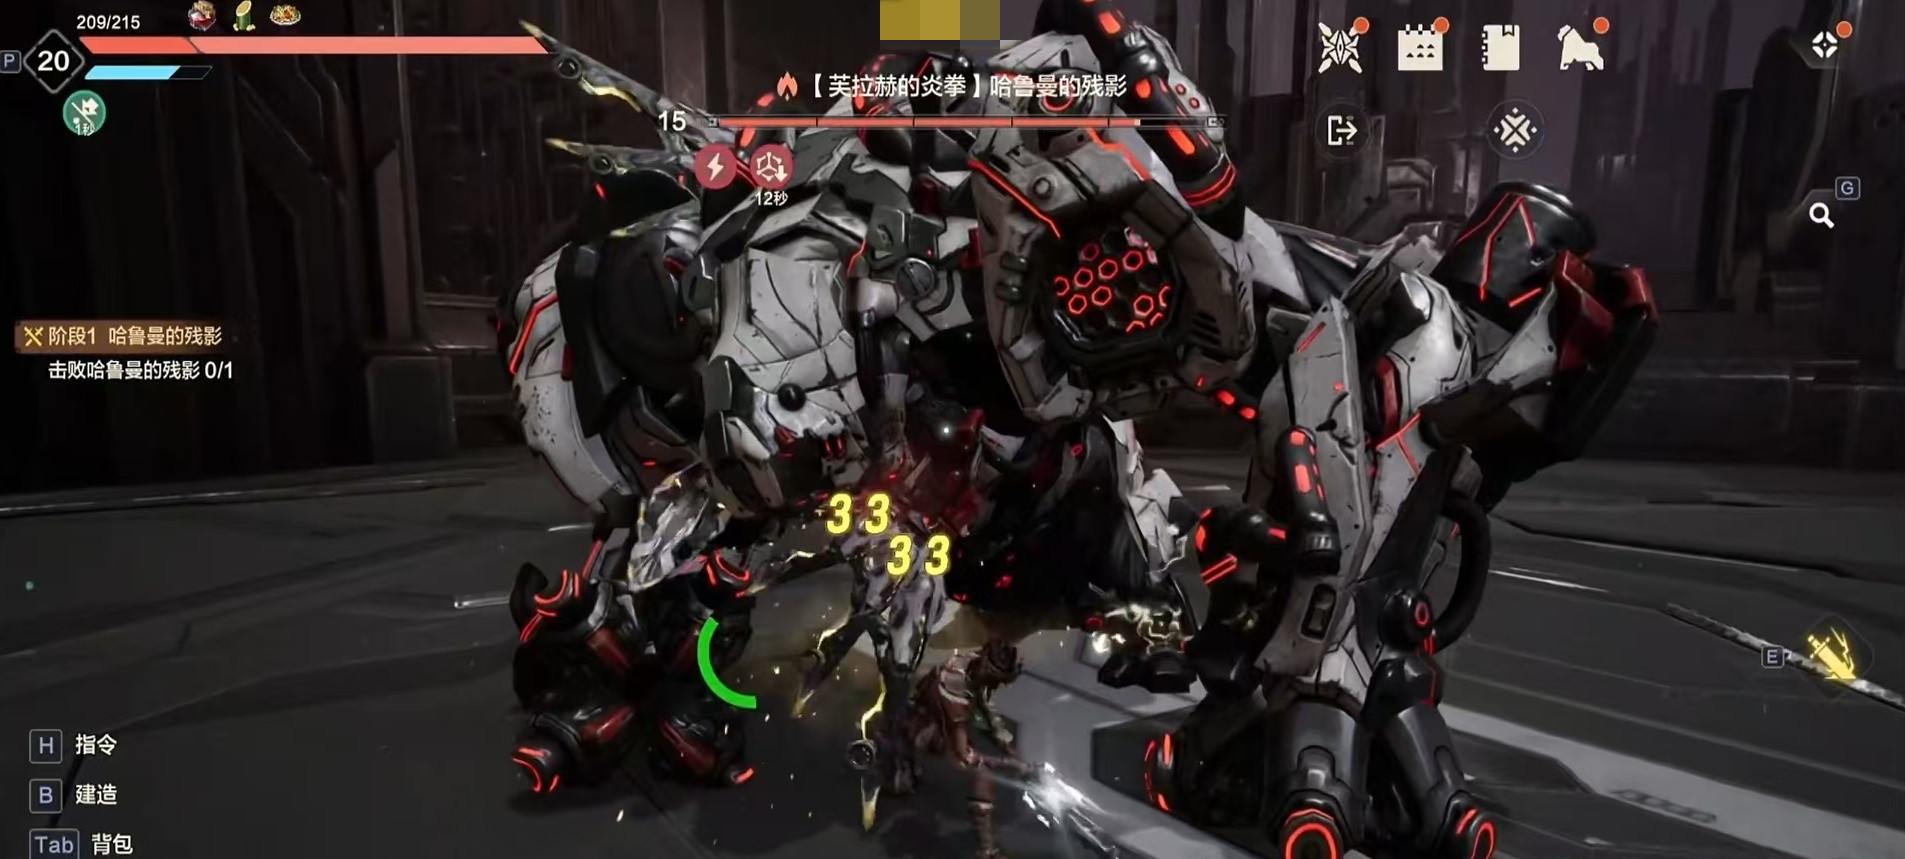
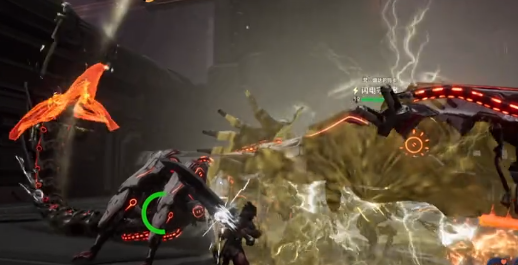
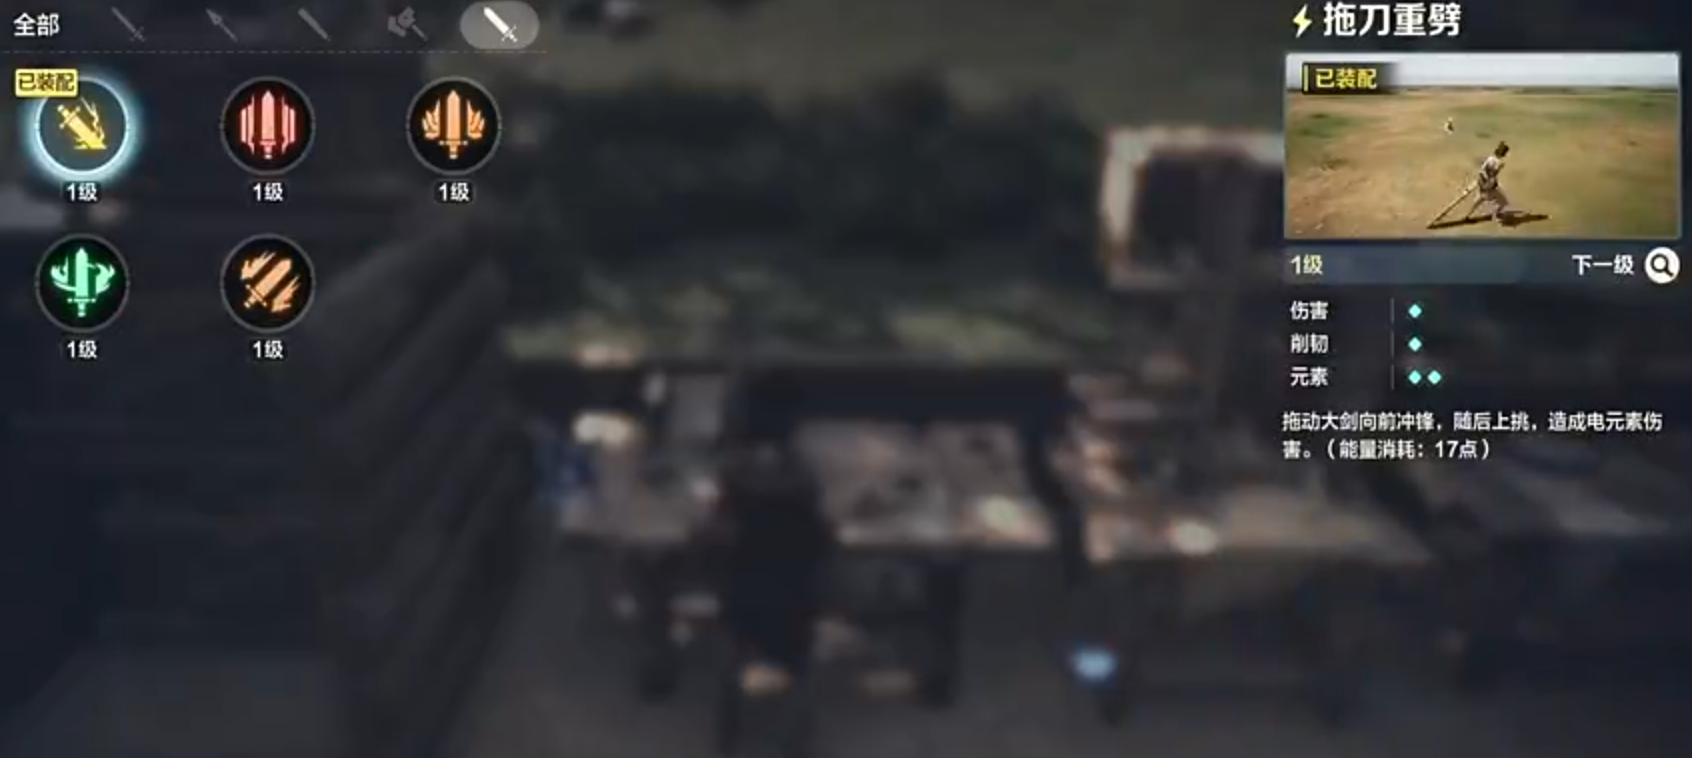
Although it is a two-handed weapon, the greatsword is still quite flexible in terms of operation, much more so than the hammer. You can quickly enter the next stage of charging by frequently using shoulder charge attacks, thus dealing damage more efficiently. Therefore, its operational flexibility is not bad. In terms of combat skills, the greatsword has corresponding skills for rock, electric, fire, wind, etc. I recommend choosing the electric element's dragging heavy slash. This skill comes with a short displacement effect and allows control over the direction of displacement, making it suitable for both chasing and dodging attacks.
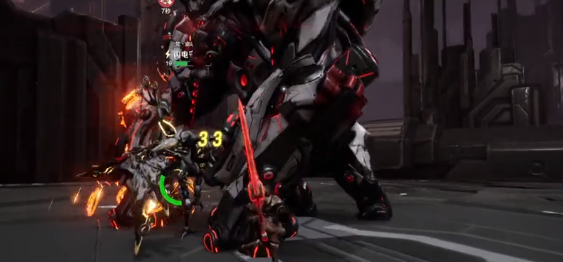
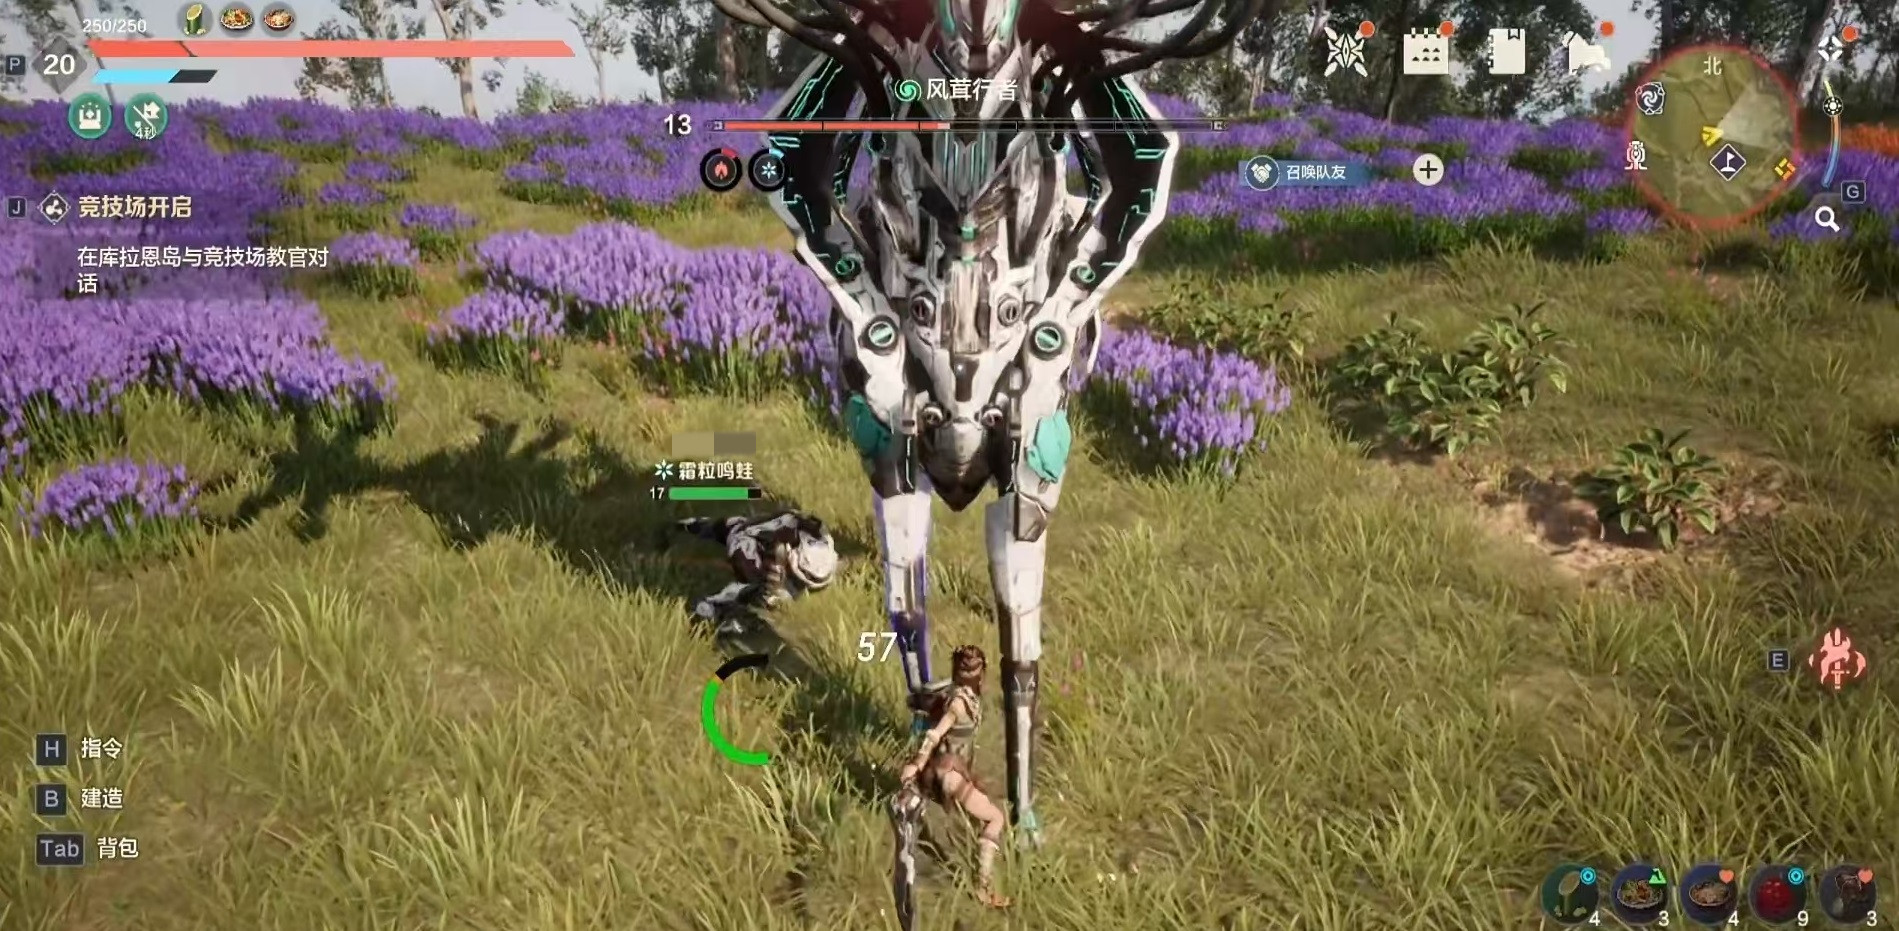
In actual combat, pay attention to using regular attacks (A) for output, and use the carried maca to attract the boss's aggro. Position yourself at the side of the boss and attack with regular A. Because the greatsword deals high damage, each additional A attack yields significant benefits. Observe the intervals between the boss's attacks and use the charged attack at the right moment to deal even more substantial damage. If you carry an electric attribute skill, you can also paralyze the boss through stacking, which is the best time to use the three-stage charged attack.

After reading the guide provided today, I believe everyone now understands how to play with the greatsword in Wild Origin. Overall, this is a weapon with high damage, good flexibility, and a lot of room for maneuver. It is suitable for both experienced and new players, though new players may need more practice to get the hang of it.
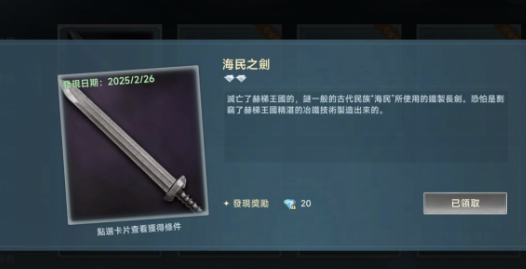
How to Obtain the Sea People's Sword in the Age of Great Voyages: Sharing Methods for Acquiring the Legendary Sea People's Sword
The legendary Sea People's Sword of the Age of Exploration is a highly valuable combat equipment. Installing it for your character can provide certain attribute bonuses, thereby enhancing their overall strength. Many players are eager to get the Sea People's Sword but do not know how to obtain it. Below, we will share the method to acquire this equipment, so everyone can successfully obtain it and boost their combat power. If you want it, check out the following content.
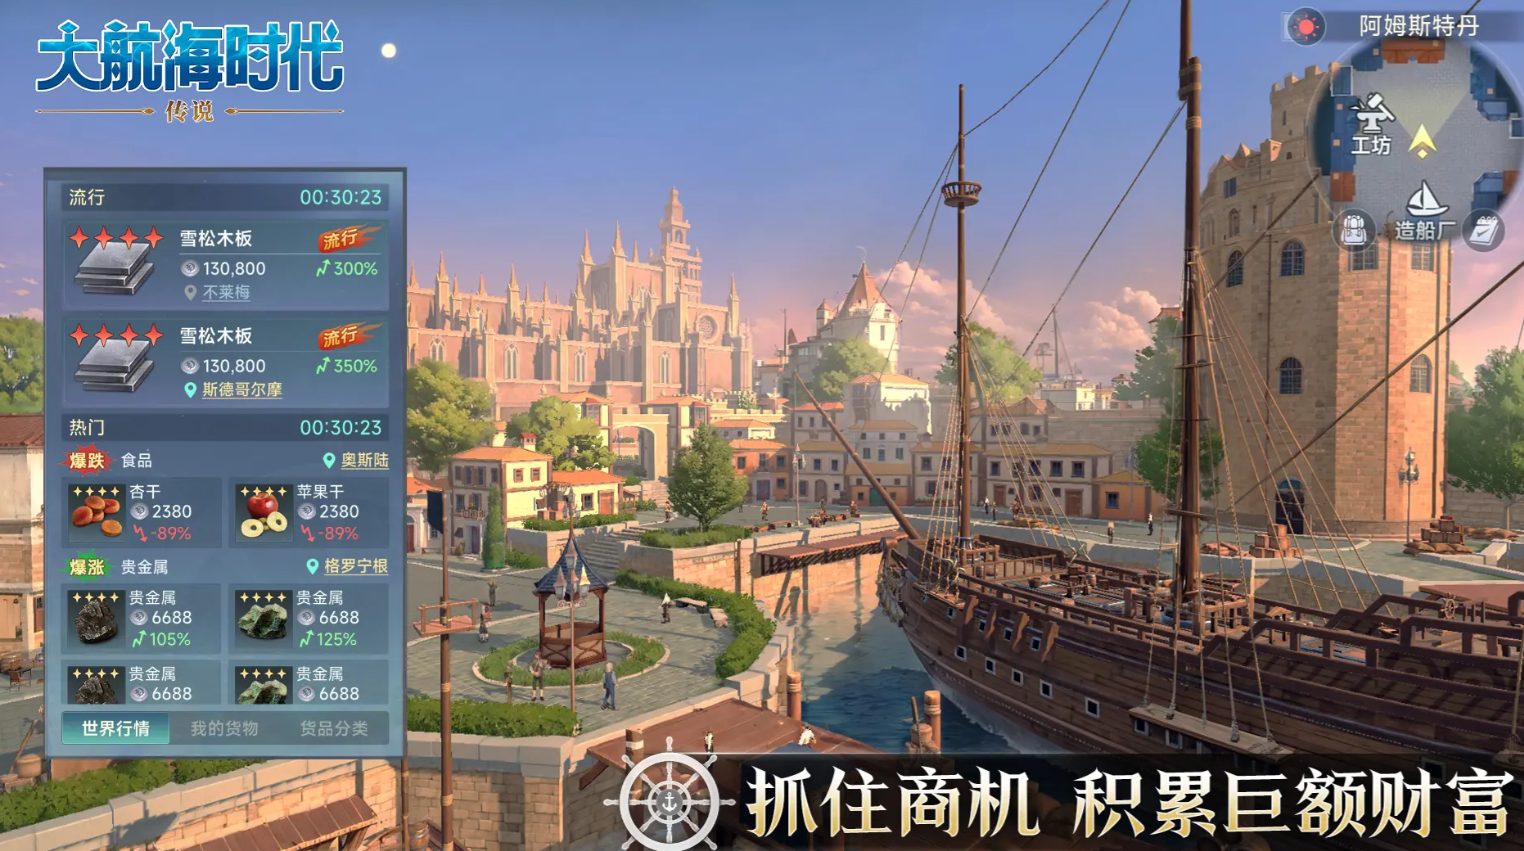
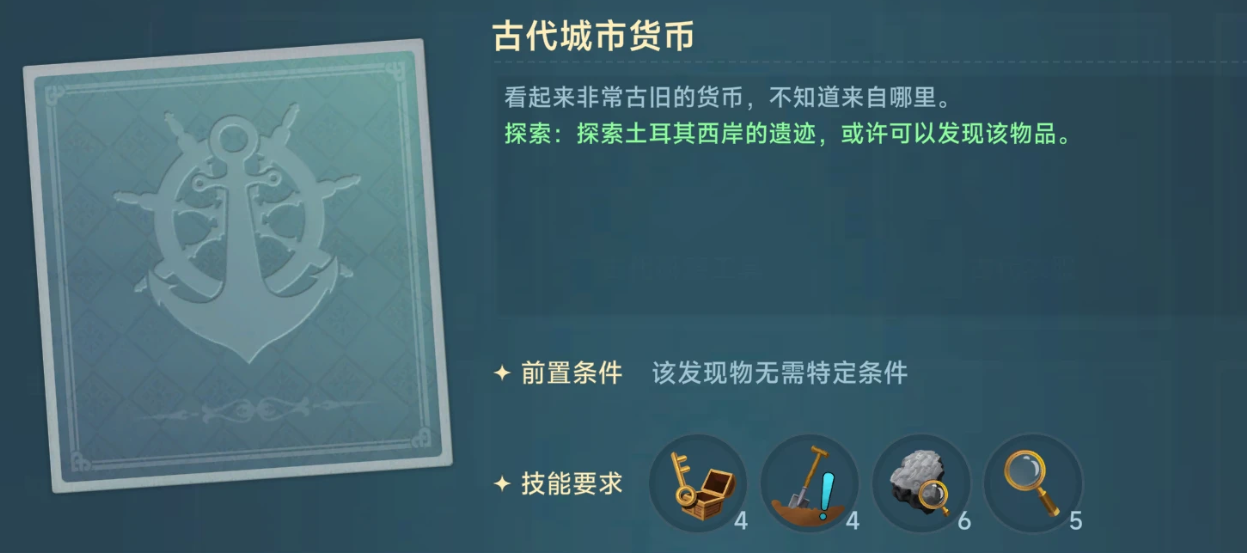
Firstly, the way to obtain the Sea People's Sword is not through regular store purchases or completing quests, but rather by adventuring in specific maps. The specific method is to go to the ruins area on the western coast of Turkey, which is where the Sea People's Sword can be obtained.
However, before heading there, players need to meet the prerequisites of Archaeology 10, Observation 5, Lockpicking 8, and Search 8. On top of that, the higher the observation skill, the better, as it makes it easier to find clues. Once the conditions are met, you can start your adventure on the western coast of Turkey.
During the adventure, there's no need to click on anything; just defeat the elite enemies every three stages. You don't even have to fight the final boss. After reaching a certain level, your officer will prompt that what you're looking for is nearby. At this point, using the observation skill will reveal a light.
Walking to the light and clicking on the telescope icon will allow you to successfully discover the item. It's worth noting that there are four discoveries in total on the map of the western coast of Turkey. Therefore, if you receive a prompt, it could be one of these four discoveries. If you don't find it at once, repeat the exploration process as described, and you will definitely get the Sea People's Sword.
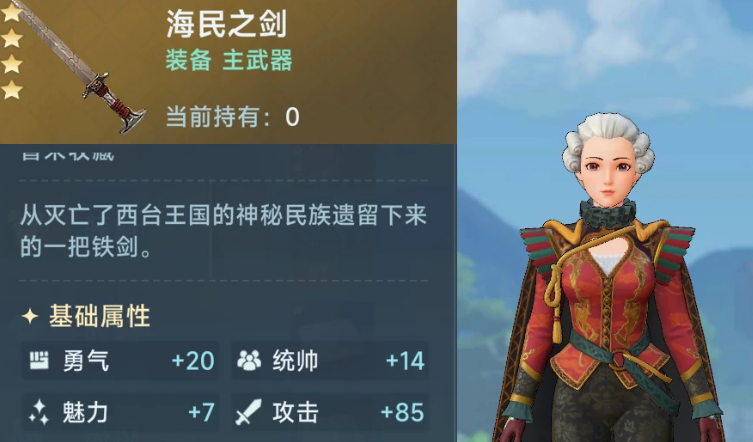
Above is the method to obtain the legendary Sea People's Sword of the Age of Exploration. This equipment provides an additional 25 points of attack bonus and also offers attribute points in Swordsmanship, Courage, Charm, Leadership, and Rowing. It is very suitable as a main weapon for ship chases in naval battles. If you want it, follow the above methods patiently.
What is the Fate Star Map in Blade & Soul 2? A Detailed Explanation of the Fate Star Map System in the Blade & Soul 2 Mobile Game
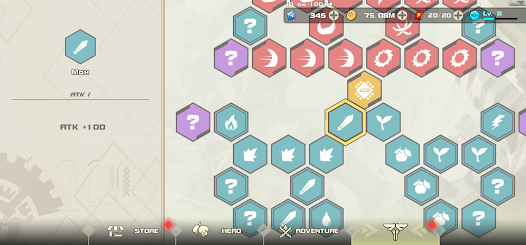
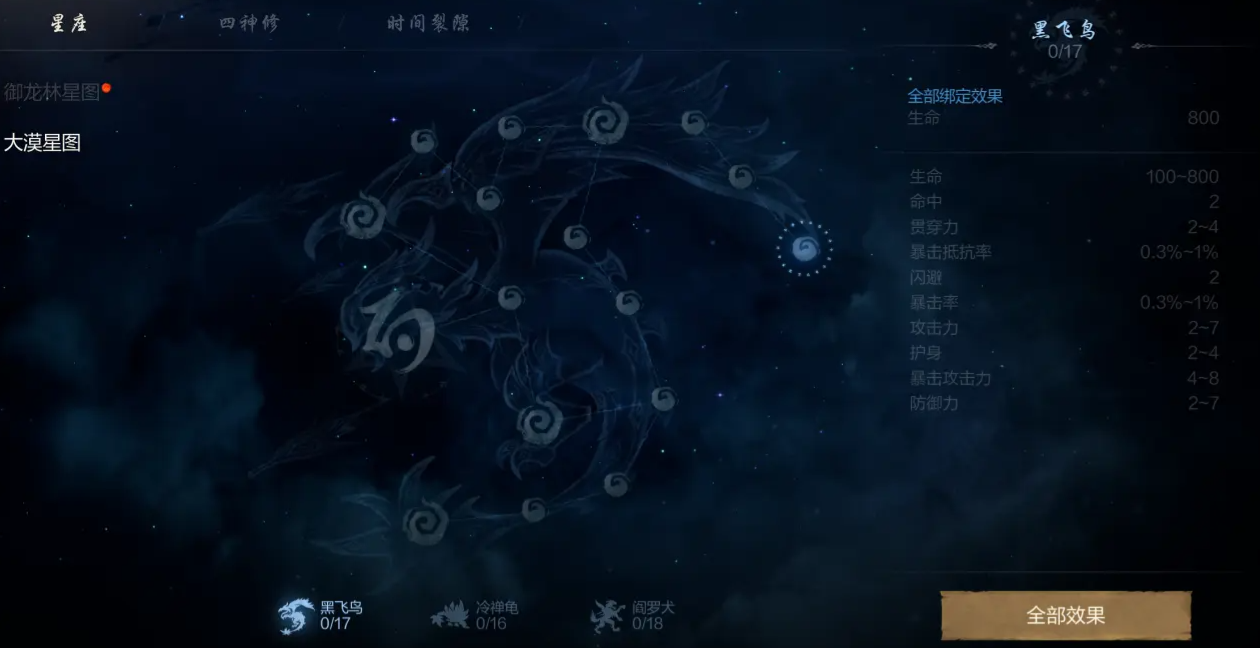
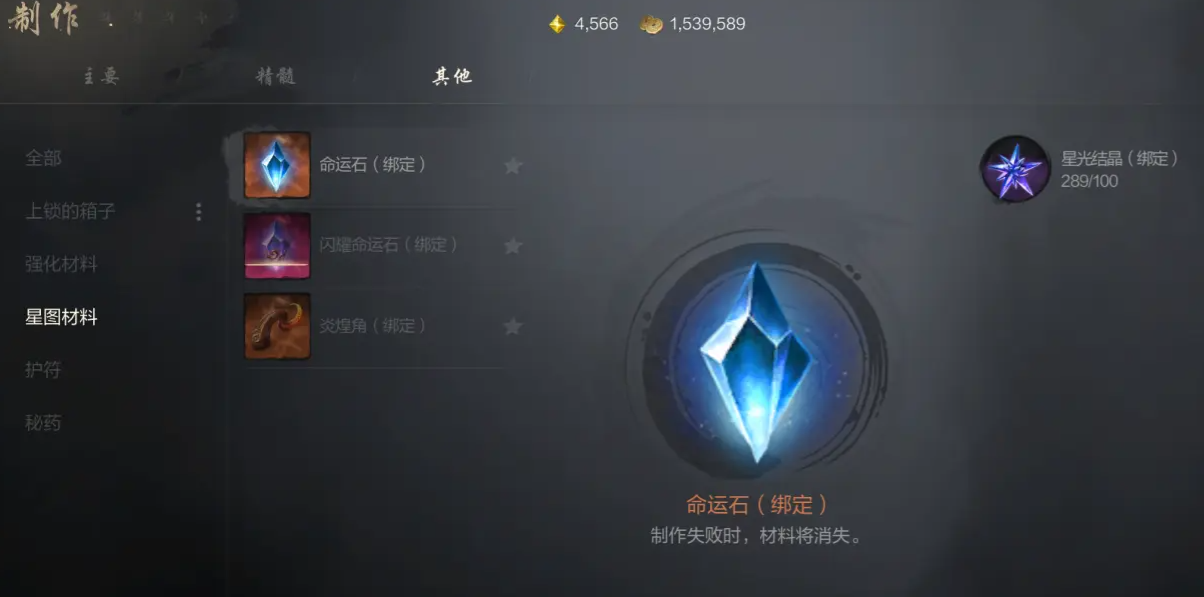
What is the Fate Star Map in Blade & Soul 2? The Fate Star Map is actually one of the important character development systems in the game. By lighting up the nodes on the star map, you can increase the ability values of your characters, and lighting up different nodes can bring various attribute effects. Many newcomers may not be very familiar with this. The following text will help newcomers understand the system's gameplay from two aspects: an introduction to the Fate Star Map and the acquisition of materials.

Clicking the menu opens the Fate Star Map, where you can find multiple sections that can be lit up. In the early stages, newcomers can only light up the Dragon Forest Star Map. The Dragon Forest Star Map is divided into three smaller star maps: Giant Frog, Sky Wanderer, and Red Tail. During the process of lighting them up, they add corresponding ability values to the character. When all the nodes of a star map are fully lit, it also activates additional engraving effects.

Most of the star map engraving nodes can only be engraved once, providing a fixed bonus. However, there are some special nodes that, although require extra prop materials, can later undergo "re-engraving" operations, thereby increasing the provided ability values.
To light up the star map nodes, the core materials needed are Starlight Crystals and Fate Stones. Starlight Crystals can be obtained by decomposing your weapons, armor, accessories, and trigrams, or by participating in trial dungeons. Additionally, weapons and armor that fail to be enhanced can also be decomposed to obtain Starlight Crystals.
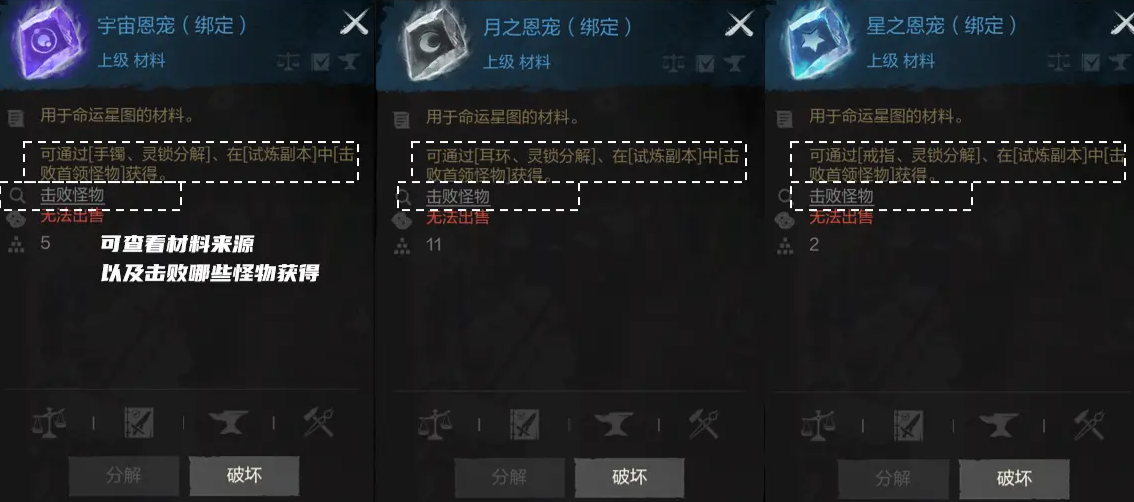
Fate Stones are more difficult to obtain. They can be obtained by decomposing Supreme Weapons at enhancement level 6 or higher, or through outdoor team leaders, world dungeons, and auction events. When lighting up special node star maps, in addition to consuming Starlight Crystals and Fate Stones, extra materials called Grace are required. The methods for obtaining Grace can be seen in the image below.
This concludes the introduction to the Fate Star Map in Blade & Soul 2. Lighting up the star map can enhance everyone's attributes, making them stronger in combat. Newcomers can follow the methods mentioned above to acquire the materials needed for lighting up the nodes, and focus on lighting up all the nodes of a single star map to gain attributes and additional engraving effects.
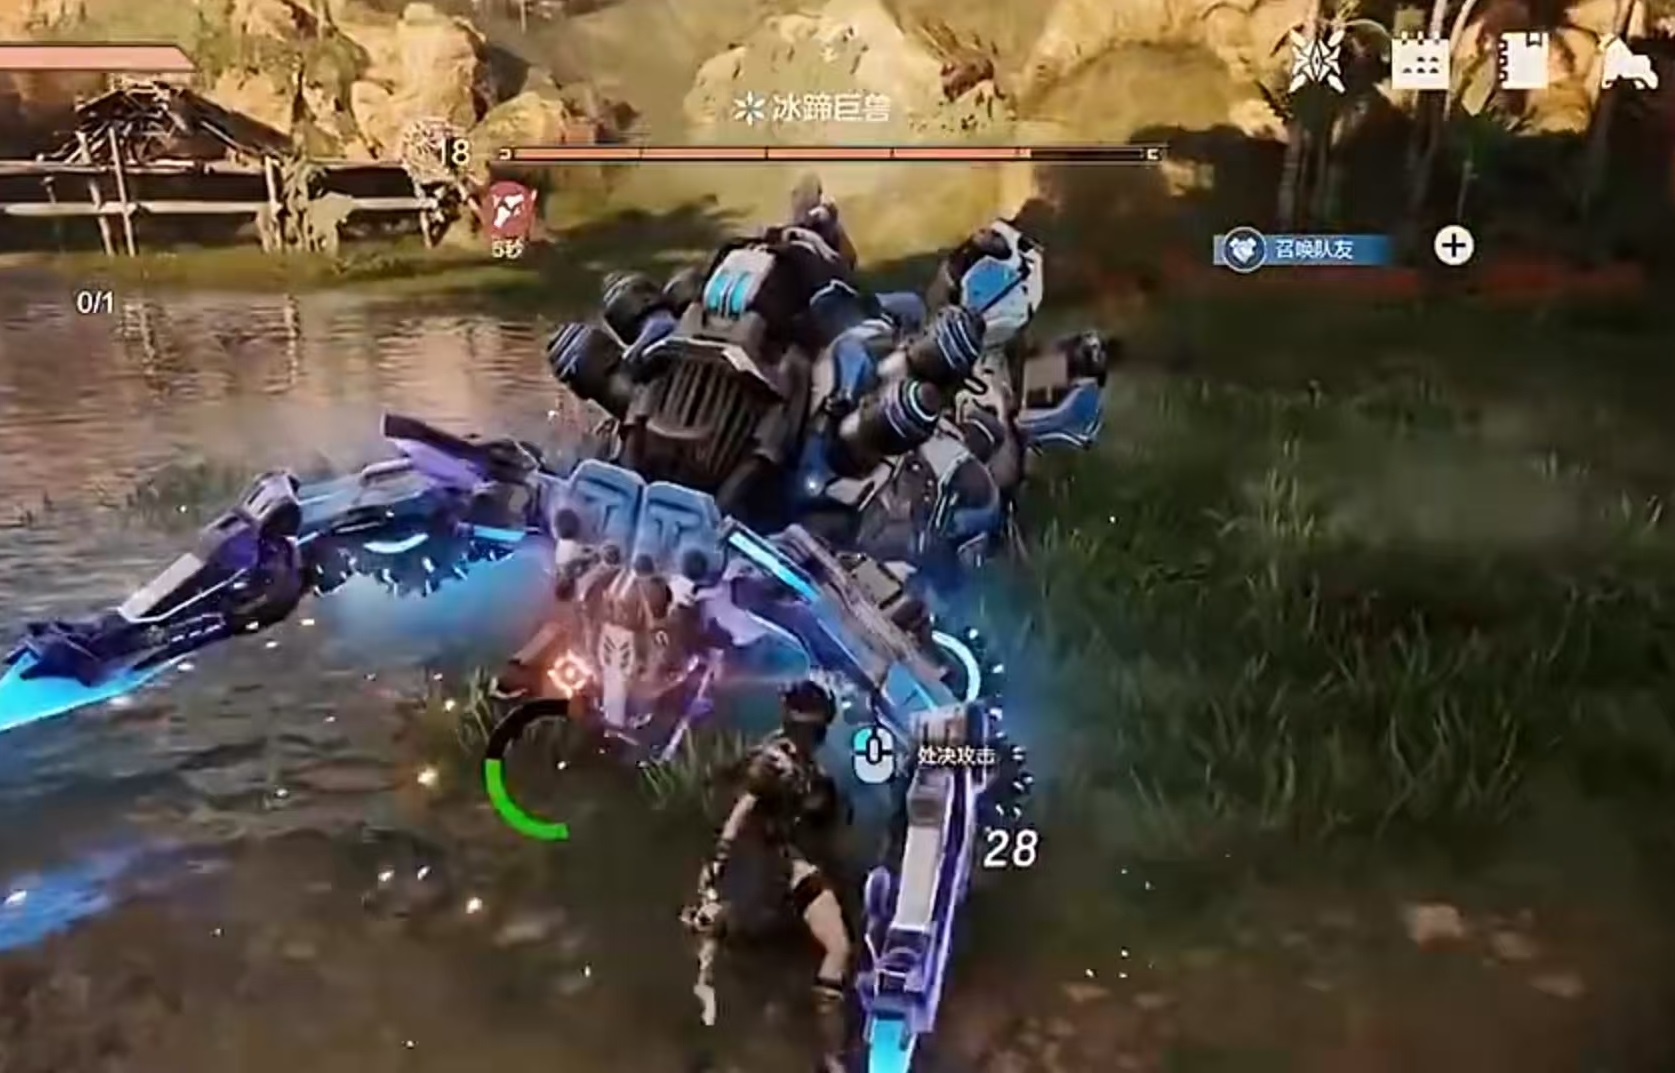
How is the Wild Origin Greatsword? Guide to the Wild Origin Greatsword
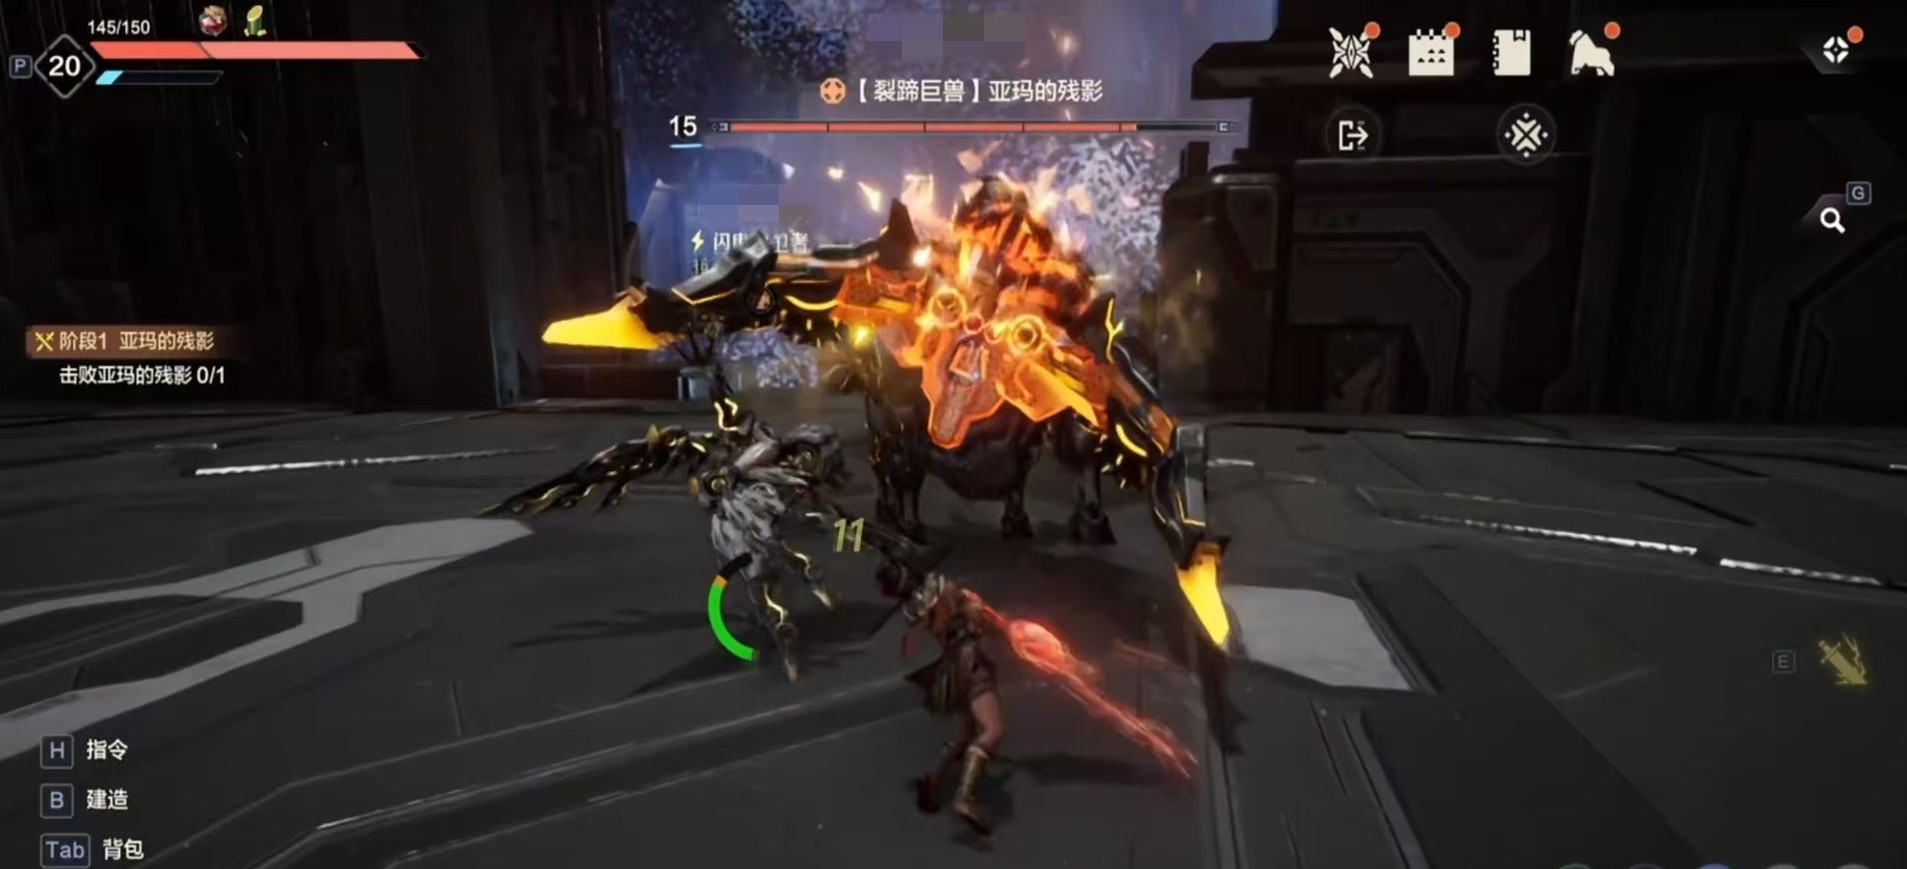
The Greatsword, also known as the Claymore, is a heavy weapon that requires both hands to wield. It stands out in the game not only for its high damage output but also for its decent flexibility. Many beginners are eager to choose this weapon but are also filled with concerns. The following guide on the Greatsword will help you understand the characteristics of this weapon and its usage techniques. Players preparing to fight with the Greatsword, come and take a look.
The physical damage of the Greatsword is quite impressive. The shoulder charge attack performed during charging can also provide a brief period of damage reduction. Frequent use of the shoulder charge can help quickly enter the next charging phase, allowing us to unleash the explosive three-stage charged attack more rapidly.
The combat skill, Dragging Heavy Slash, involves dashing forward with the Greatsword and then performing an uppercut, causing Electro damage. Due to the small displacement from the uppercut after using it, it's very useful for chasing or dodging attacks. In actual boss battles, it is recommended to focus mainly on "grinding" with the Greatsword.
"Grinding" means utilizing Maka to draw the boss's aggro, while maintaining a safe position to the side and performing normal attacks. Since the weapon has high damage, even regular attacks from the side can deal significant damage. After some time of "grinding" and understanding the boss's attack intervals, you can adopt charged attacks as your main offensive method, carrying Electro-infused combat skills.
Once the above-mentioned stat stacks are full, you can perform a three-stage charged attack, dealing a burst of damage. Finally, since the primary strategy with the Greatsword is "grinding," there's no need to be picky about combat food; prioritize foods with high HP, such as Stir-Fried Vegetables. When choosing Maka, select those with high HP and aggro.
The above is the guide for the Greatsword in Wild Origin. The Greatsword deals very high damage and does not require additional support from Maka for extra output. As long as Maka helps to draw the boss's aggro, you can deal explosive damage by performing normal and charged attacks from the side. Players who have learned these techniques, go ahead and try them out in the game with the Greatsword.
How to obtain divine stones in Blade & Soul 2 How to get divine stones in the Blade & Soul 2 mobile game
In Blade & Soul 2, there are many different currencies used to exchange for equipment and resources, all of which are crucial for character growth. Divine Stones are one of the important components, and how to obtain them is something that many players who need this item to improve themselves should know. In the following, I will explain from multiple dimensions how to quickly and in large quantities obtain it. Come and check it out!
1. Daily Check-in and Task Acquisition
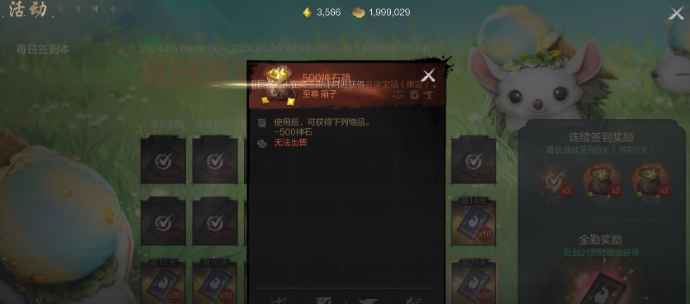
For common players, obtaining divine stones is not easy. The main way is through monthly check-ins. Every time you log in, a check-in page will pop up. Clicking on it will get you the reward of the day, and consecutive check-ins also have additional rewards, including bound divine stone bags. After opening, you can get a fixed amount of bound divine stones. Although they cannot be used to purchase appearance items in the mall, they can buy most necessities in the auction house and the bound mall. It's something everyone must get. Multiple consecutive check-ins can also earn multiple divine stone rewards, so remember to log in every day!
In addition to check-ins, some monster-killing tasks are updated daily, which can also produce divine stones, and they are very easy to complete without spending too much time. Although the amount rewarded at once is not much, it adds up over time, and with more effort, you can accumulate a considerable amount.
2. Direct Recharge Acquisition
If you want to use divine stones to buy some rare costumes, you will need unbound divine stones, which can only be obtained through direct recharges. The game has a reward system for recharges; as long as you recharge the corresponding amount of divine stones for the first time, you can receive extra gifts, and each tier does not conflict. The more you recharge, the more you get. So if you have the means, consider recharging a larger amount, and the rewards given to you will be even greater.
3. Obtained by Clearing Dungeons
Basically, in all dungeons in Blade & Soul 2, as long as you can successfully clear them, you will be rewarded with a certain number of bound divine stones. If it's your first clearance, there will be an additional fixed amount of bound stones as a gift. Not only regular dungeons, but world bosses and other server-wide events also offer such rewards. The higher your rank in server-wide activities, the more divine stones and other resources you will receive. Friends who like to run dungeons can team up with more friends and frequently go to clear dungeons and farm divine stones.
The methods for obtaining divine stones in Blade & Soul 2 have been introduced above. Since acquiring this item is not easy, try to use other currencies as alternatives whenever possible during normal usage. Unless it's enhancement materials that can only be bought with divine stones, it's best not to use them for common enhancement materials. Save the good steel for where it's needed most!
What are the skills in Sword侠情缘零剑阁? Introduction to the gameplay of Sword侠情缘零剑阁 It seems there was a part of the text that wasn't fully translated. Let me correct that for you: What are the skills in Swordsman's Romance Zero: Sword Pavilion? Introduction to the gameplay of Swordsman's Romance Zero: Sword Pavilion
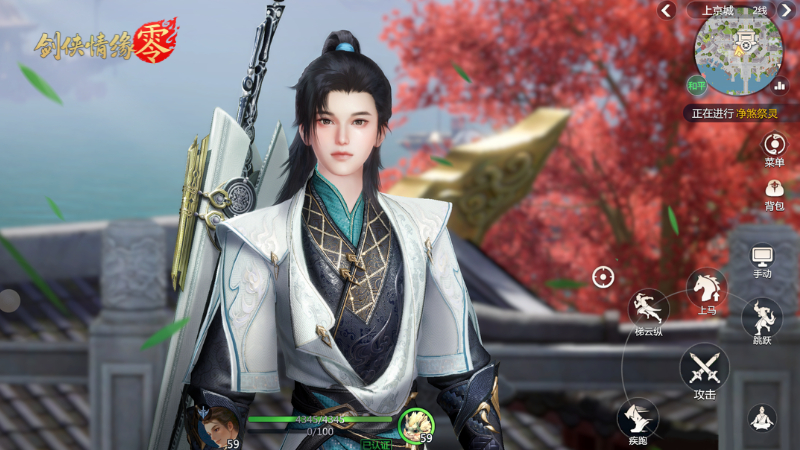
Swordsman Zero is a Chinese fantasy martial arts game built using cutting-edge 3D engines, where players can experience multiple different sects, each with unique skills and combat styles, immersing themselves in a breathtaking world of martial arts. Today, let's talk about the skills of the Sword Pavilion in Swordsman Zero. As a martial arts game, it naturally includes sects that use long swords, and the Sword Pavilion is one of them.
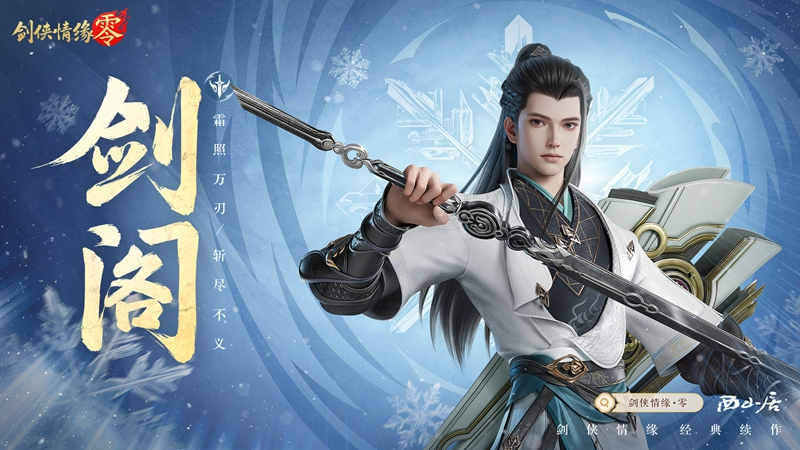
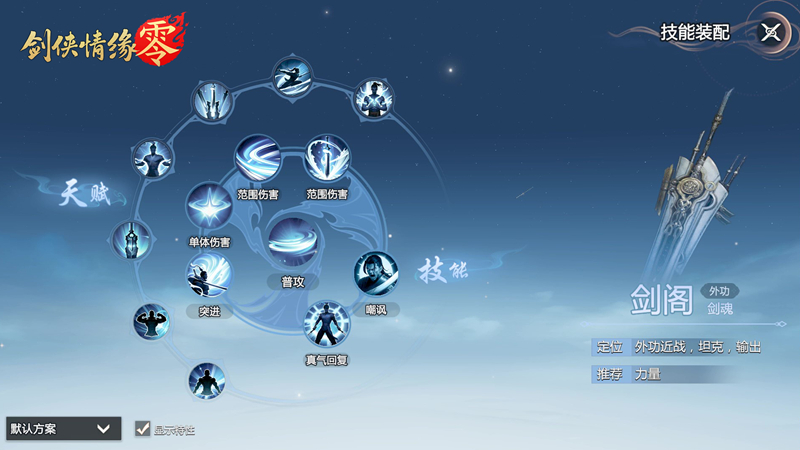
The Sword Pavilion is a deeply rooted major sect. According to the game's background story, 120 years ago, it was founded by the genius swordsman Xu Chunjun who attained enlightenment on Mount Changbai. Its disciples are all experts in swordsmanship. In the game, the Sword Pavilion is positioned as a melee external force damage dealer. Their characteristic is having three sets of swords in their sword box as weapons. Each time they deal external attack damage, it increases their true qi value; the higher the true qi value, the stronger the combat power. Another advantage of the Sword Pavilion is that they don't need to hold the swords in hand, as the sword spirits will emerge from the body to fight, making their appearance very cool.
Its main skills lie in the three sets of divine swords in its sword box, which are the heavy sword, dual swords, and fast sword. The first is the Heavy Sword Juque, which allows instant movement to the target position, controlling the enemy for output, and can also transform the sword into a qi shield, greatly increasing parrying ability. It can be used for both offense and defense. The second is the Dual Swords Ganjiang Moye, which deals high damage to a single target, with a guaranteed hit effect, maximizing external force damage. The third is the Fast Sword Chengying, whose moves are as swift as lightning, summoning sword shadows to assist in battle, capable of dealing extremely strong area damage instantly.
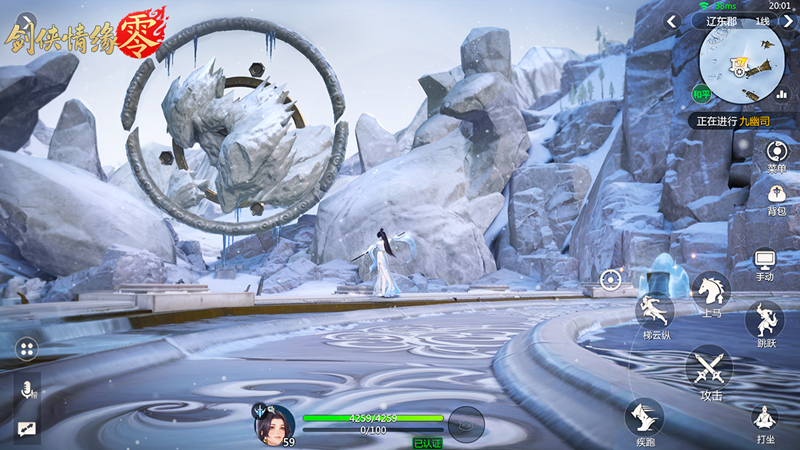
The attire of the Sword Pavilion disciples is also distinctive, primarily featuring white, silver, and sky blue, integrating the sturdiness of rocks, the uprightness of pine trees, and the purity of frost and snow. The front and clothes are embroidered with overlapping sword patterns, resembling traces left by swirling sword energy. This appearance is as sharp as their techniques. The wrist guards and knee pads are made of black iron, capable of resisting external forces, and these metals can transform into sharp, cold glints.
The above is the detailed introduction of this sect by the editor. After reading the content, everyone should now have a clear understanding of the skills of the Sword Pavilion in Swordsman Zero. This sect not only possesses formidable strength but is also beloved for its appearance, perfectly fitting the characteristics of martial arts, hence attracting a large number of players.
Recommend


Strategy
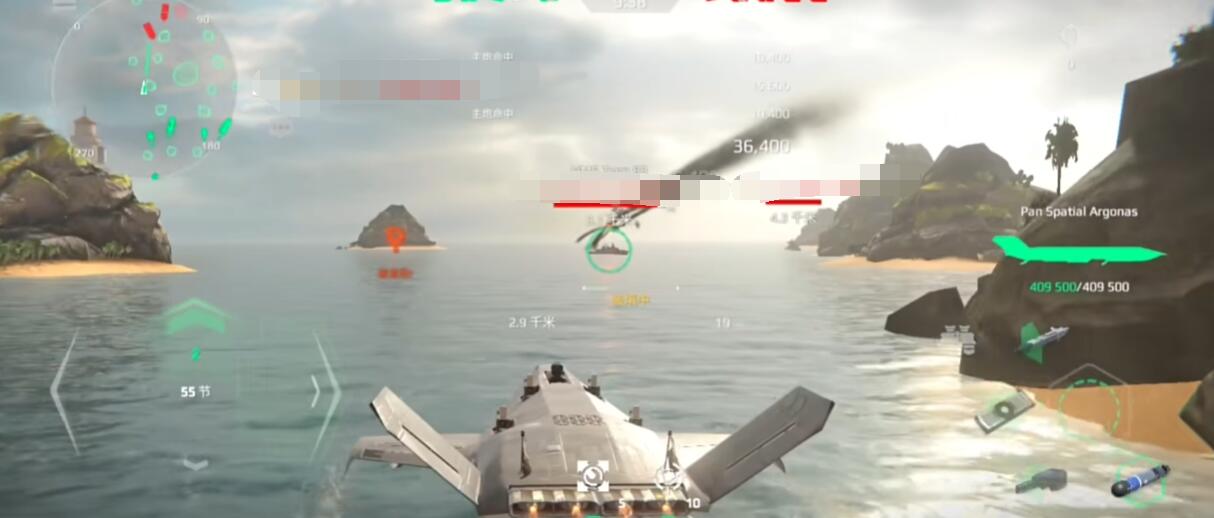
How is the Modern Warship Argonas? An Introduction to the Strength of Modern Warship Argonas
What are the Dawn Rush redemption codes? A complete list of Dawn Rush redemption codes.
Is Modern Warships fun to play? Introduction to the features of the Modern Warships game
How to Play Stellar Resonance Divine Shield Knight: A Guide to the Stellar Resonance Divine Shield Knight Strategy
Star Trace Resonance Divine Bow Shooter Gameplay Guide Star Trace Resonance Divine Shooter Skills Introduction
When is Operation Evacuation Launching? Overview of Operation Evacuation Release Date