
Risk of War - Wartime Glory
Boost
Game Introduction


Recommend


Strategy
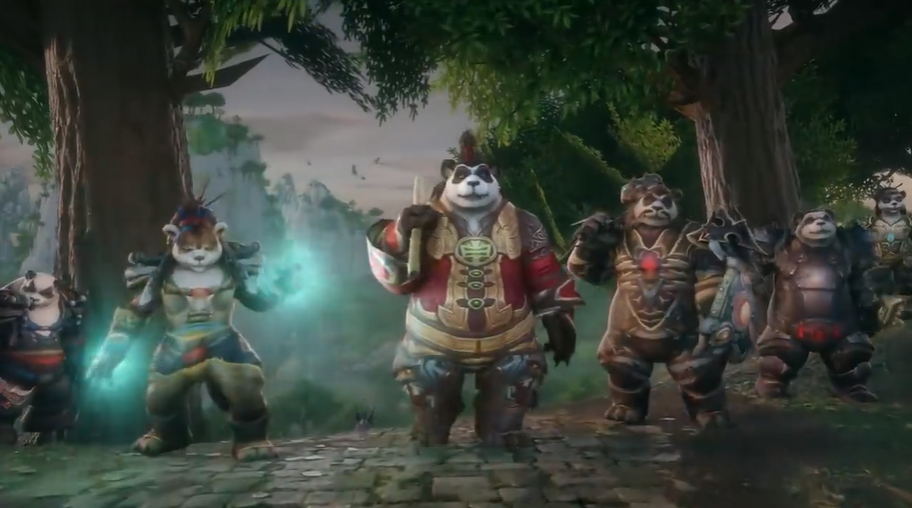
World of Warcraft Mists of Pandaria release date was September 25, 2012. Here is the overview of the release date for World of Warcraft Classic Mists of Pandaria.
Blizzard plans to open a brand new 20th Anniversary Edition of the classic server on November 22, 2025, which will include classic content starting from level 60 and gradually opening up to The Burning Crusade. So, when is the release date for Mists of Pandaria in the classic server? Many veteran World of Warcraft players won't forget this expansion, as it simplified talents, designed the feedback for the output mechanism very well, and was the second highest in terms of online player numbers among all versions. Below...
2025-04-11 17:55:13
How to Convert Blueprints in the Seven Day World How to Convert Blueprints in the Seven Day World Mobile Game Techniques
04-11
How to Take the Mini Quiz Today in Infinite Dreams: A Guide for the Mini Quiz in Infinite Dreams Today
04-11
How to Pass Chapter 6 of the Polar Adventure in the Escape Room Survival Series 1: Guide for Chapter 6 of Escape Room Survival Series 1
04-11
Comprehensive Guide to Future Firearms in Contra: A Ranking Overview
04-11
What is the plot of Infinite Dreams? Introduction to the plot of Infinite Dreams.
04-11
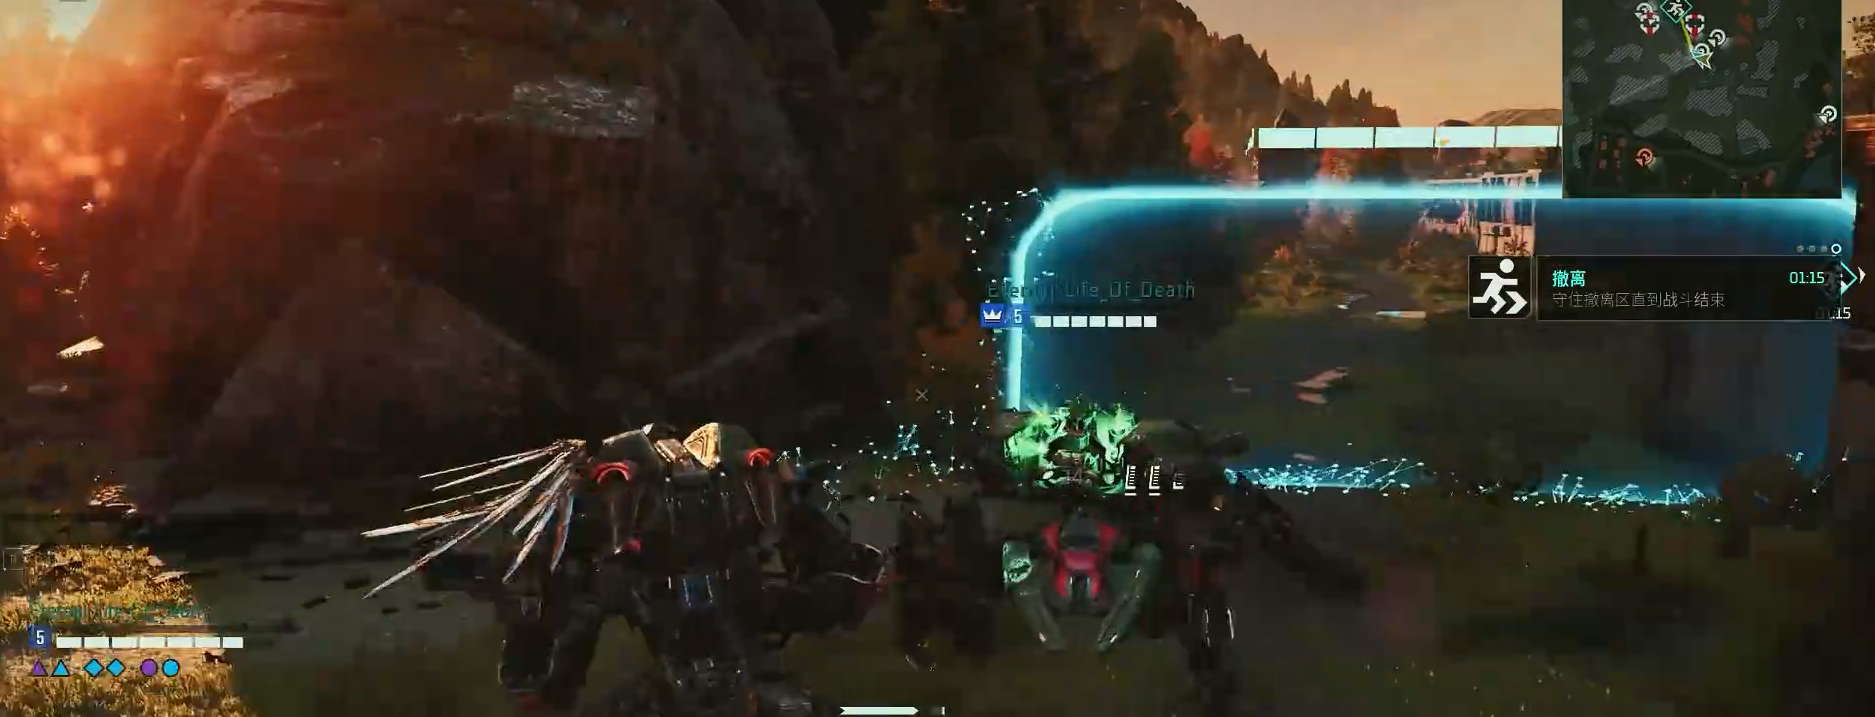
Steel Hunters Upgrade Guide: Recommended Upgrade Points for SteelHunters
This is a mecha-themed battle royale game that has officially launched its early access version, available exclusively on the Steam platform. It focuses on a PVPVE mode where humans rely on mechanical hunters (Hunters) to collect the crucial alien resource "Starfall" for survival. This guide provides tips for upgrading Steel Hunters, helping you better secure victory in the resource competition among multiple factions of mechanical giants.
2025-04-11 16:44:40
What are the Infinite Dream combat techniques? Sharing of Infinite Dream combat techniques
04-11
What new content is in Zenless Zone Zero Season 2? A preview introduction to Zenless Zone Zero 2.0
04-11
What are the Infinite Dream redemption codes? Sharing the latest Infinite Dream redemption codes
04-11
How to Pass Chapter 7 of the Polar Adventure in the Escape Room Survival Series 1 Guide for Chapter 7 of the Escape Room Survival Series 1
04-11
A Look at the One-Year Anniversary Activities of Eternal Bloom Introduction to the One-Year Anniversary Celebration of Eternal Bloom
04-11