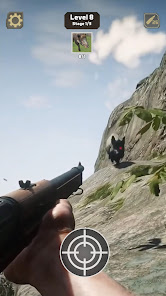
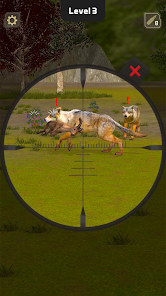
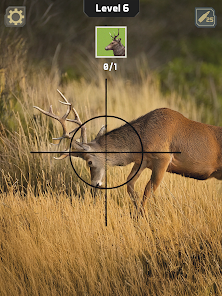
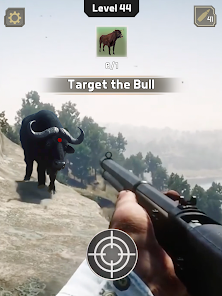
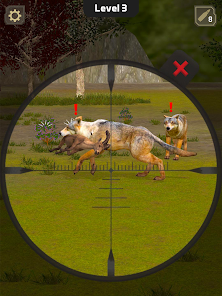
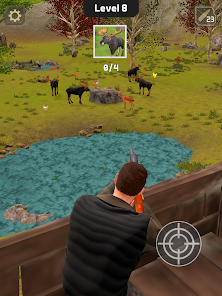
Animal Hunter: Wild Shooting
Boost
Game Introduction


Recommend


Strategy
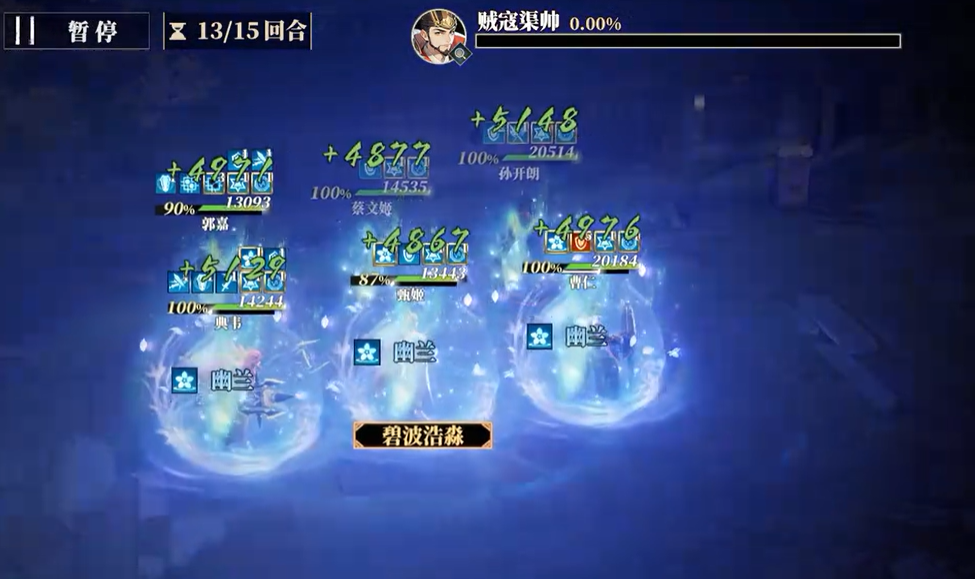
How to Play the Vigilante Hero in Romance of the Three Kingdoms Fantasy Continent 2: Ballad of the Warlord - Strategy Guide for Playing the Vigilante Hero in Three Fantasies 2: Ballad of the Warlord
In the game Three Kingdoms Fantasy Continent 2: Ballad of the Warlord, there are many high-difficulty dungeons. As a level 16 dungeon, Grassroots Hero represents a significant increase in difficulty compared to previous levels, making it unpassable for many players. Naturally, how to clear the Grassroots Hero in Three Kingdoms Fantasy Continent 2: Ballad of the Warlord has become a focal point. Here, I will provide a general strategy and approach for clearing the Grassroots Hero, to help improve players' chances of success! This level can be cleared using a Wei shield team...
2025-04-18 18:08:32
What is the action order for "The Ballad of the Warhawk" in Fantasy Three Kingdoms 2? A strategy guide for the action order in The Ballad of the Warhawk in Fantasy Three Kingdoms 2
04-18
How is Viola in Black Beacon? Analysis of Viola's Strength in Black Beacon
04-18
When will the mobile game "Douluo Continent Soul Hunting World" be released? Introduction to the public testing time of "Douluo Continent Soul Hunting World" mobile game.
04-18
When will Dragon Stone War be released? Overview of Dragon Stone War public testing time
04-18
How to Play Modern Warships Horizon Detailed Explanation of Modern Warships Horizon Configuration
04-18
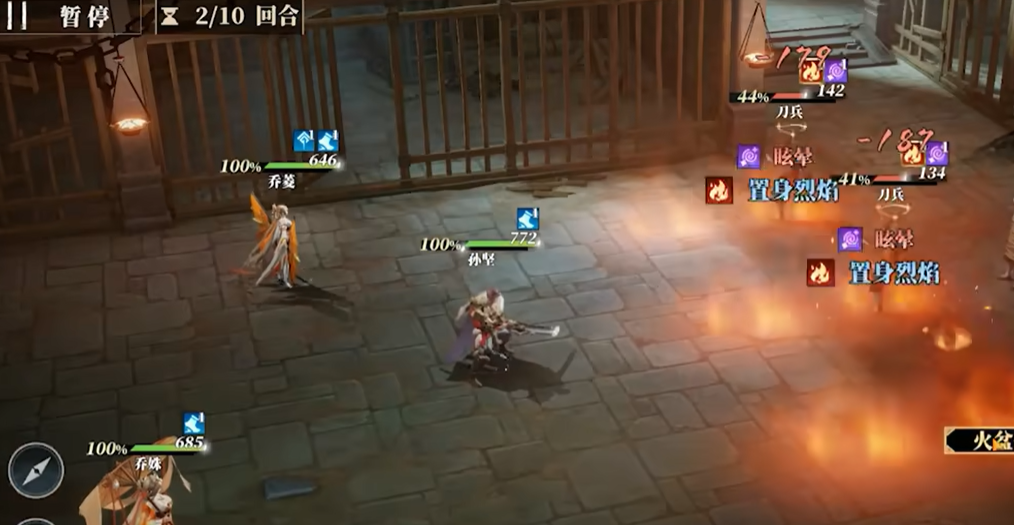
How to Trigger the Mechanism in Sangokushi Fantasy Land 2: The Ballad of the Warlord - A Guide to Triggering the Mechanism in Three Fantasies 2: The Ballad of the Warlord
There are many types of enemies in the game Sangokushi Fantasy Land 2: The Ballad of the Warlord, and some maps contain mechanisms. Once triggered, these mechanisms can cause fatal damage, instantly eliminating a wave of monsters. However, new players may not be very clear on how to trigger the mechanisms in Sangokushi Fantasy Land 2: The Ballad of the Warlord. Here, I will provide the methods for triggering these mechanisms to help players improve their combat awareness. The conditions for triggering the mechanisms in the game are quite simple; generally, the mechanisms are located within the enemy's formation,...
2025-04-18 18:08:23
How to Clear Chapter 9-8 in "Song of the Warhawk" in Fantasia Three Kingdoms 2: Strategy and Guide Sharing
04-18
Is the Carabique mobile game fun? Introduction to Carabique mobile game gameplay
04-18
How long after the closed beta test will the open beta test start? Analysis of the open beta test timing for Yi Huan
04-18
How is the modern warship Blade Cruiser? Analysis of the Blade Cruiser's strength
04-18
How is the modern warship Kirov? A detailed explanation of the Kirov's strength in modern warships.
04-18