Pool Game - Playing Billiards
Game Introduction


Hot Strategy
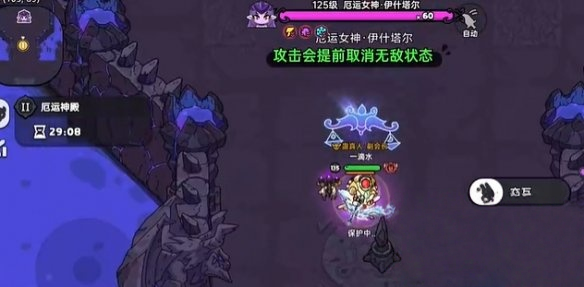
Guide to Defeating the Goddess Boss in Brave Land: How to Fight the Goddess Boss in the Brave Land Mobile Game
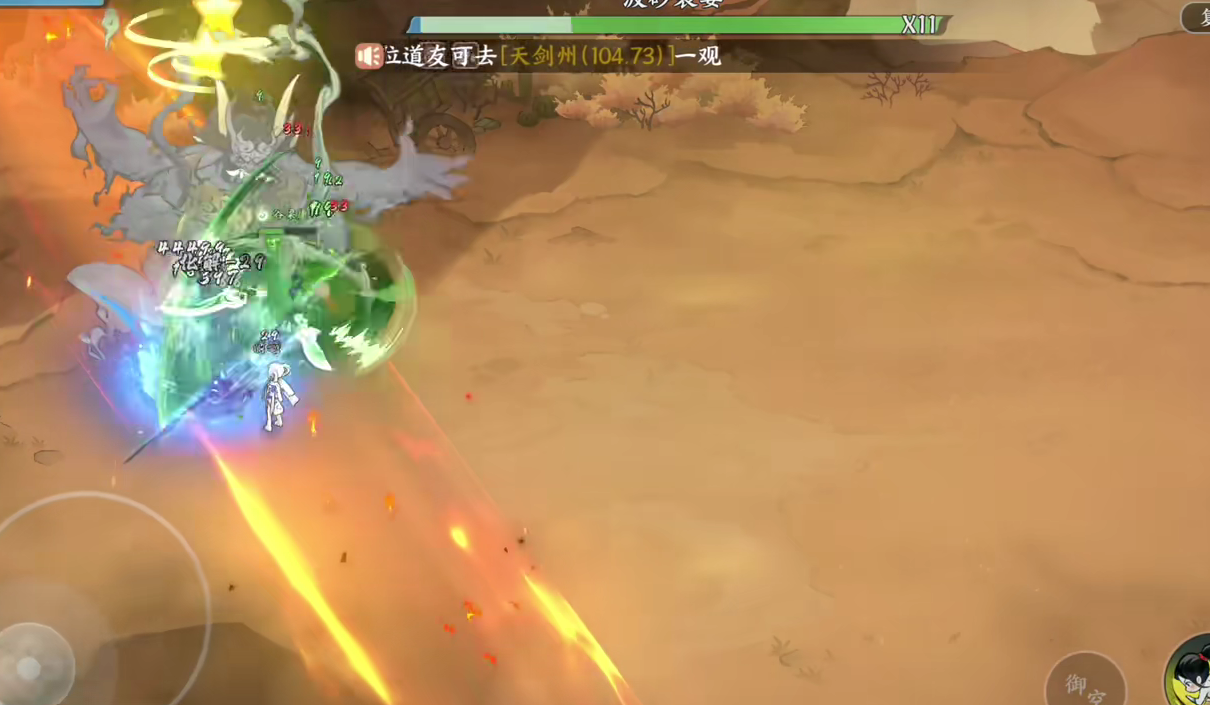
This issue brings a guide on how to defeat the Goddess of Misfortune in the second phase. In the world of Heroic Land, as a key boss in high-level challenge dungeons, the Goddess of Misfortune, with her extremely high attack coverage and phased mechanisms, creates a highly oppressive combat situation. She not only tests the precision of player operations but also serves as a comprehensive trial of rhythm control and strategy switching.
The battle against the Goddess of Misfortune is divided into three main phases, each with different design logics for attack patterns, mechanism triggers, and error tolerance. In the first phase, her skills mainly consist of wide-range sweeps and reflective damage mechanisms. If players recklessly deal damage, they can easily be reflected to near death or even instantly killed. Therefore, choosing the right weapon becomes crucial. The Wind Bow, as a high-mobility long-range weapon, has very strong survivability in this phase. Its short attack interval and quick charging feature allow players to use brief pauses for precise attacks while quickly creating distance to avoid being hit by close-range reflective damage.
As the battle progresses to about half of her health, the Goddess of Misfortune will trigger her first reflective damage attribute switch. At this point, players need to carefully observe the energy fluctuations and arena changes after she releases her skills, to judge if it's time to enter the next phase. If the player's output capability is limited, it is recommended to divide the output rhythm into four stages: 55%, 50%, 45%, and 40%, ensuring that each push is accompanied by the reasonable use of skill cooldowns and reflective damage windows, avoiding a single burst that could cause a misalignment of mechanics or overlapping skills.
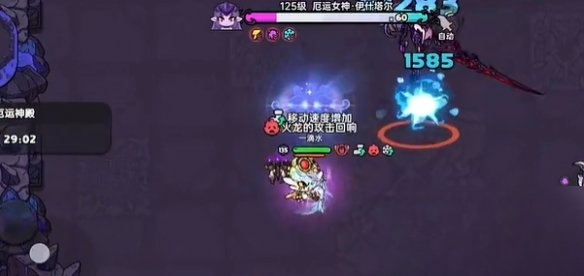
In the second phase, the goddess's attack patterns become more directional and tracking. The high flexibility and sustained poison damage of the dart weapon show great advantages in this phase. Players should focus more on positioning and skill prediction, using the edges of the map or obstacles to create a movement rhythm, making it difficult for the goddess's area-of-effect skills to land effectively. The sustained damage mechanism of the darts continues to weaken her health during the gaps between her skill releases, setting up conditions for the next phase's burst.
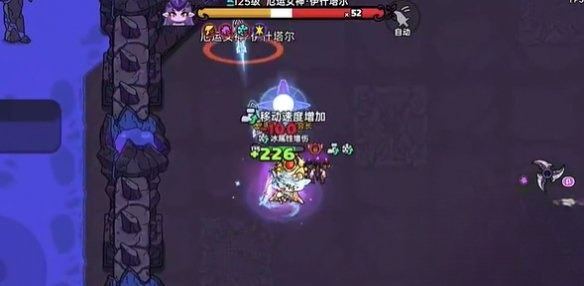
When the battle reaches the final phase, the Goddess of Misfortune's attack tempo significantly speeds up, making dual swords the most suitable weapons. The key in this phase is the accurate judgment of the direction of the blade's descent. If the blade falls from the left, move quickly to the right, and vice versa; if a horizontally placed blade shadow appears, use the dash skill without hesitation to evade. This phase emphasizes the coordination of operational intuition and muscle memory, with minimal room for error, as every mistake could lead to a failed battle.
How to Play the Burst Damage Style in Jingjie Dao Ming, and an Introduction to Team Composition for Burst Damage Style
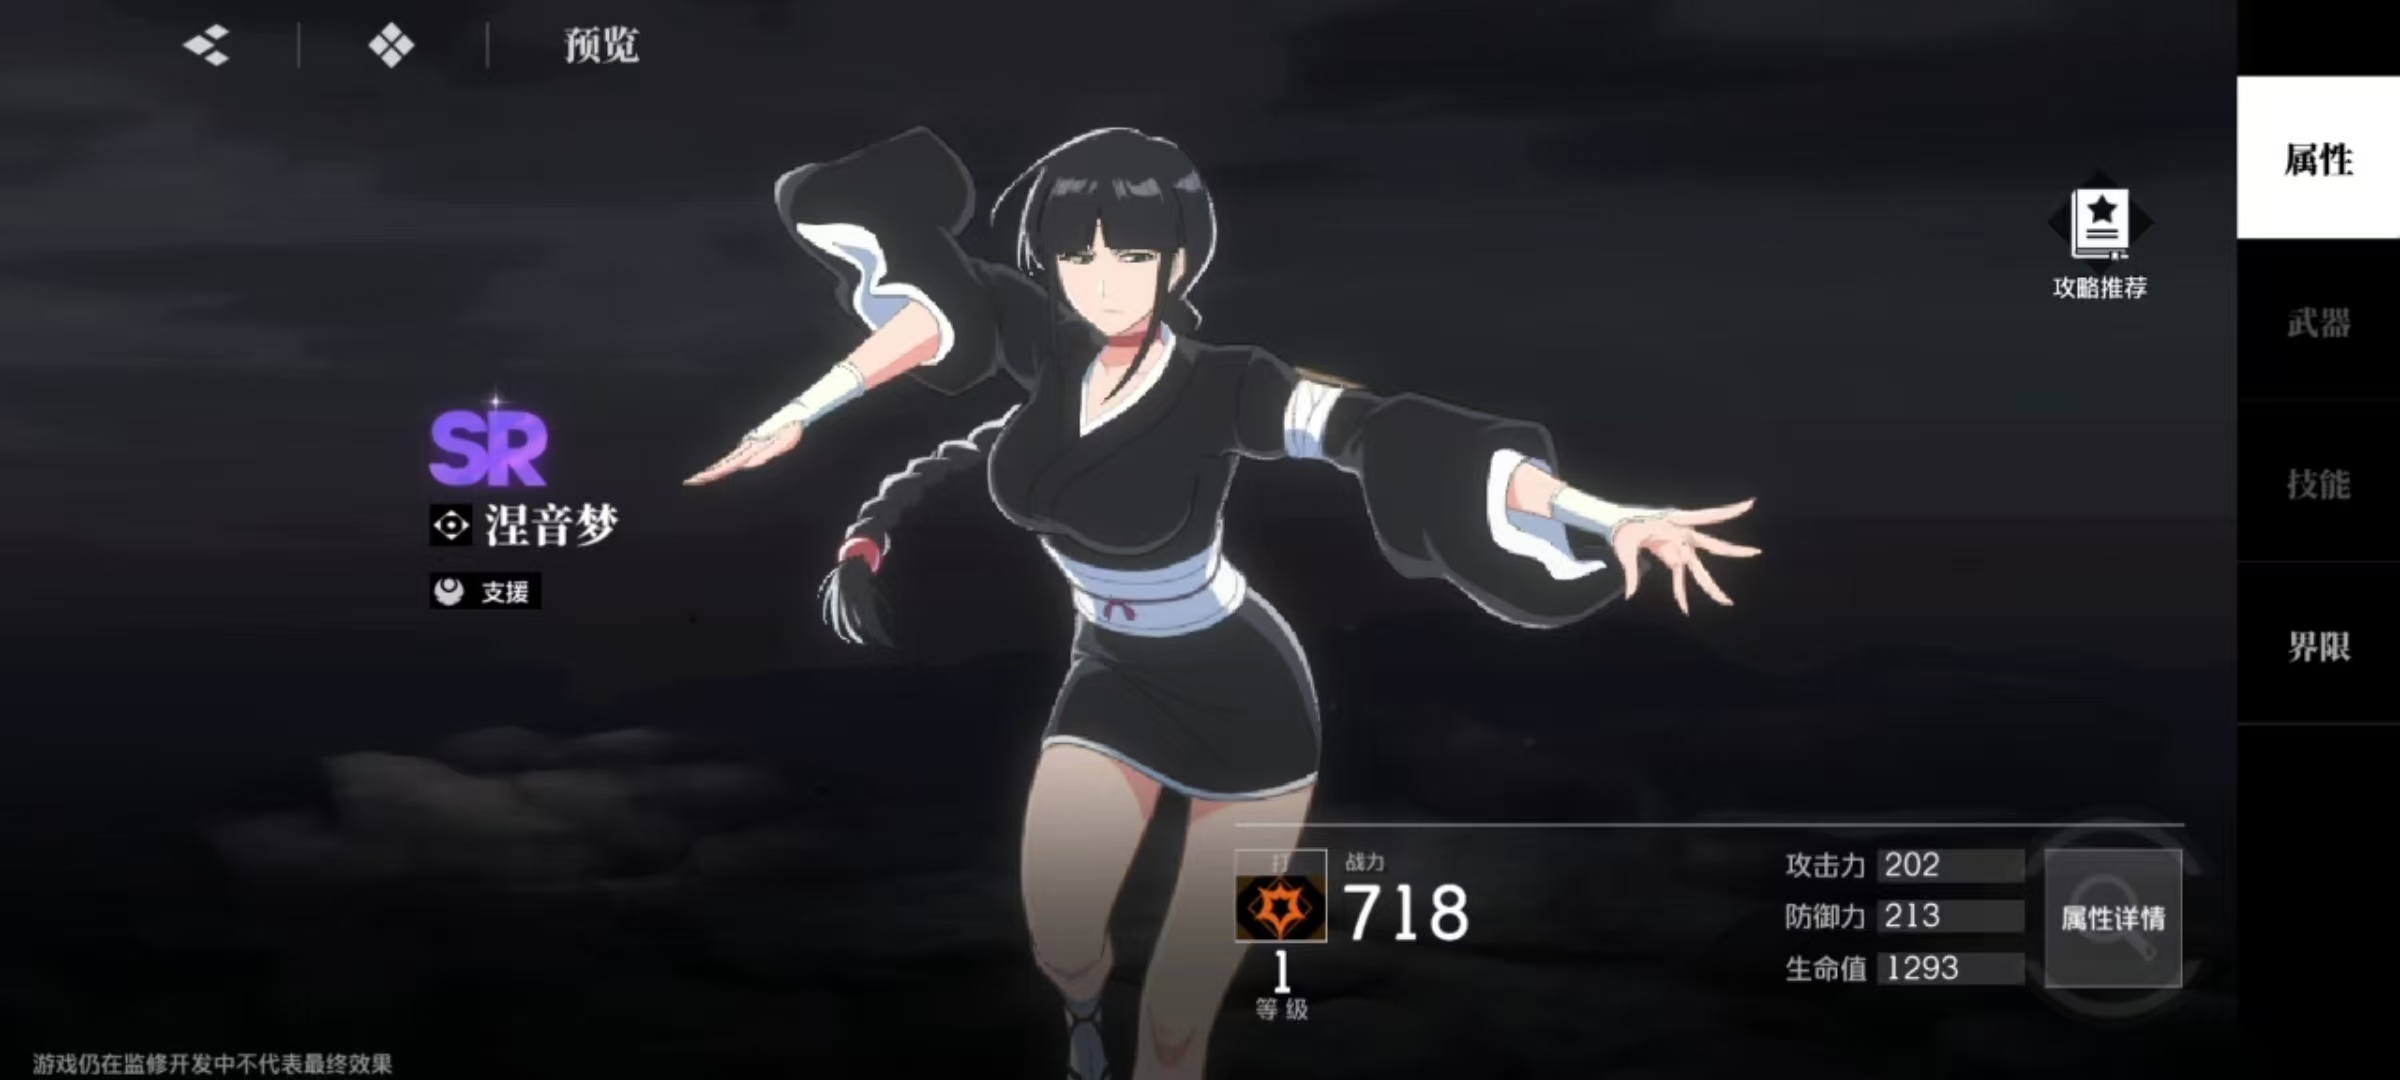
In the game Realm of Sword Resonance, great emphasis is placed on in-battle operations and team composition, as different characters have different types. The Striker type is one of them, and a team composed of these characters can be very powerful. Today, let's talk about how to play with the Striker Burst build in Realm of Sword Resonance. This setup uses Striker type characters as its core, capable of delivering extremely aggressive damage, making it a very suitable choice for players.
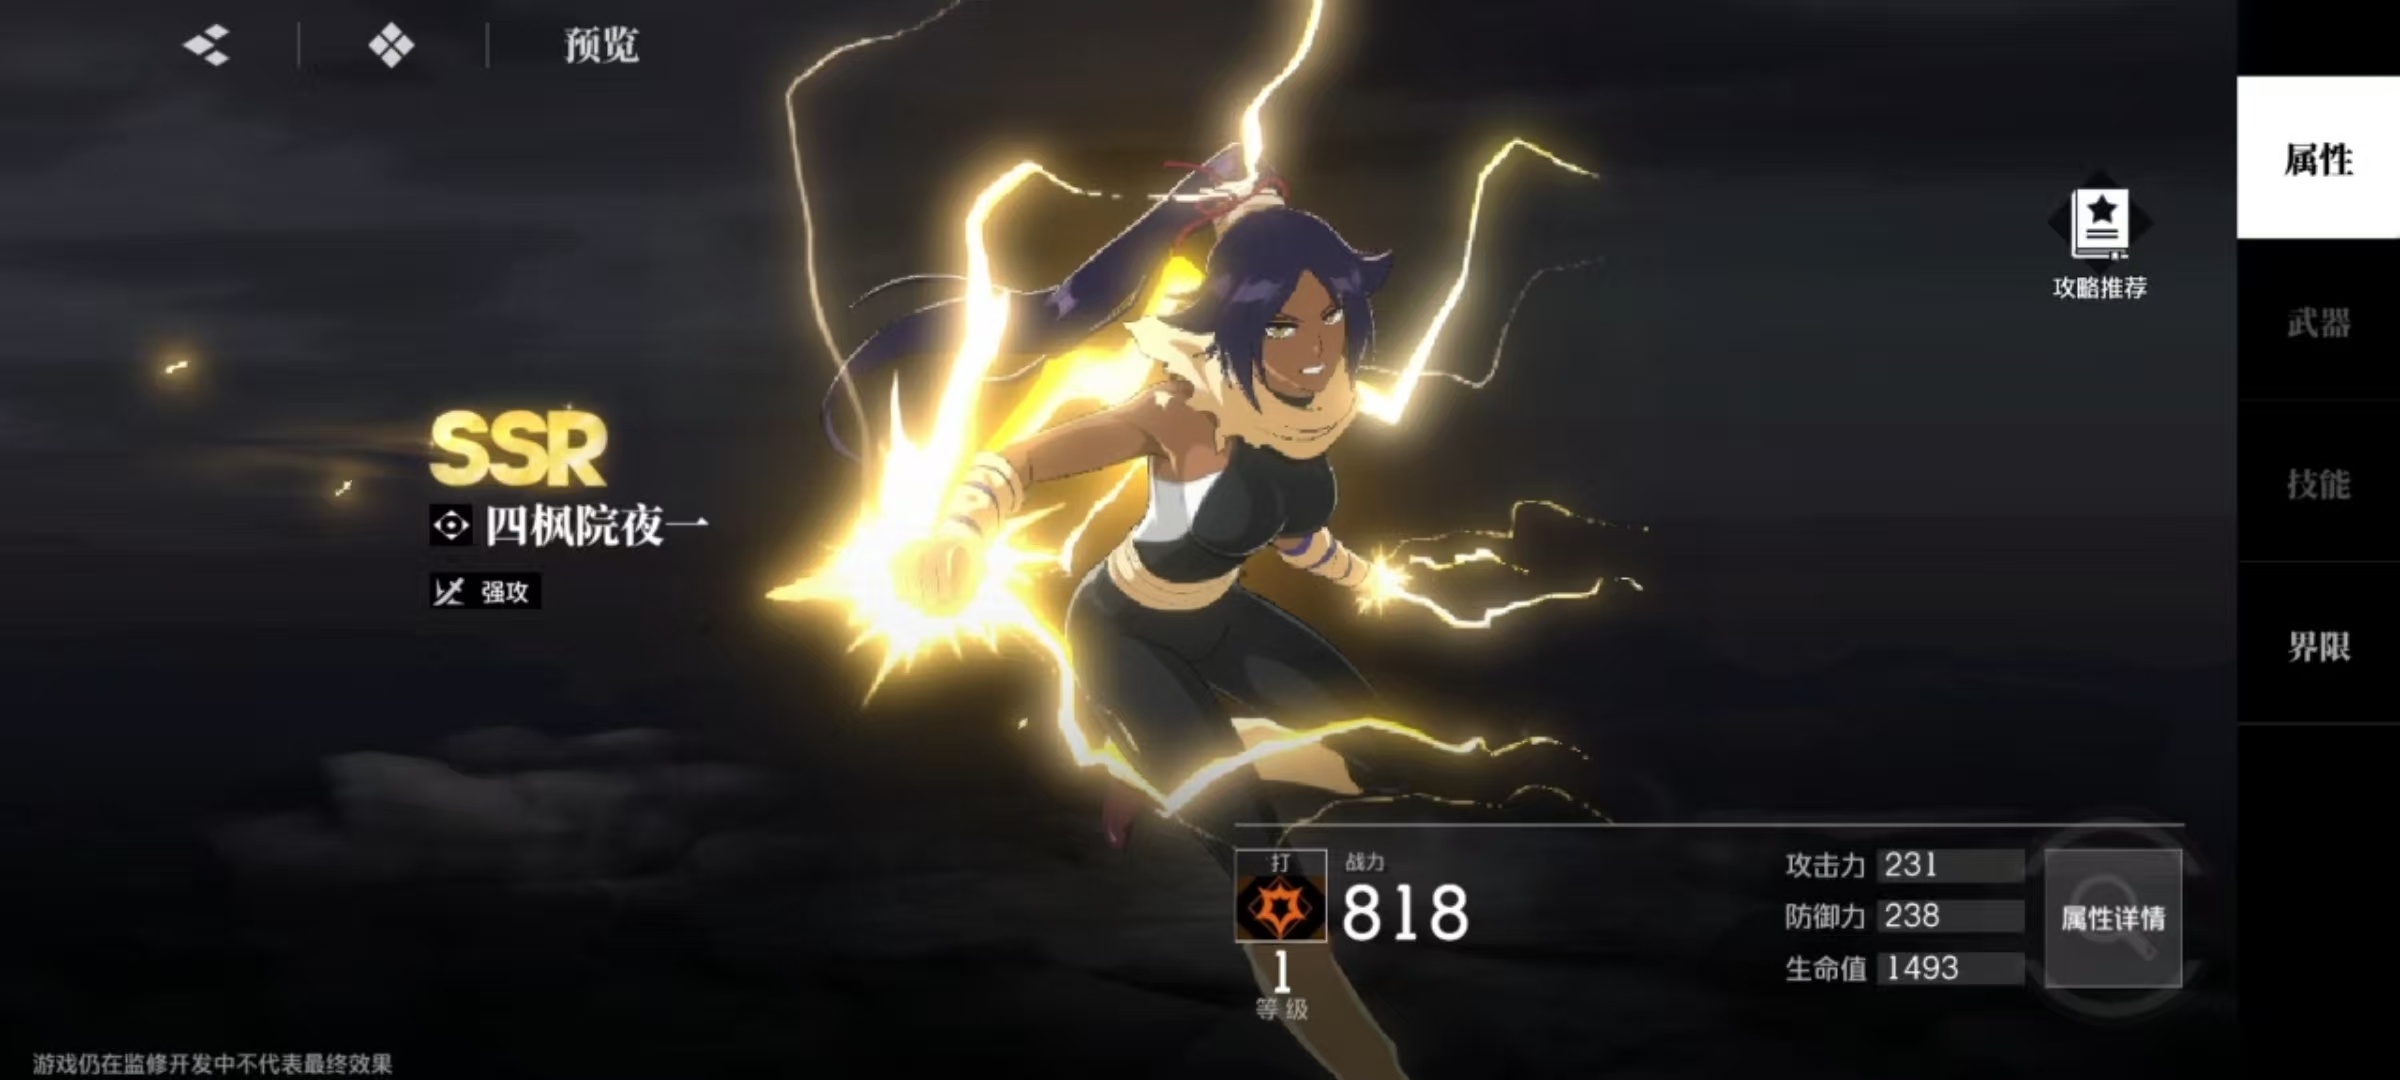
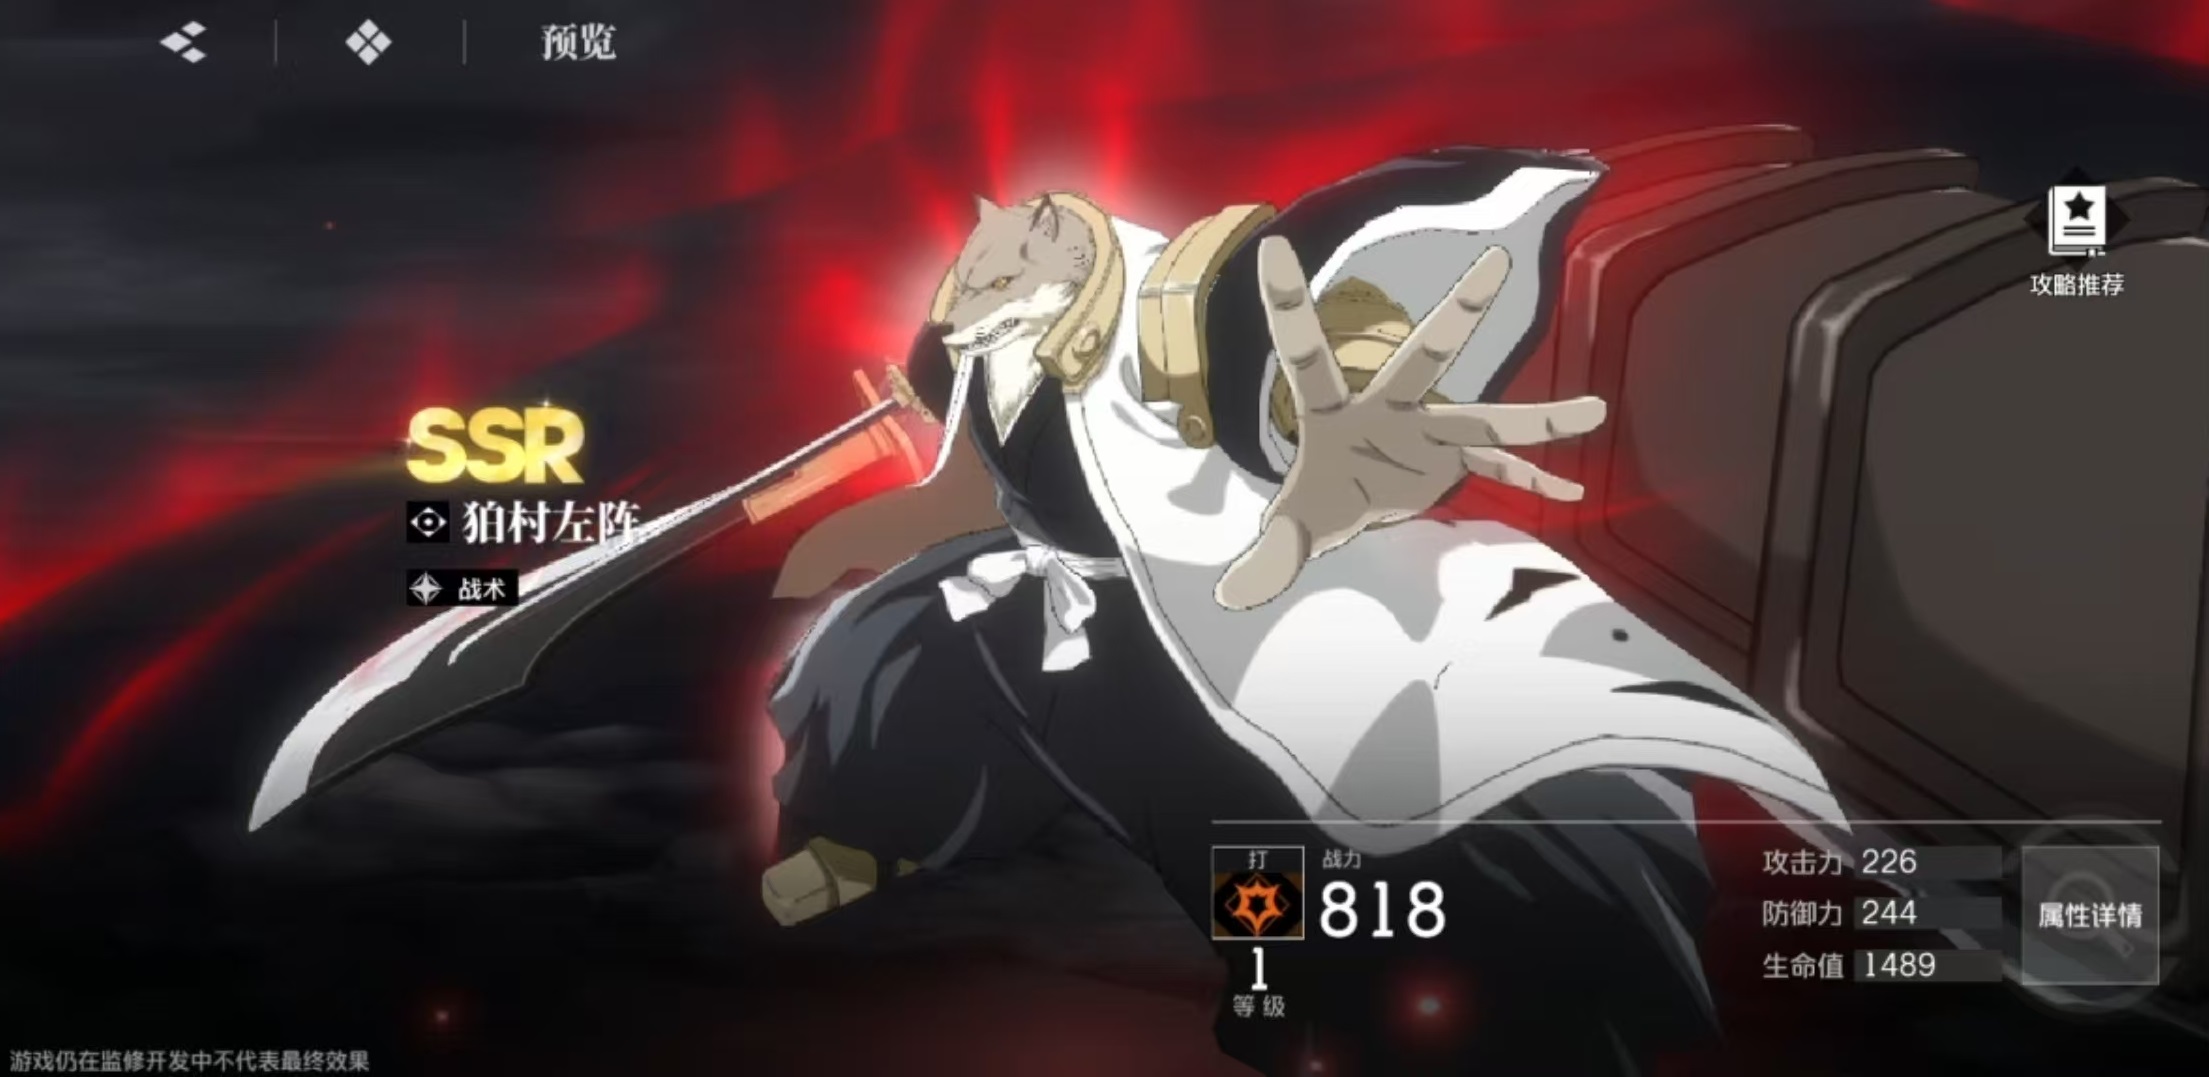
In this lineup, I chose Yoruichi as the main DPS, Koga as the secondary DPS, and Inume as the support. Both the main and secondary DPS are SSR quality, ensuring their output strength. Let's first look at Yoruichi's main features. Yoruichi's basic attack can deal 5 consecutive hits to enemies and accumulate her own spirit pressure. Her ultimate skill allows her to enter the Instantaneous Movement state, launching a powerful strike at the target, which lasts for 8 seconds. During this time, Yoruichi's attack power increases, the efficiency of gaining spirit pressure improves, and she can immediately release a branch attack that does not consume spirit pressure.
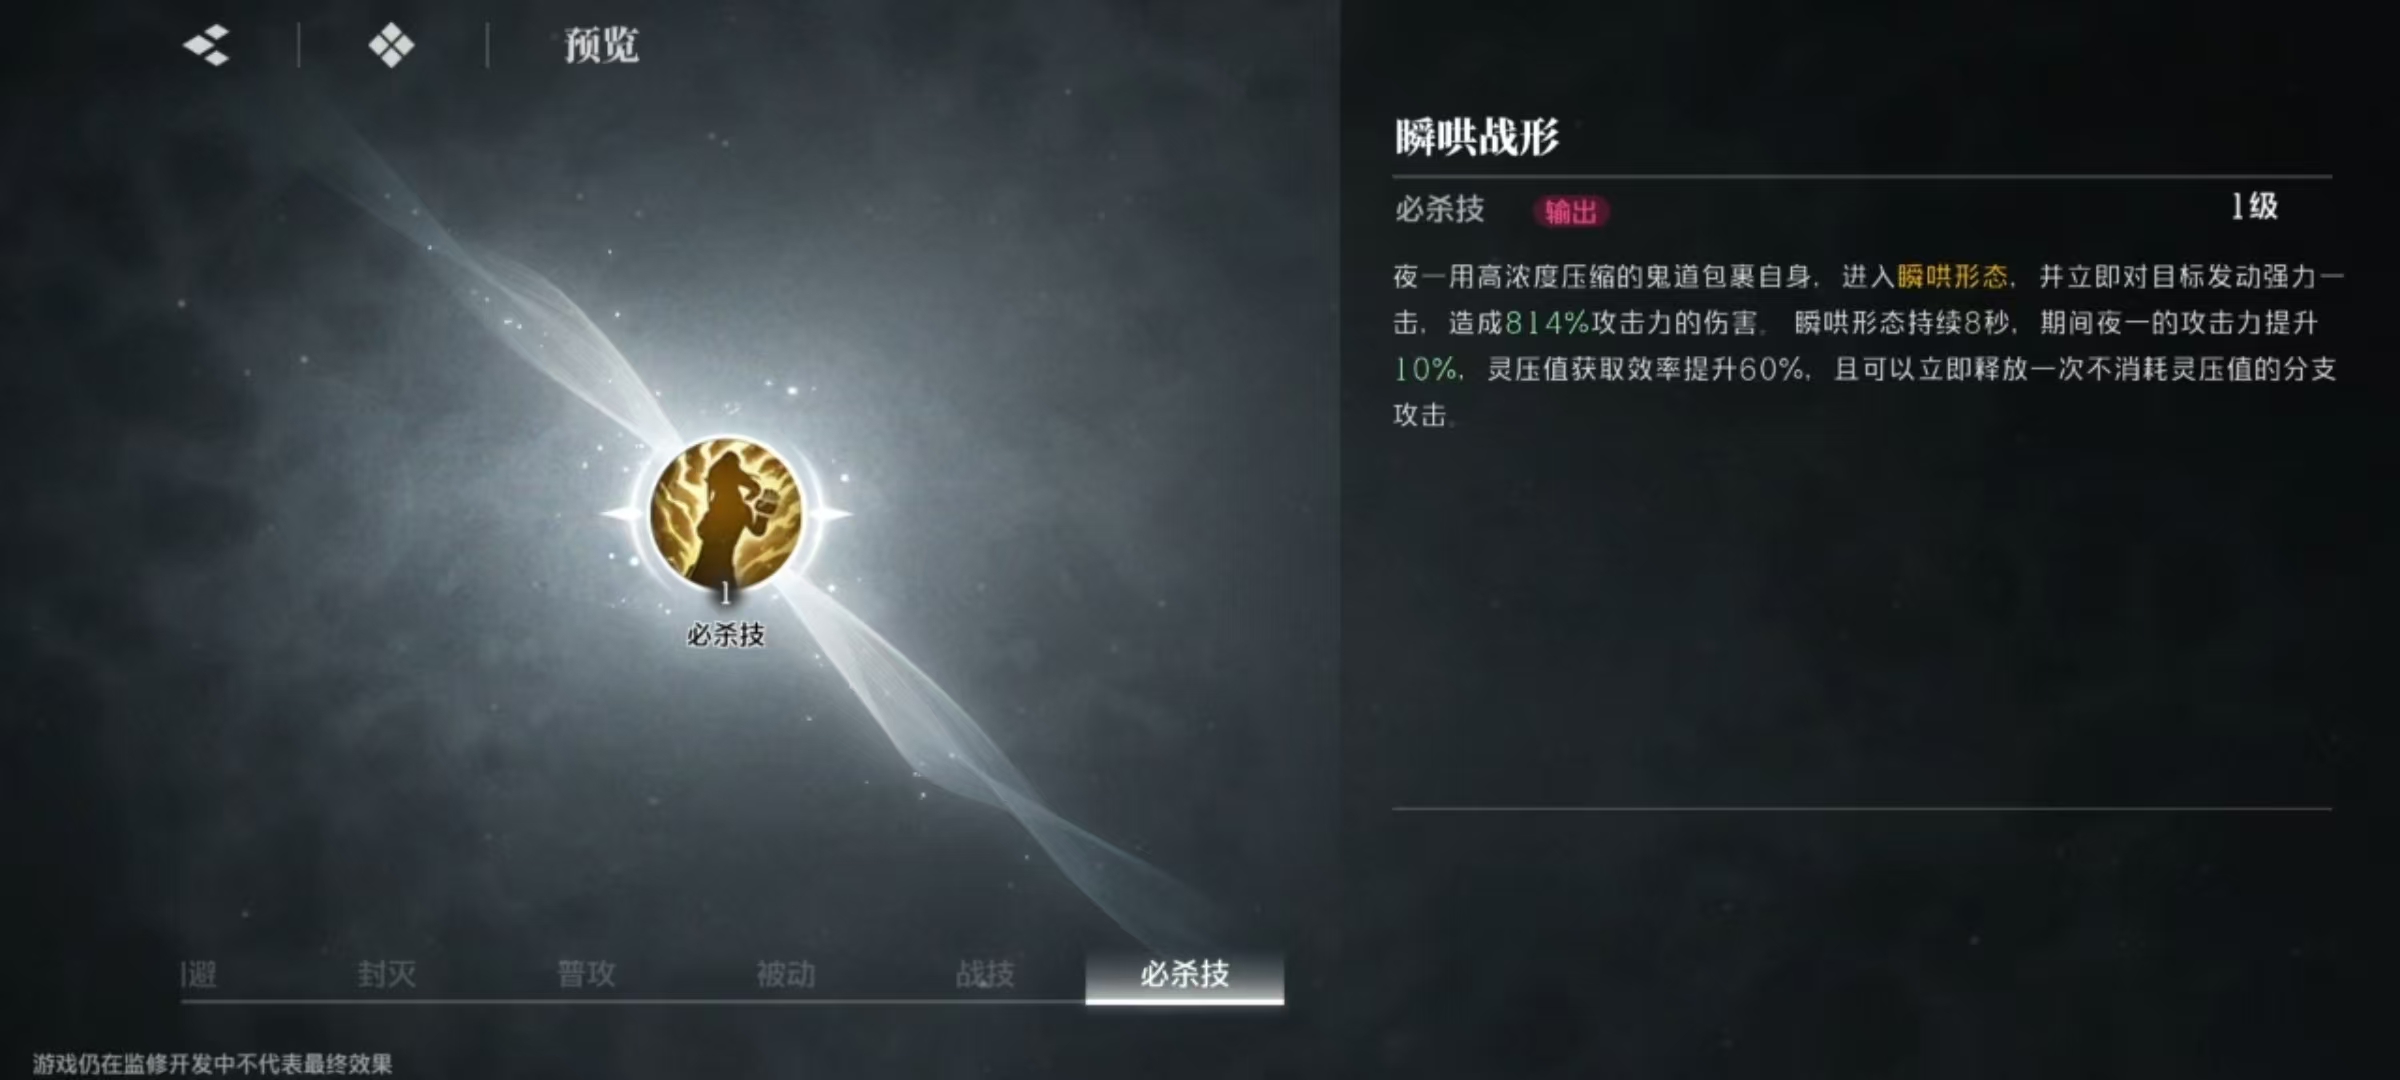
The skill effect is to use Shunpo to instantly approach and stomp the target, attacking with shurikens. After using this skill, immediately clicking on the basic attack can add a branch attack. Using these skills effectively results in extremely fierce output, making Yoruichi one of the commonly used main DPS characters. Koga's basic attack also deals 5 consecutive slashes to enemies. When the 5th basic attack is released, it summons Heavenly Punishment King to attack together, stacking a layer of Karma effect. Koga excels in close-range output and tactical support, significantly reducing enemy Striker resistance. He can summon Heavenly Punishment to assist when teammates attack, stacking more layers of Karma. His finishing move deals massive damage based on the number of Karma stacks.
Inume is the ace support for the Striker team. Her ultimate skill provides a significant boost to the team's Striker damage, and through her form-switching mechanism, she can greatly increase the team's fixed attack power. Not only does she perform strongly in the early stages, but she continues to be effective later on. This lineup can unleash powerful output in the early to mid-game.
After seeing the lineup I've put together, you should now understand how to play with the Striker Burst build in Realm of Sword Resonance. This lineup combines two SSRs and one SR, reducing the pressure of character development. Prioritize resources for Yoruichi, then Koga, while Inume can be treated as a utility character.
How to Defeat Qianrenxue in "Palm Master Descends the Mountain" - A Guide and Strategy
How can Thousand Snow be successfully defeated? In the game, Thousand Snow has a special ice attribute combat mechanism, and in the first phase, she will summon many minions to attack players. This time, I'll specifically introduce how to successfully defeat the boss Thousand Snow in the game, hoping this content can help everyone.
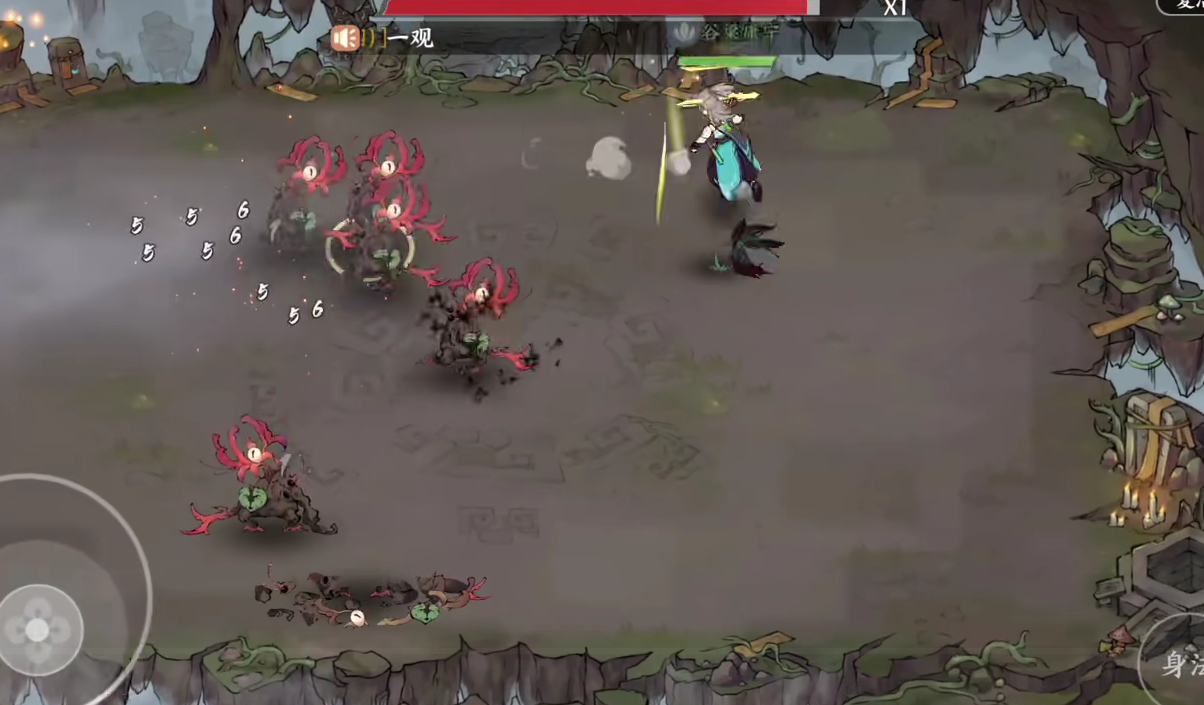
In the game, Thousand Snow is an ice-attribute character, skilled in group slow and freeze abilities. If players want to defeat Thousand Snow, they must interrupt her skill casting to reduce the chances of being controlled.
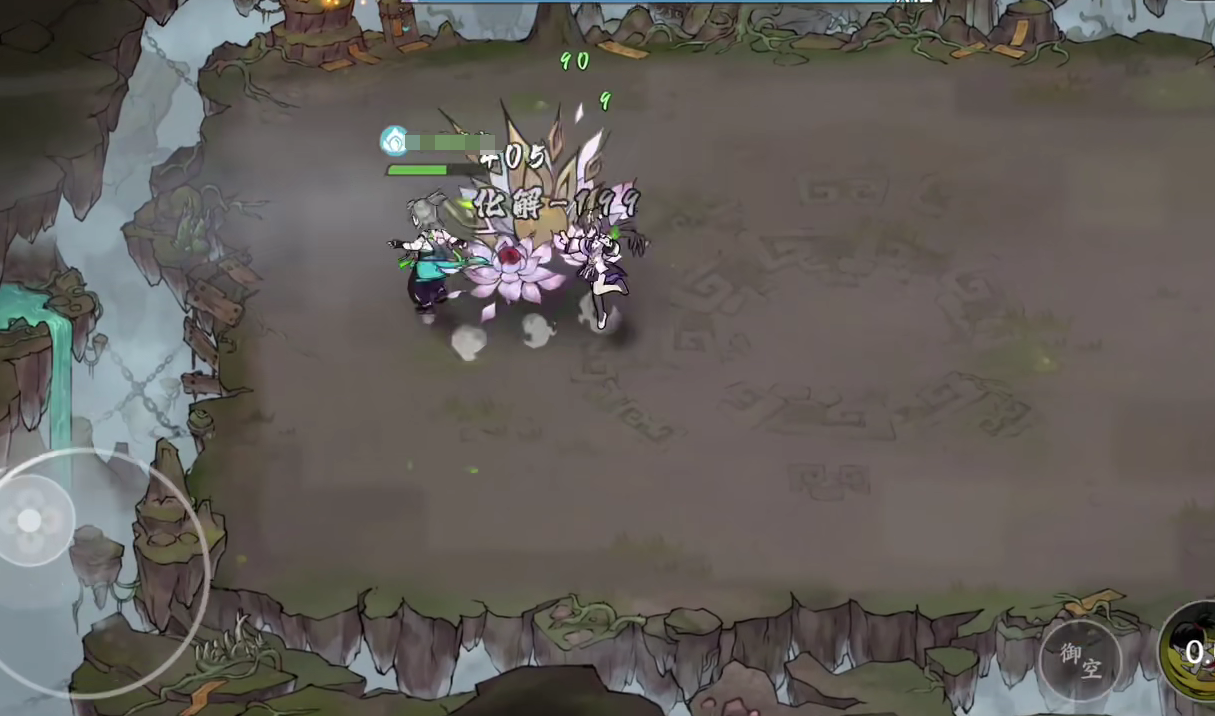
Thousand Snow also has a highly threatening ability, the Angel Sword. When Thousand Snow inflicts five hits on the player, during the sixth hit, it will cause a high single-target burst. Under this mechanism, players are very likely to die instantly.
To avoid these two skill mechanisms, players must target Thousand Snow's weaknesses for attacks.
Since Thousand Snow's overall defense value is relatively low, she relies more on the debuff effect to increase her survivability. Players can use high-burst sword techniques to quickly strike Thousand Snow.
However, since Thousand Snow is immune to all control skills, it is recommended that players carry the Ten Thousand Swords Technique to directly inflict a high-damage hit on Thousand Snow, thus rapidly lowering her health.
Moreover, the skill casting time for Thousand Snow in the game is actually quite long. For example, with the skill "Clear Radiance", there is a noticeable pre-cast action, allowing players to use dodge first to ensure they are in a safe position.
Of course, you can also use a silence skill to interrupt Thousand Snow's casting. It's worth mentioning that, since Thousand Snow is an ice-attribute character, players can also bring the Burning Heaven Technique to directly suppress Thousand Snow. If you don't have the Burning Heaven Technique, bringing other fire-attribute skills still gives you some advantage.
The above content is the complete strategy guide for defeating Thousand Snow, which I've specially brought to everyone this time. In the game, once players successfully defeat Thousand Snow, they can obtain her inner elixir and also gain ice-attribute buffs. I hope that after reading this content, everyone can go into the game and experience it for themselves~
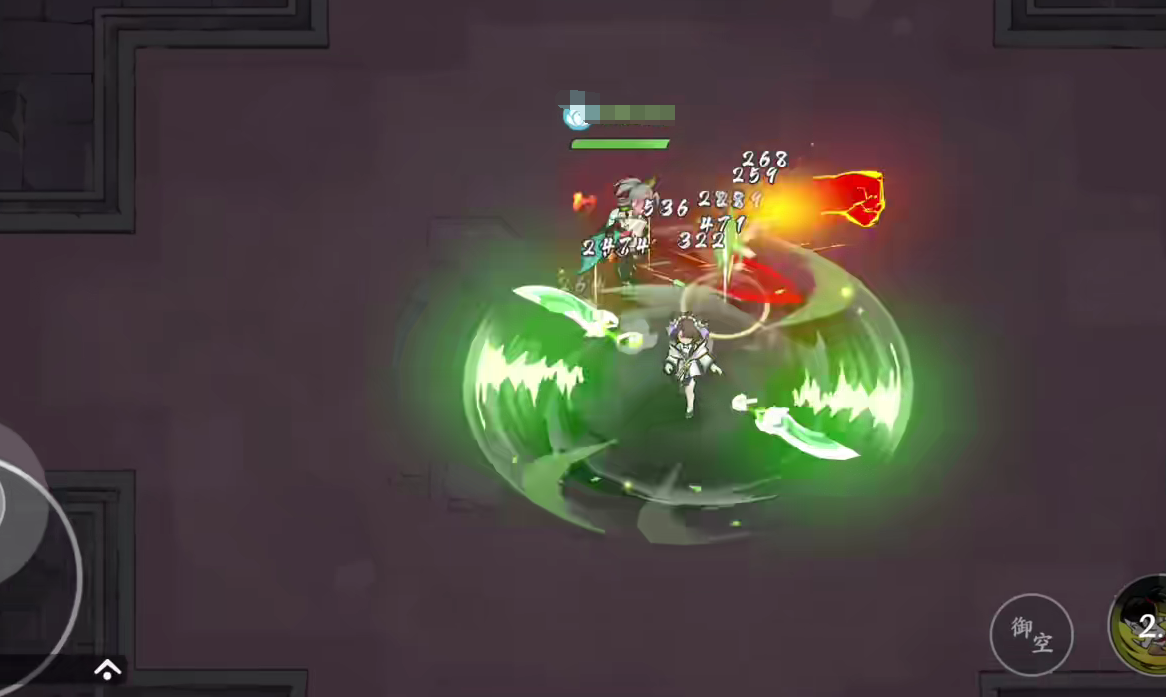
How to Fight in Close Combat in the Age of Great Voyages: A Guide to Close Combat Tactics
In maritime trade, one often encounters various kinds of battles, and boarding combat is one of them. Compared to cannon battles, boarding combat involves two ships coming directly together for a fight, giving a very pirate-like feeling, which many players enjoy. Today, I will talk about how to conduct boarding combat in the Age of Sail. Each type of battle in the game has its own techniques; as long as you prepare well, you can win in battle.
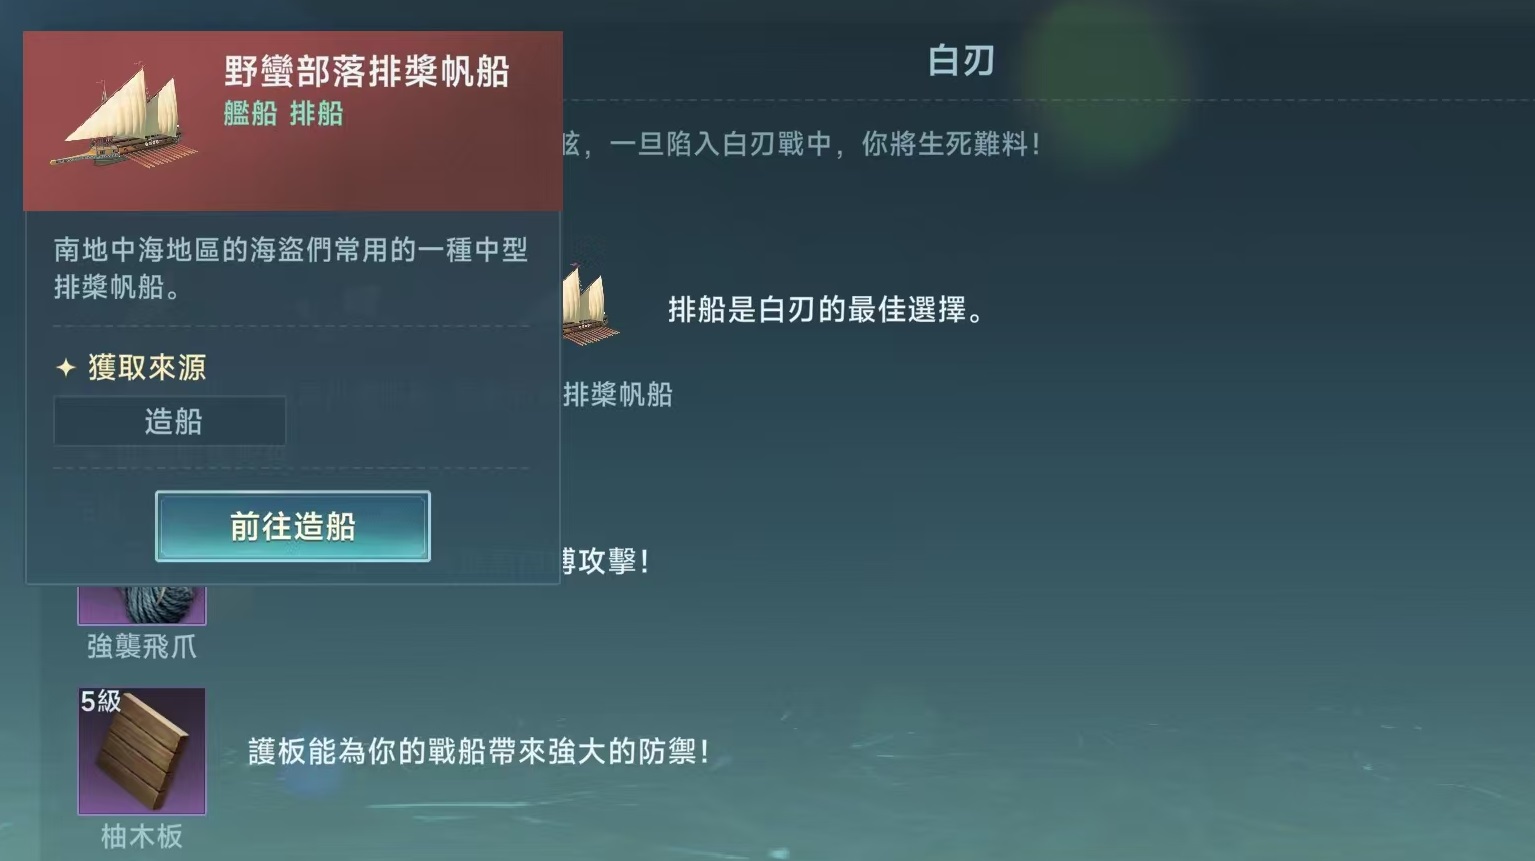
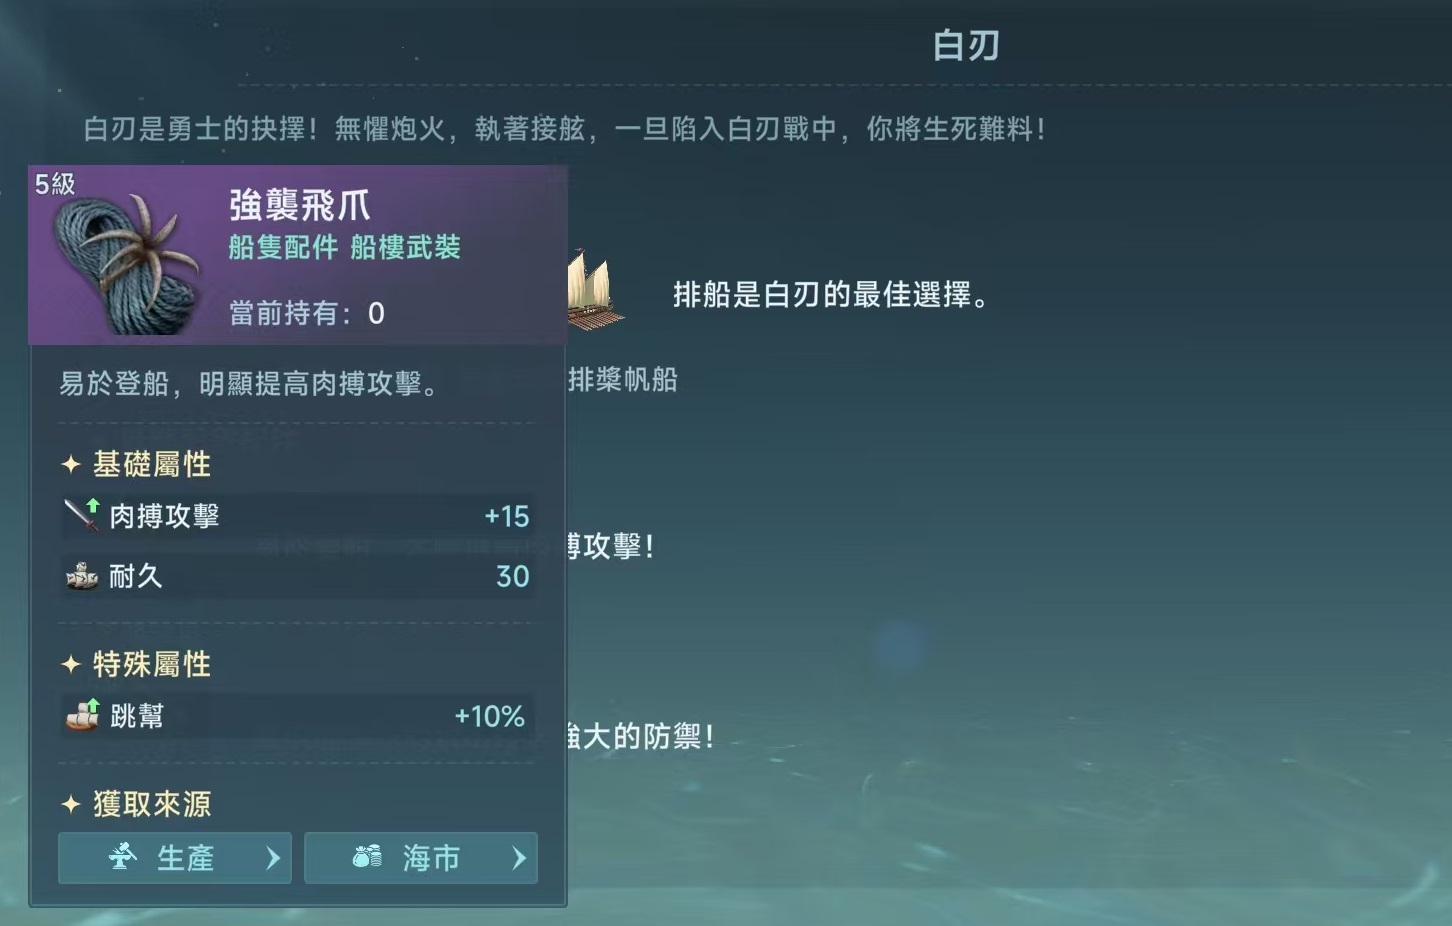
To win in boarding combat, the choice of ship is very critical. I would recommend light oared galleys, Roman oared galleys, and barbarian oared galleys. Oared galleys are the best choice for boarding combat, and these three types can be obtained directly through piracy. These are small to medium-sized vessels, very flexible to operate, and can quickly approach the enemy. In terms of equipment, first, there's the assault grappling hook, which provides bonuses to melee attacks and special attributes for boarding, significantly increasing attack power in melee combat.
There's also teak planking, which offers strong defense for the ship, followed by medium boarding planks, which notably increase the distance for boarding and reduce the difficulty of boarding. The most crucial aspect in boarding combat is to board the enemy ship quickly, so as to start the battle promptly. For the selection of navigators, I recommend Pash, Alan Quinn, and Fiore. Fiore's characteristic is enhancing boarding combat attributes and firmly entangling the opponent, Pash can more quickly approach the opponent to complete boarding during the fight, and Alan Quinn aids in plundering more spoils.
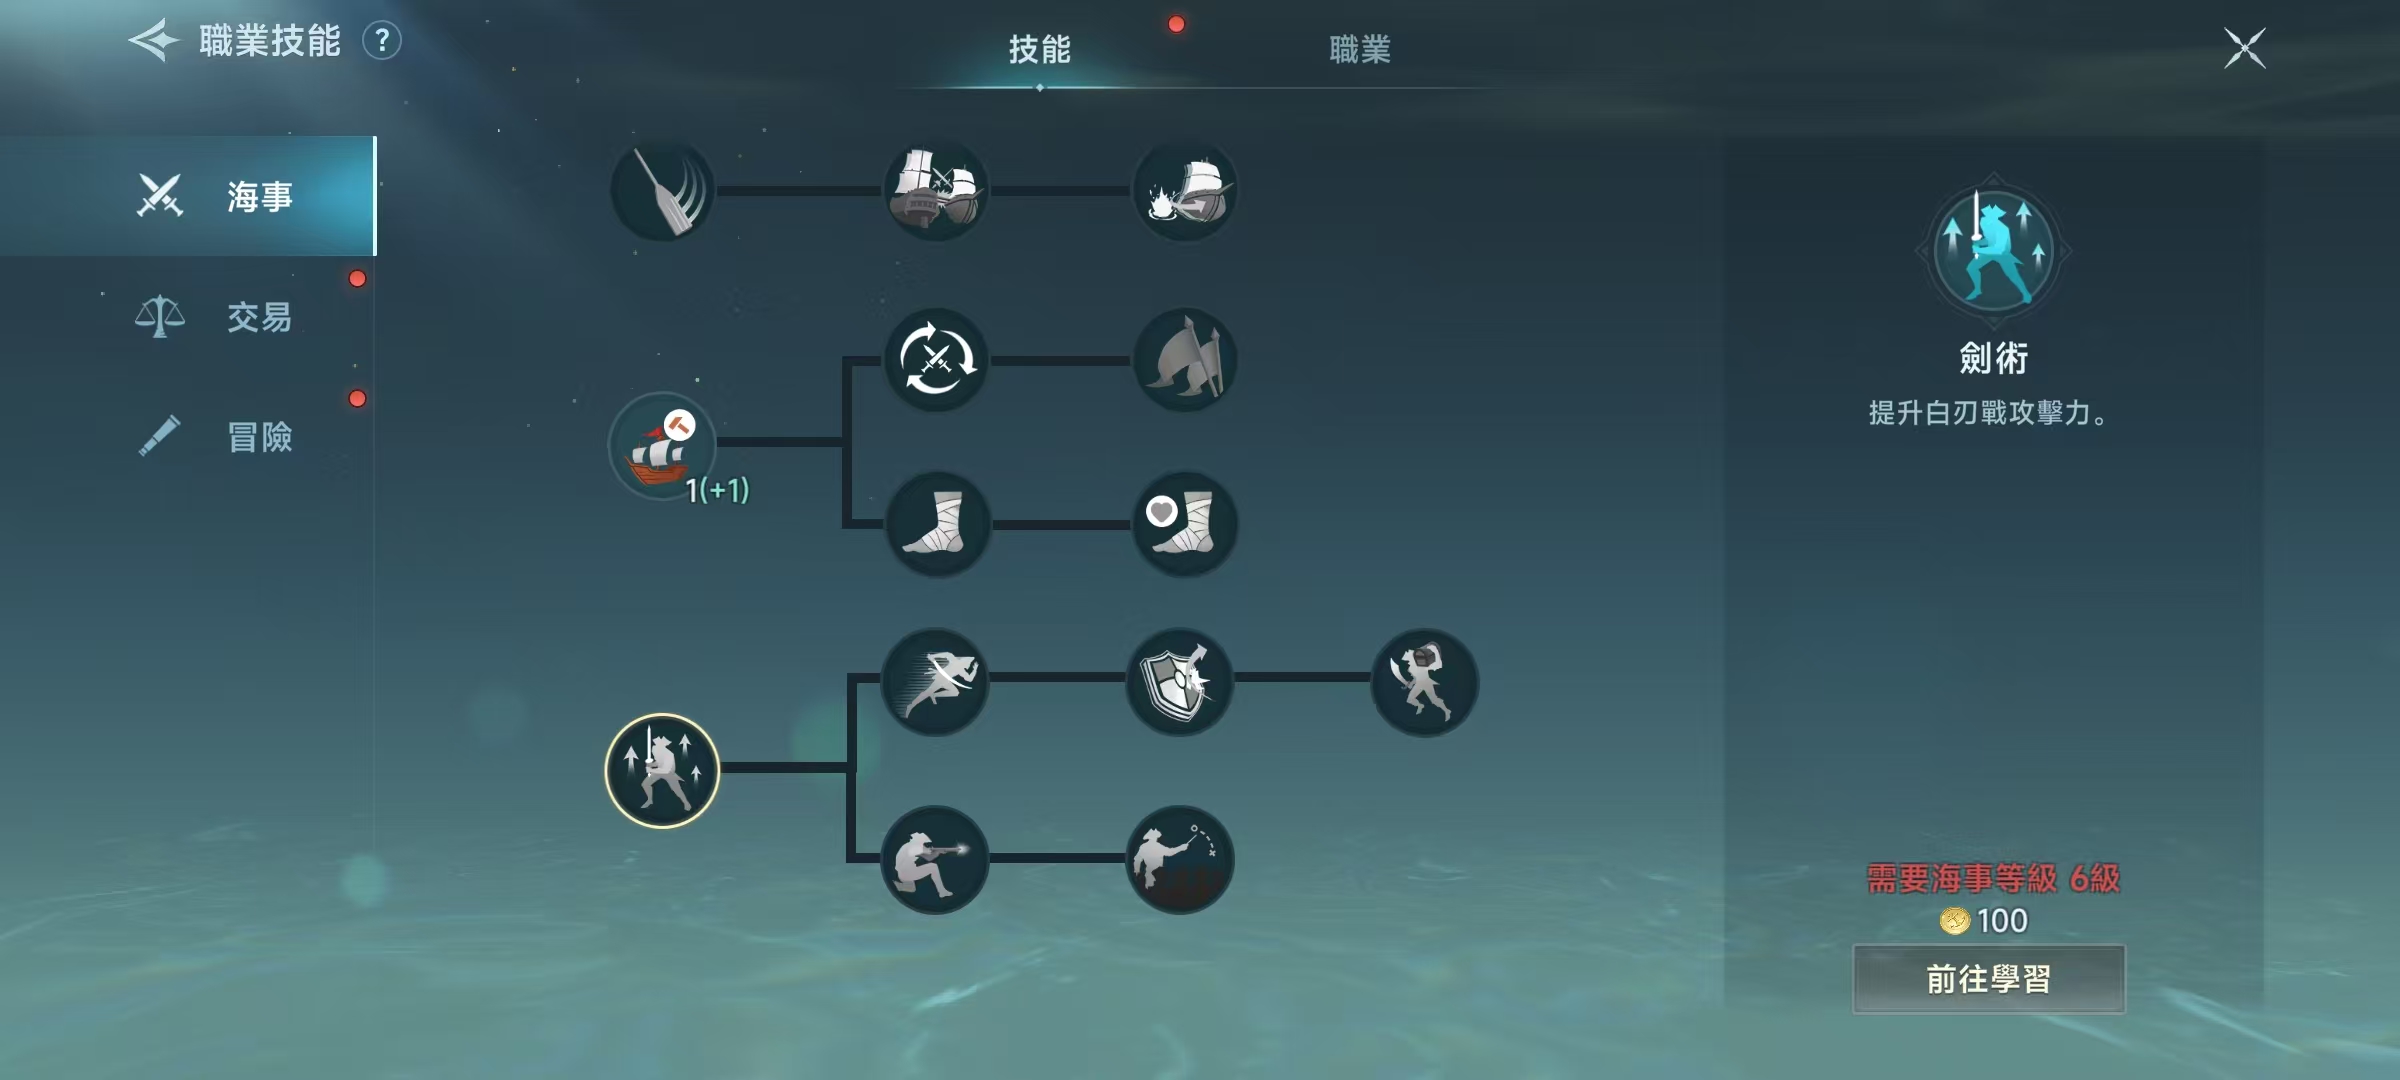
Regarding skill combinations, all are aimed at improving close combat, such as boarding, swordsmanship, assault, tactics, and shooting, which can all enhance output and are skills used in boarding combat. To improve survival, it's also necessary to learn repair, evasion, defense, and emergency handling. In terms of profession, the mercenary profession can bring powerful bonuses to boarding combat, and in naval battles, additional experience can be gained. For equipment, items like knight's breastplate, red copper gloves, pirate scimitar, and dagger can greatly increase damage during close combat.
The above content is my answer today on how to conduct boarding combat in the Age of Sail. After reading this, everyone should have a clear idea of how to go about this kind of battle. If you enjoy boarding combat, then follow the preparation steps I've introduced, and you will gain a greater advantage in battle.
How to Play Cannon Battles in the Age of Great Navigation: A Guide to Cannon Battle Strategies
In the Age of Great Navigation, the ships players control are generally equipped with powerful cannons, so engaging in cannon battles is a common practice and the preferred method of combat for most players. To excel in cannon battles, there are many points to note. Today, I will introduce how to conduct cannon battles in the legendary Age of Great Navigation. Only by mastering specific combat techniques and making the right combinations can one achieve victory.
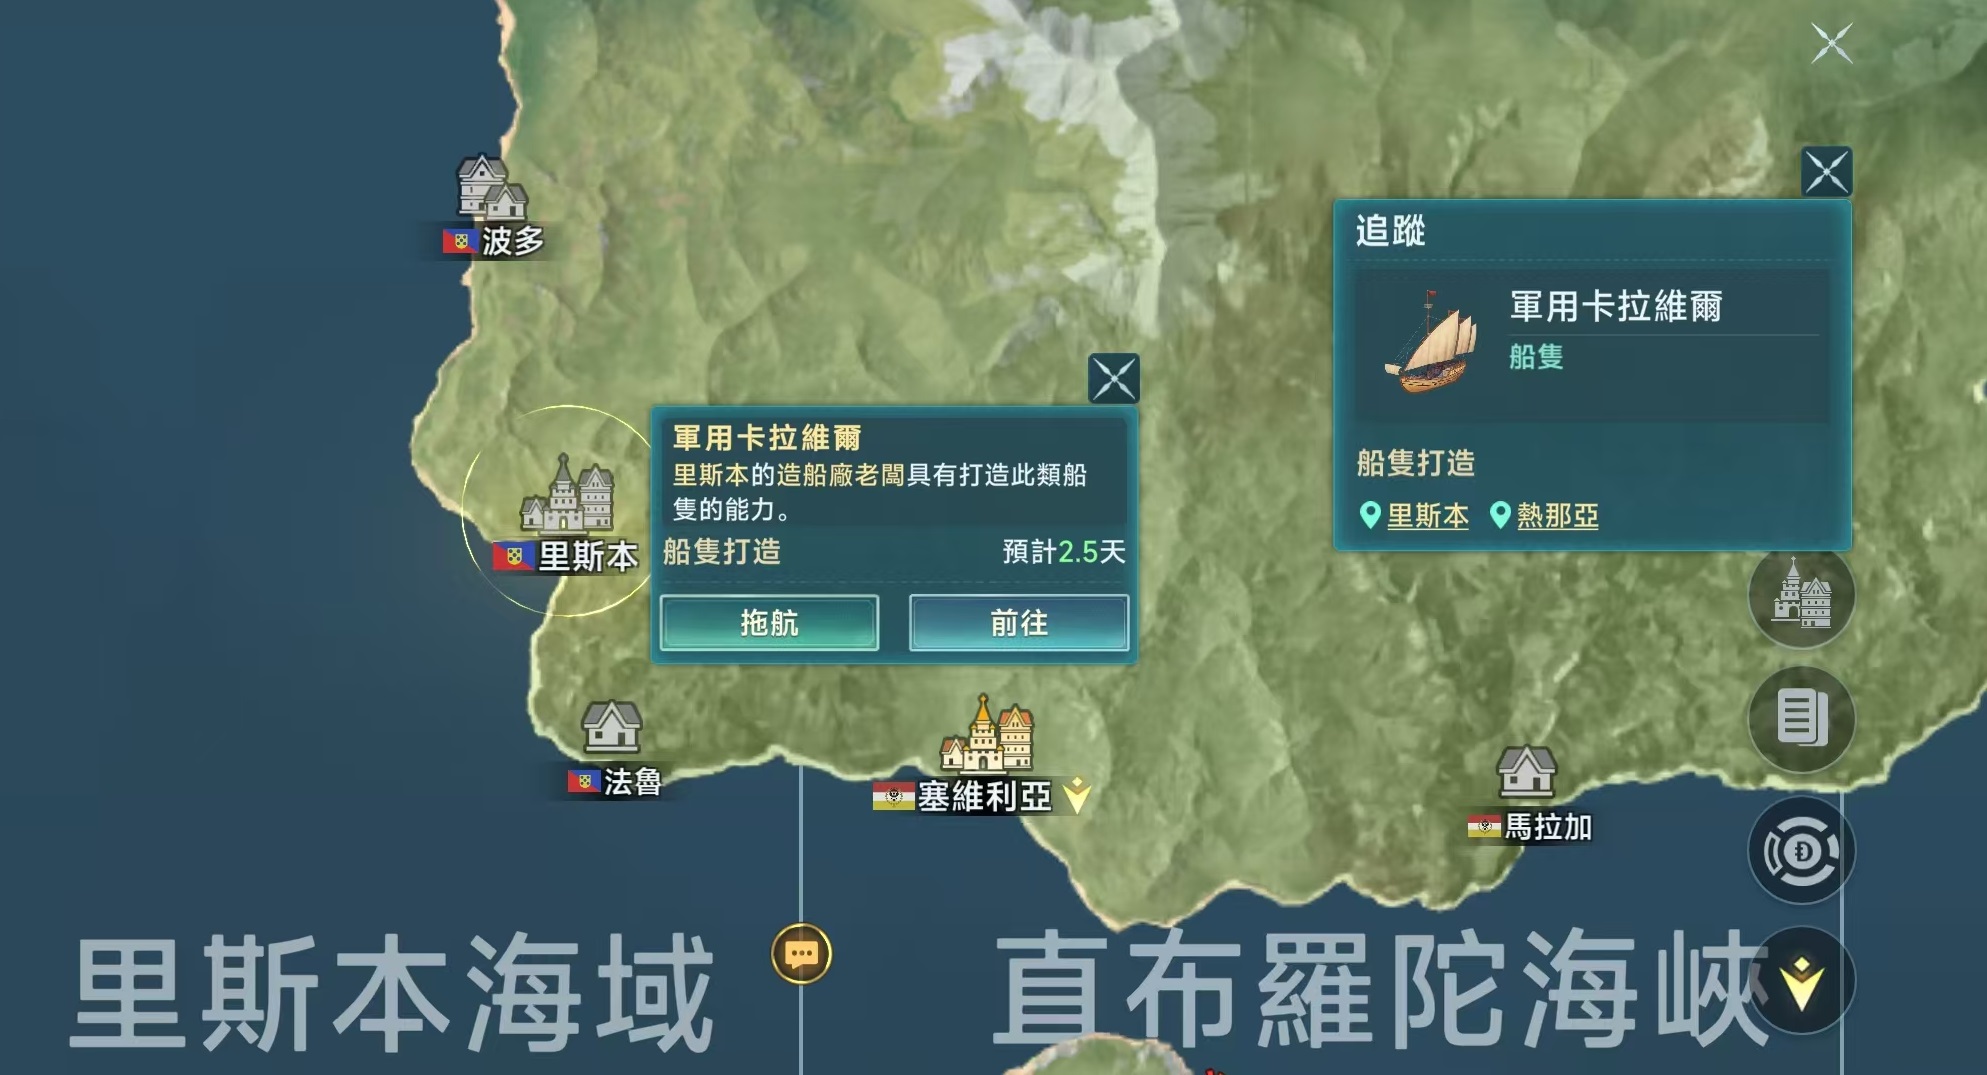
Since the operations in the game are relatively simple, you just need to aim the cannon's range at the enemy and click to fire. Therefore, the deciding factors of victory do not lie in the operation but rather in the player's ship, accessories, the navigator chosen, and the skills paired, even the equipment selected, all of which are key factors in determining the outcome. As one of the classic styles, cannon battles require players to sink the opponent's ships with powerful cannons on a strong warship, so the ship and cannons are the two most critical points. It is recommended to choose an armed caravel, military sloop, or military caravel, as these three are the best choices for cannon battles.
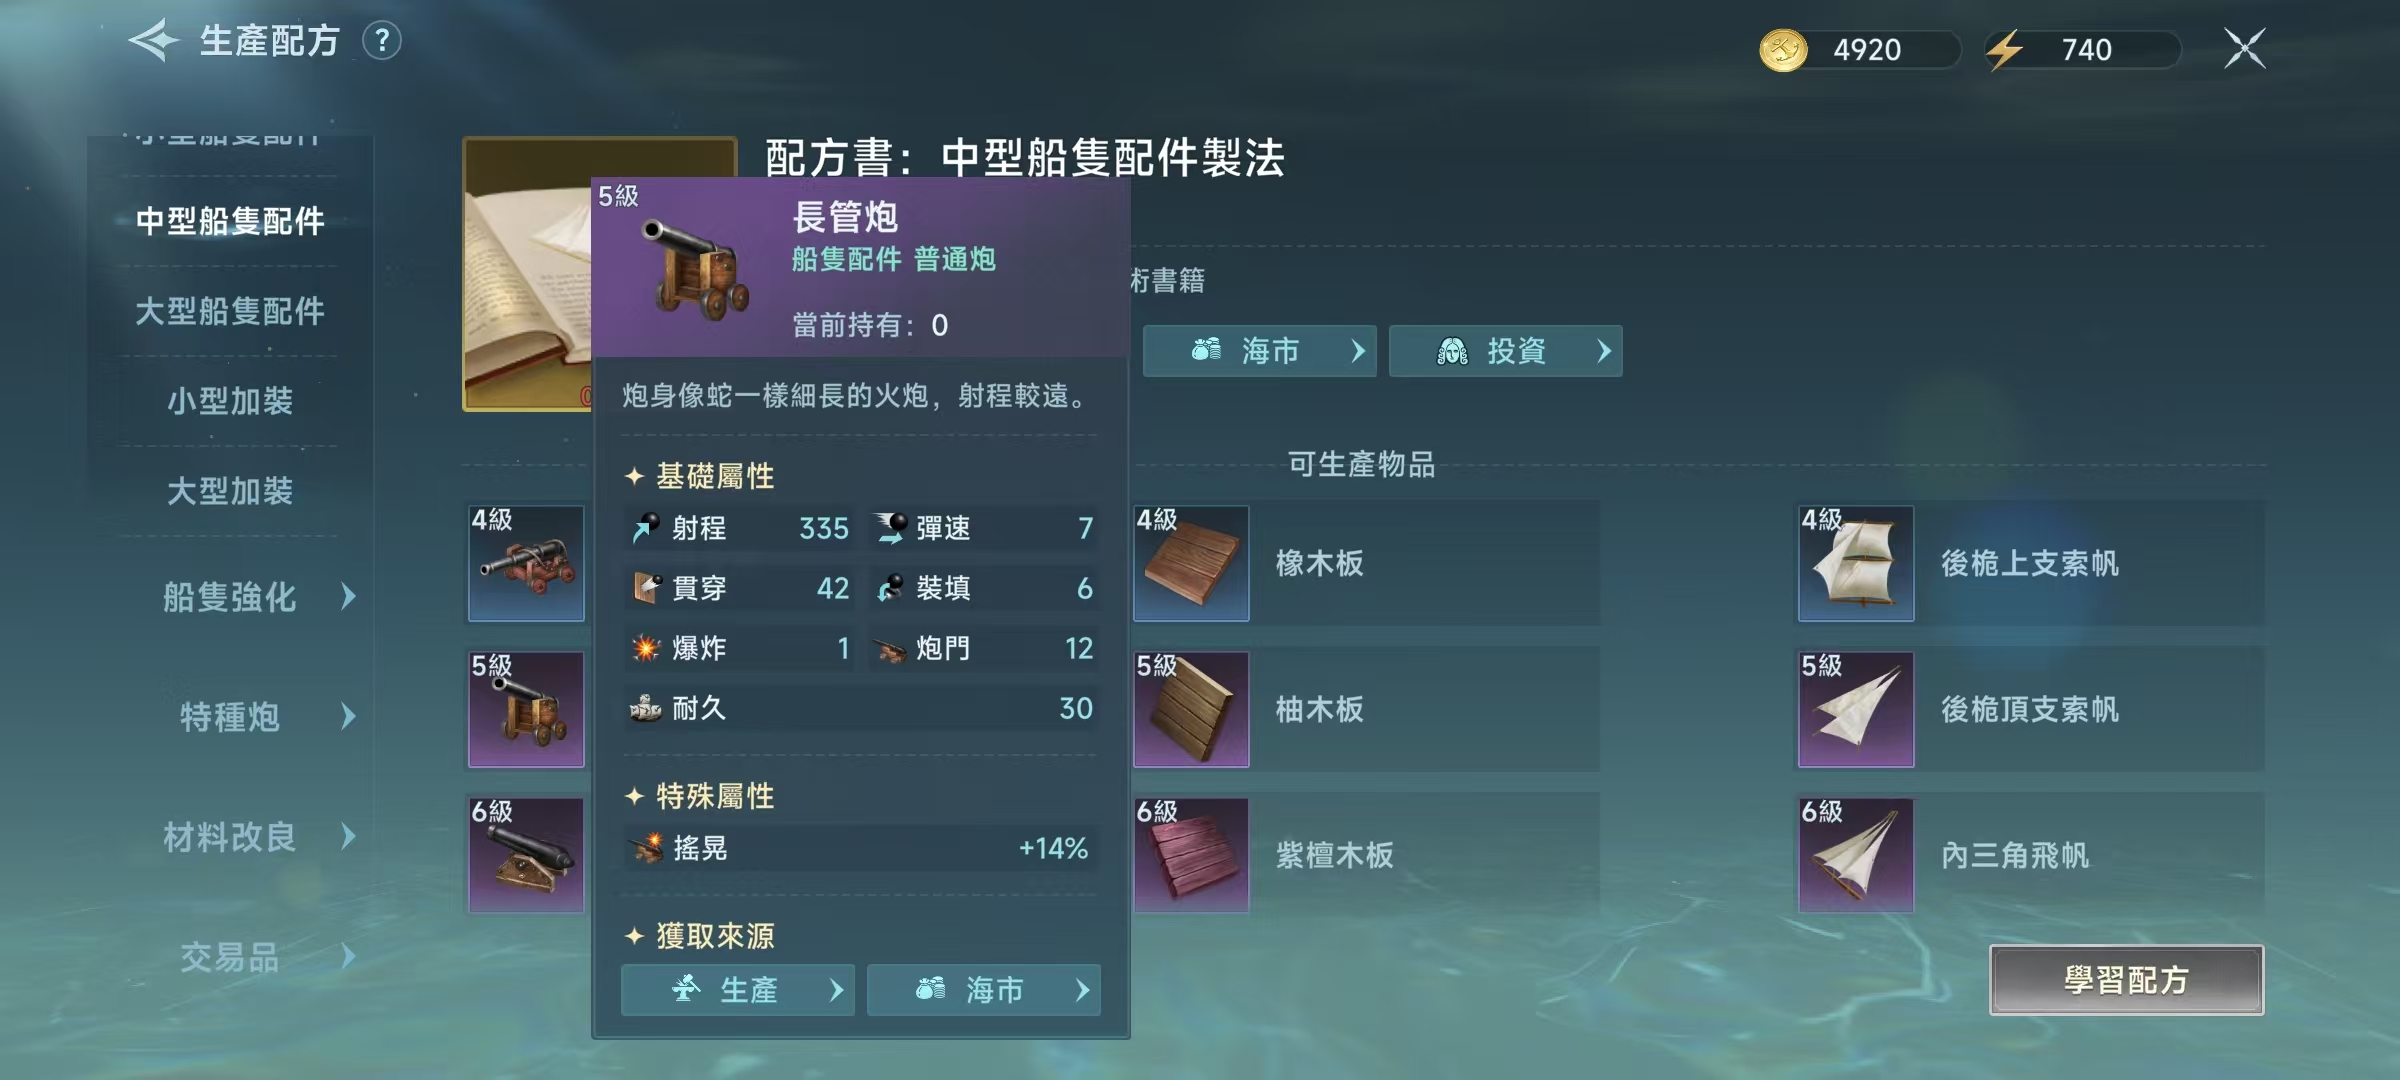
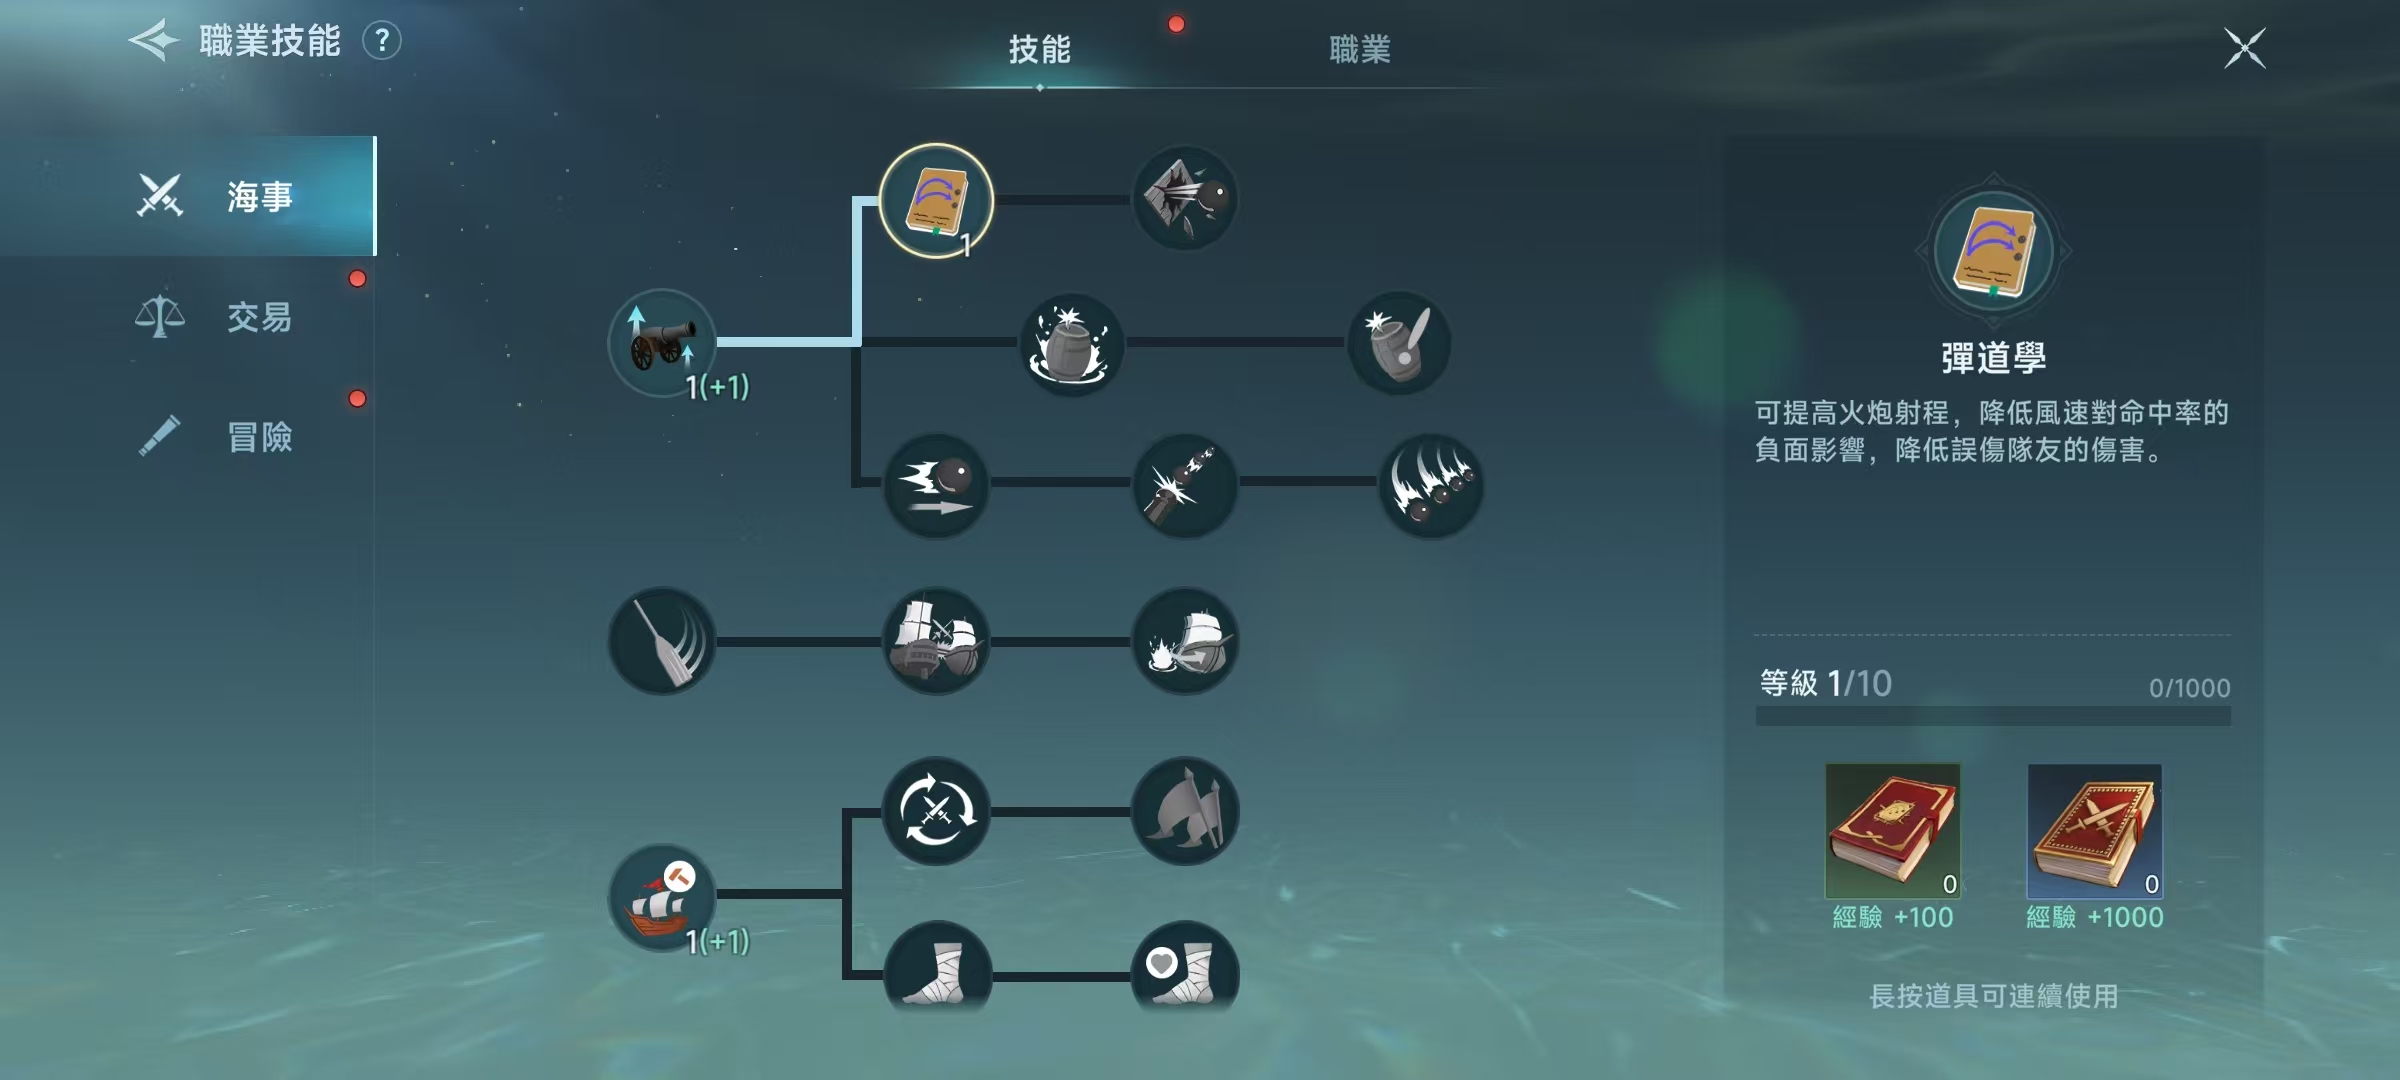
After having the appropriate sailing ship, ship accessories are also essential. For cannons, it is recommended to select long-barreled guns, which have a longer firing range and can fire from a distance. For plating, choose teak boards, which provide high armor and durability bonuses, and combined with enhanced barriers, they can reduce the chance of being boarded. For navigators, select Van Wolken, Marco, Andreas, etc. In terms of skill pairing, ballistics, level shooting, penetration, and rapid fire are necessary, as they can enhance output capabilities. Evasion and repair should also be prioritized, as these improve survival. Do not think about only enhancing offense; defense is also very important, otherwise, being sunk by the opponent means failure.
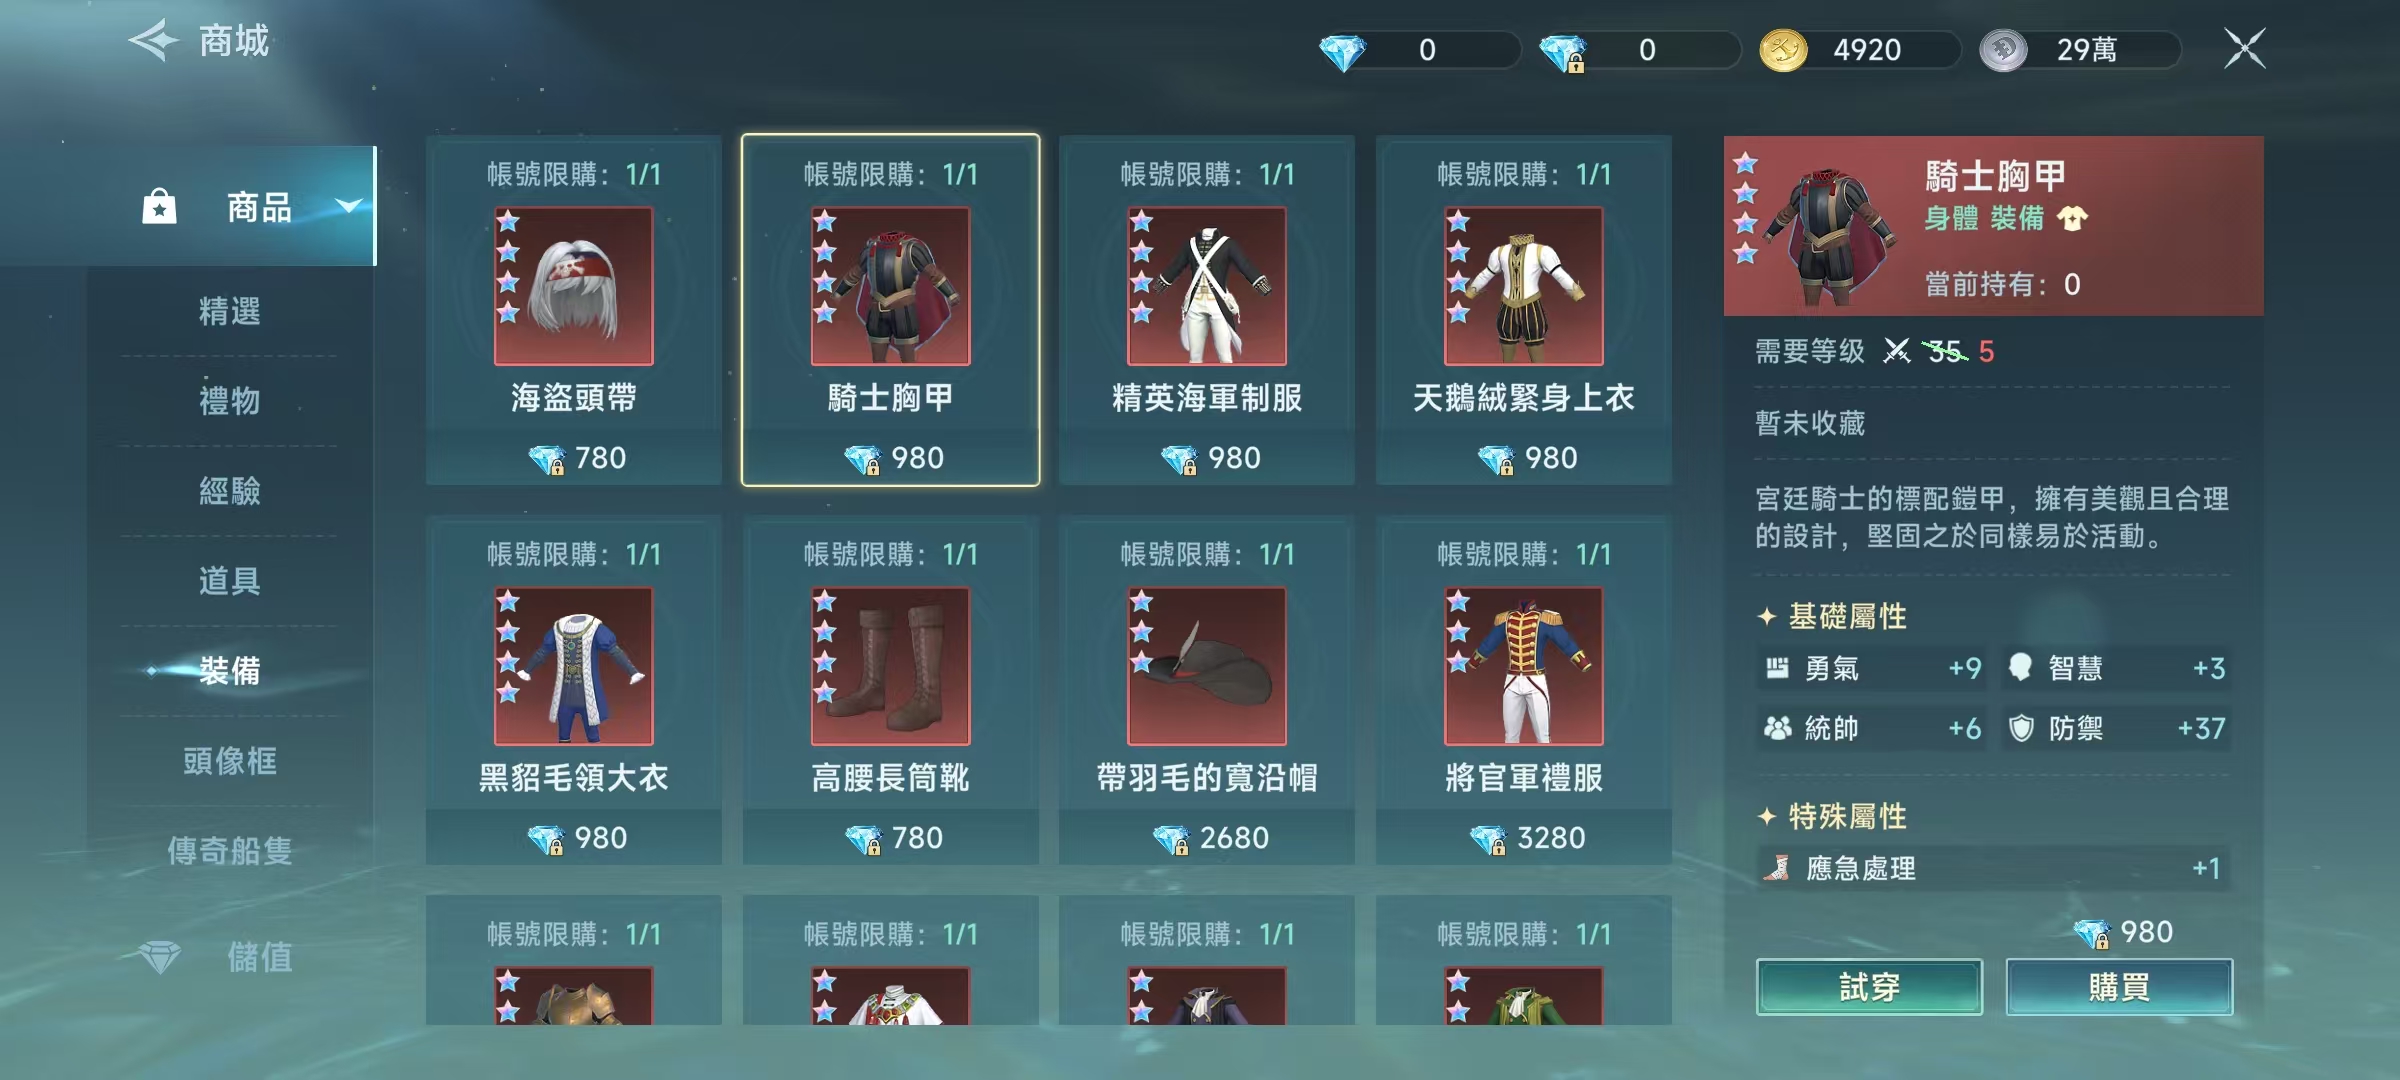
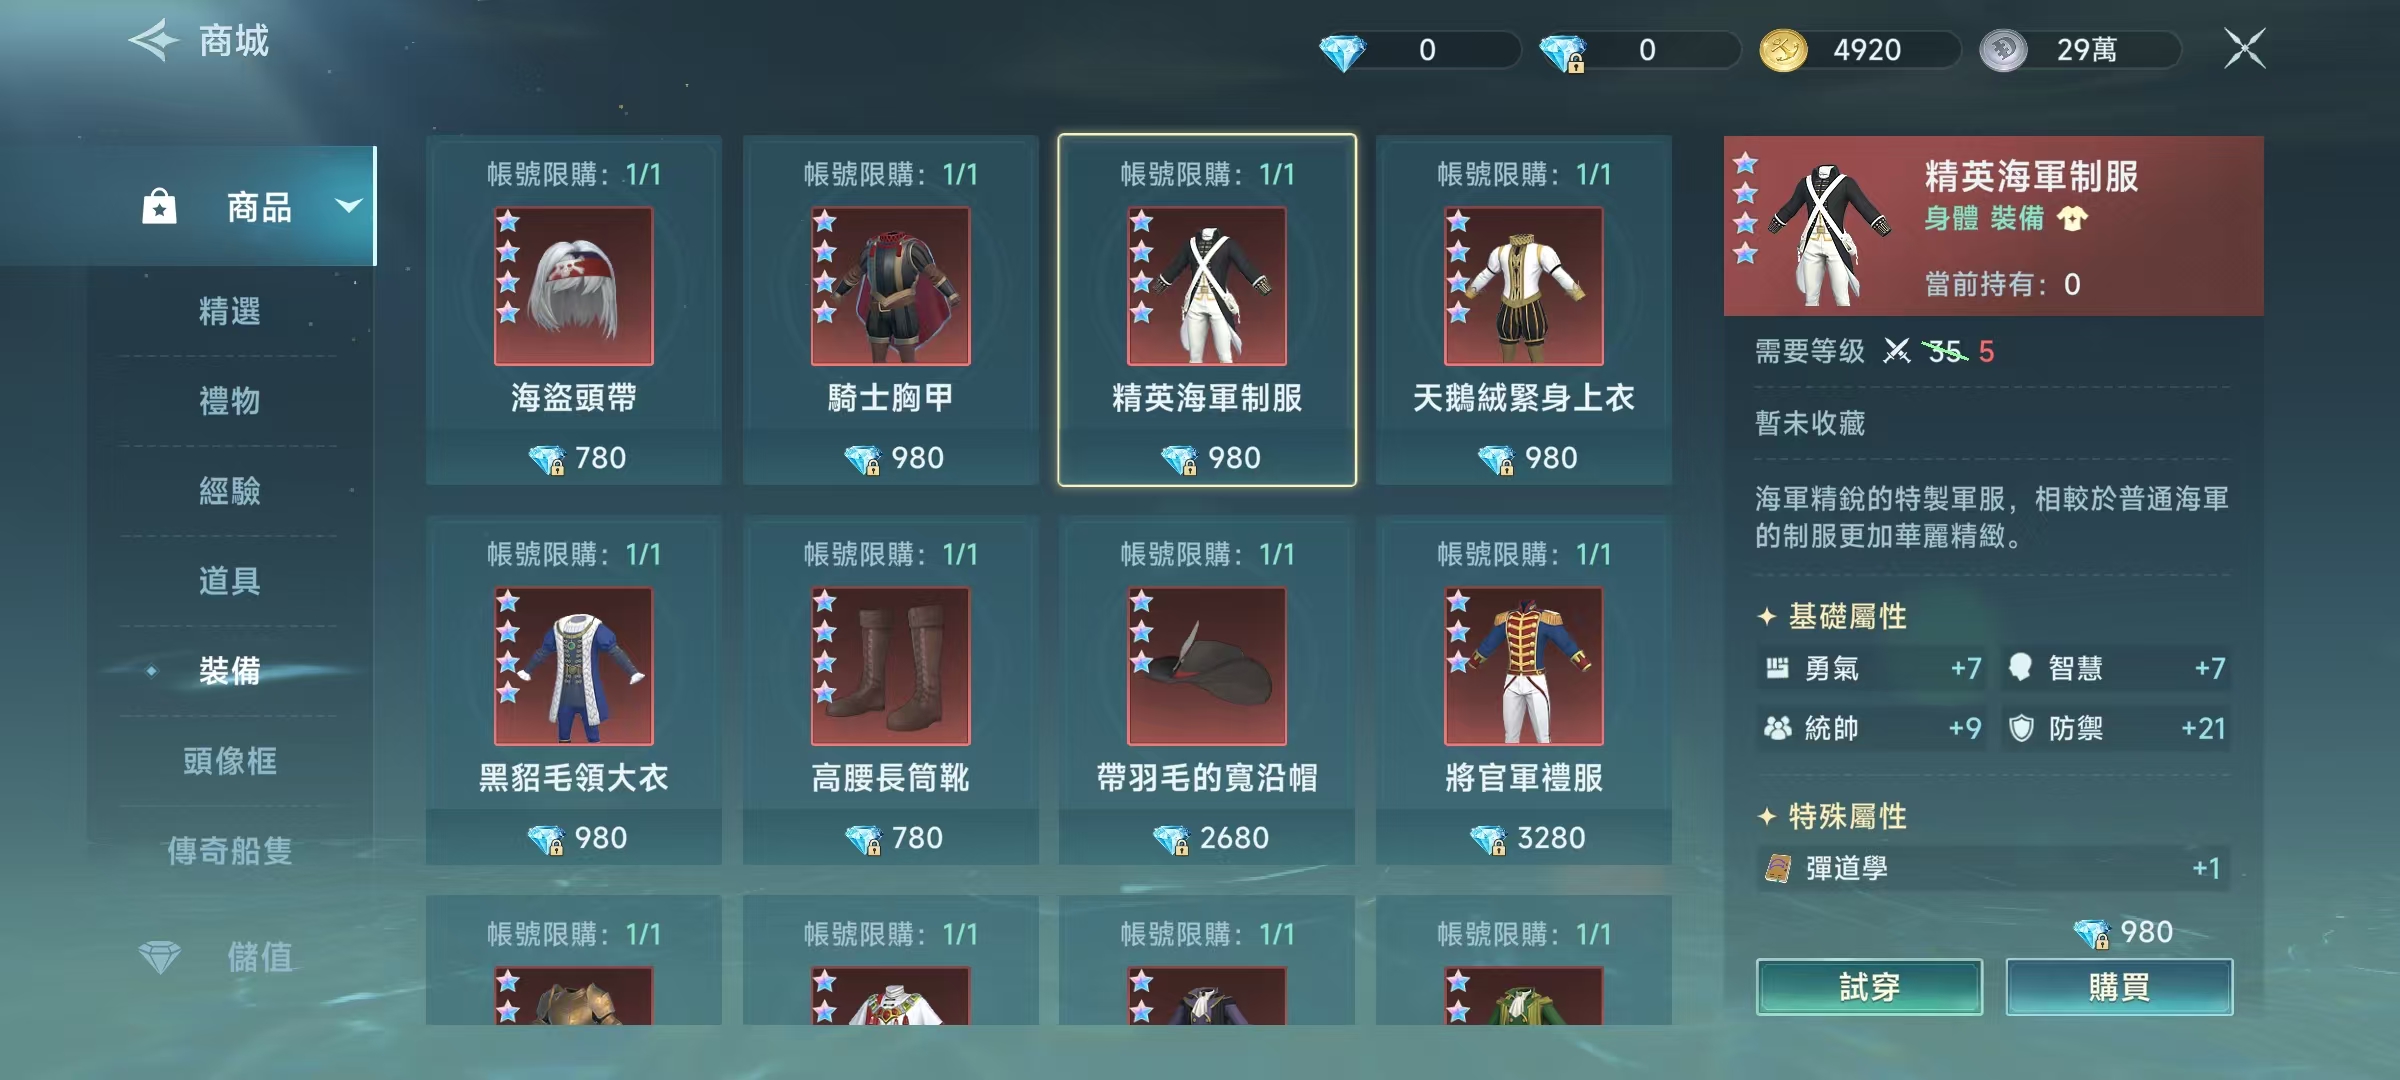
Regarding career choice, the officer profession can provide a significant boost to cannon performance. Lastly, for equipment selection, prioritize those that can increase the level of cannon skills, such as elite navy uniforms, black crystal feather helmets, bronze gloves, pointed iron boots, and ignition-style muskets, as these can bring the basic and special attributes needed for cannon battles.
By now, everyone should have a clear understanding of how to conduct cannon battles in the legendary Age of Great Navigation. As one of the most classic styles in the world of great navigation, if you want to win in cannon battles, you must continuously update your cannons and pairings. This way, you can rely on powerful firepower to directly sink the opponent, making it a very exhilarating form of combat.
How to Play the Fantasy Realm副本玩法攻略介绍 Copy in Three Kingdoms Quest for Supremacy: A Guide to the Fantasy Realm Gameplay
The game Three Kingdoms Quest for Dominance has set up many fun activities for players, providing an excellent strategy combat experience. The Illusionary Realm is one of them. Today, I will introduce how to play the Illusionary Realm in Three Kingdoms Quest for Dominance. Since this is an activity that requires reaching a certain level to unlock, many new players are not yet familiar with it. After reading the guide provided by me, you will understand it clearly.

The Illusionary Realm does not refer to a single activity but a collection of multiple activities, mainly including Hero Trials, Classic Battles, Great Abyss, Peak Showdown, Expedition to the Western Regions, and Challenge Leaders, among others. These activities are gradually unlocked based on the player's level. Some of these activities are quite simple, such as Hero Trials, while others have more complex mechanisms, like Classic Battles. I will introduce the more complex ones below.
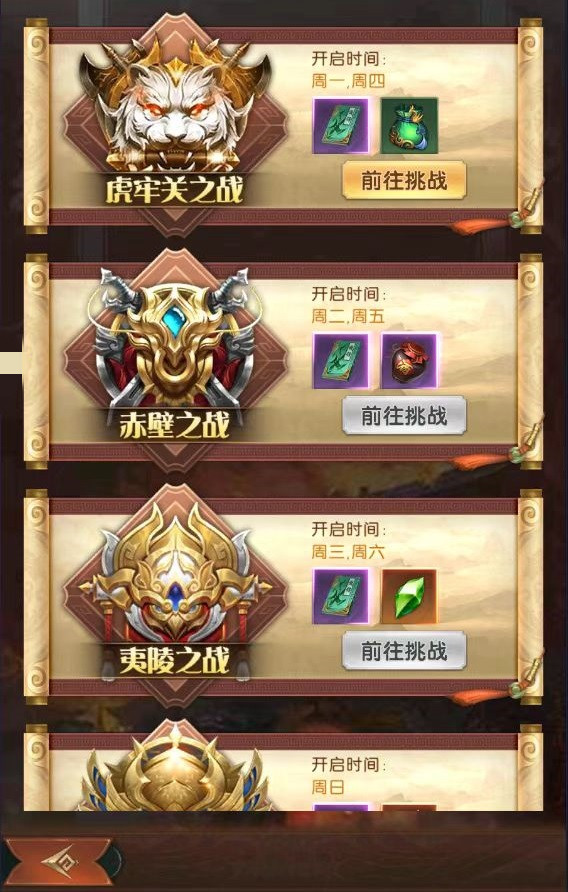
Classic Battles consist of 4 campaigns, each with specific opening times. You can challenge them according to the displayed opening times. The main point here is the restriction on the faction of the generals participating in battle, so you need to pay close attention when setting up your formation. This is also an activity that tests the depth of your hero cultivation. Each campaign contains multiple stages, and only after winning the previous stage will the next one be unlocked. Some stages also require reaching a certain level before they can be opened. To achieve good results in Classic Battles, you must cultivate heroes from different factions, which allows you to make full use of the mechanism.
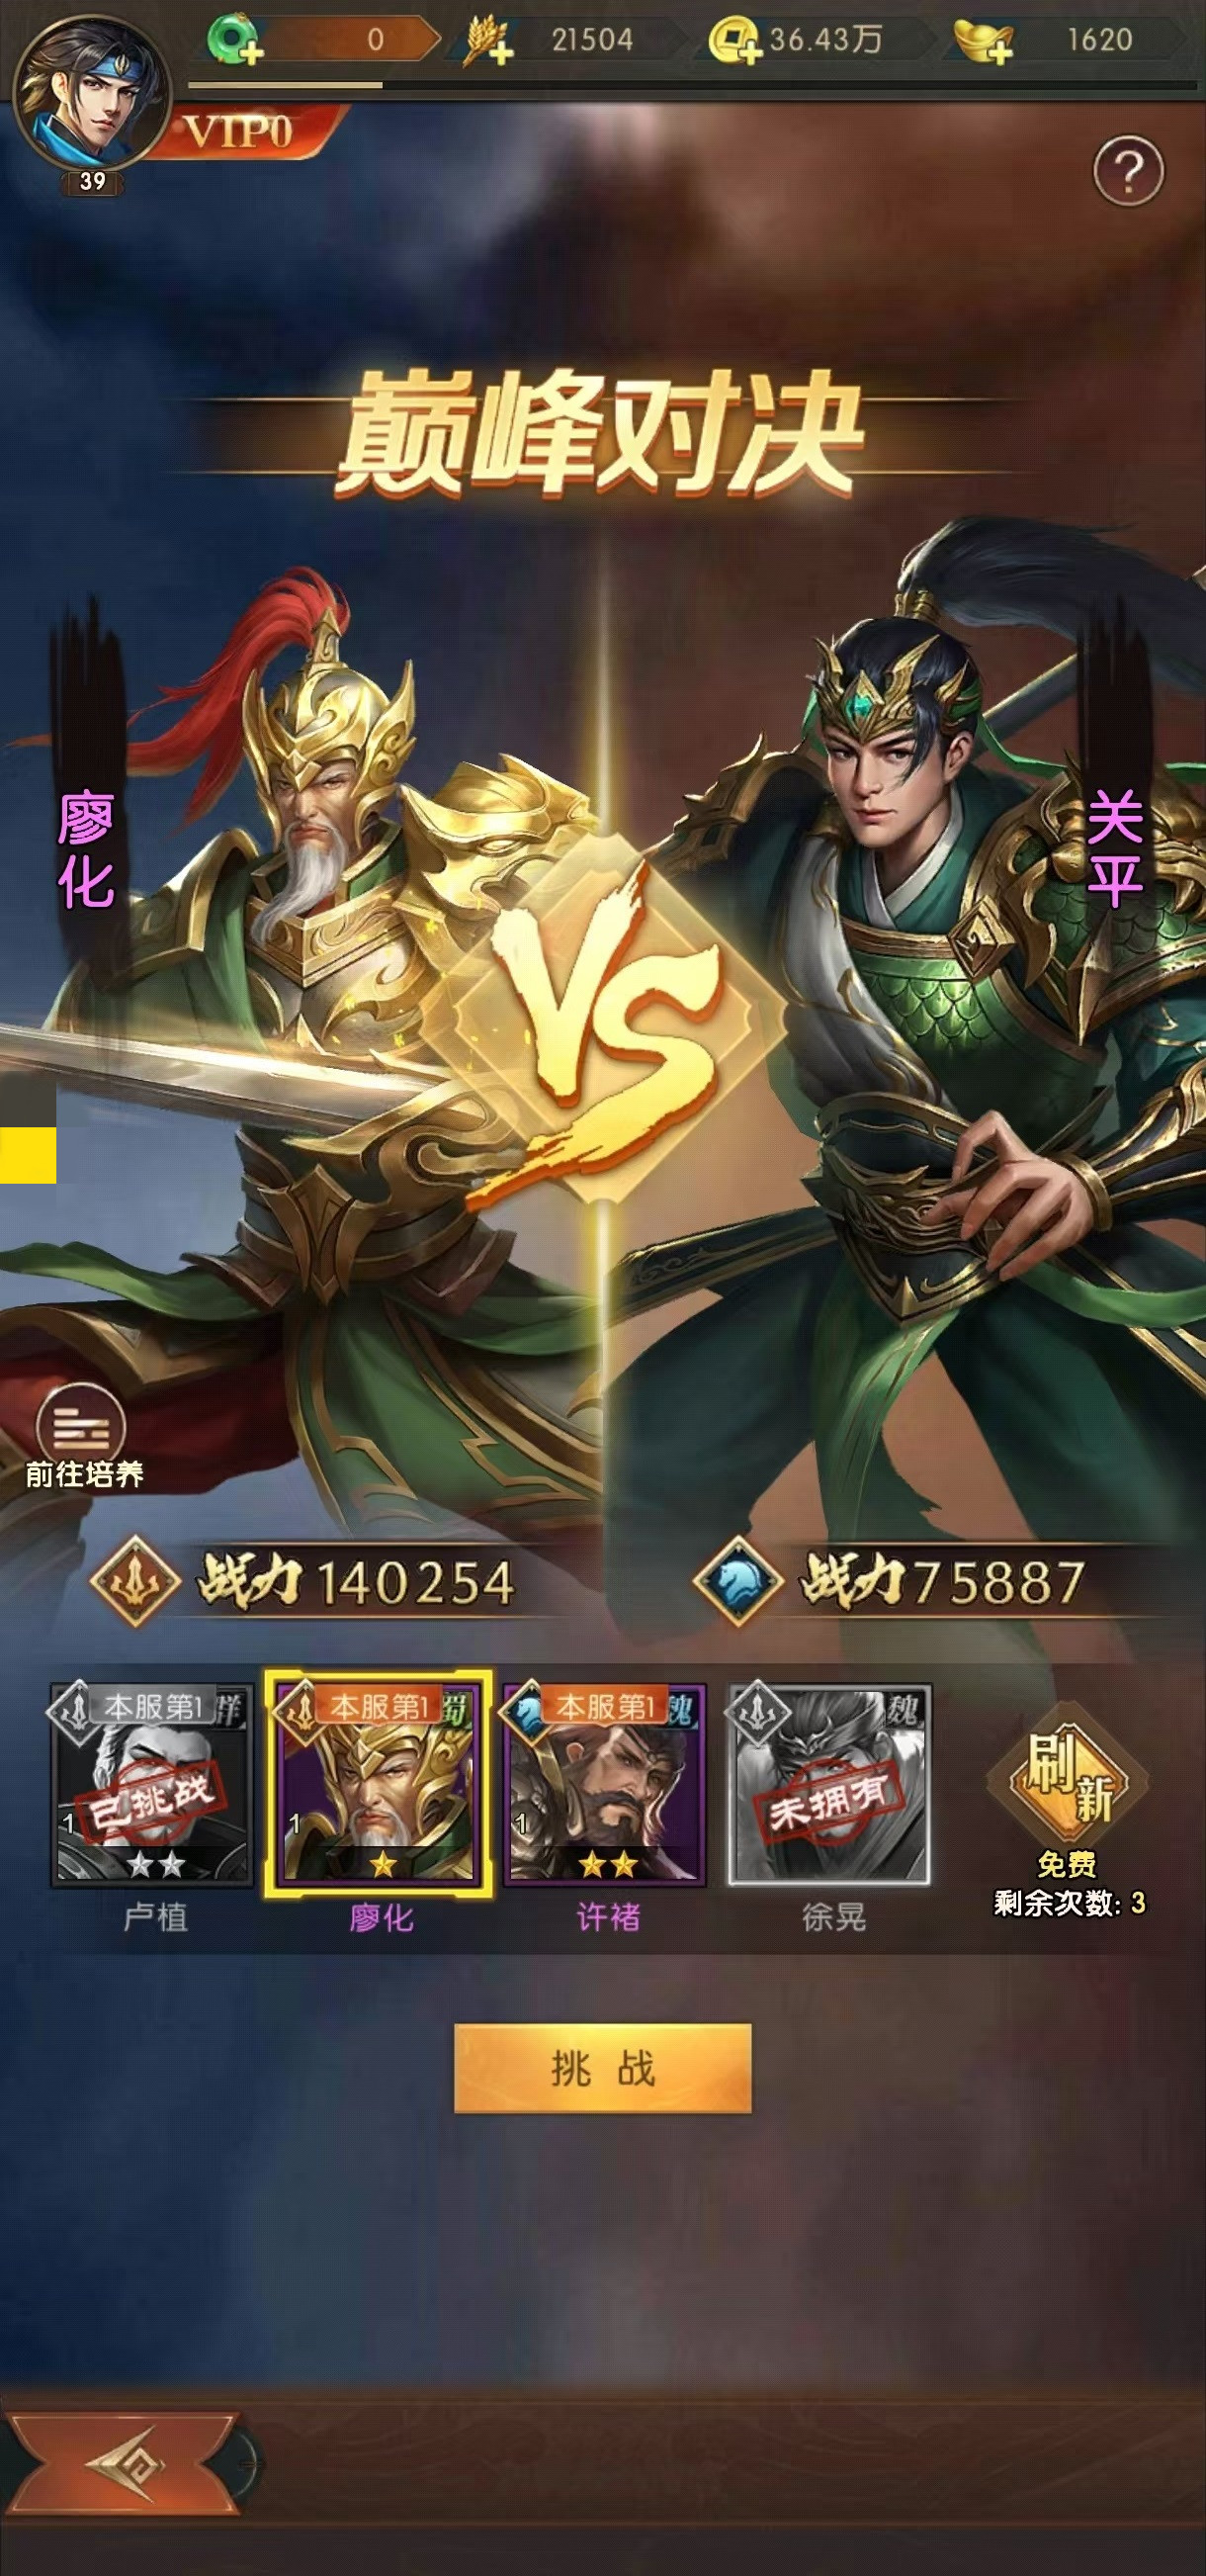
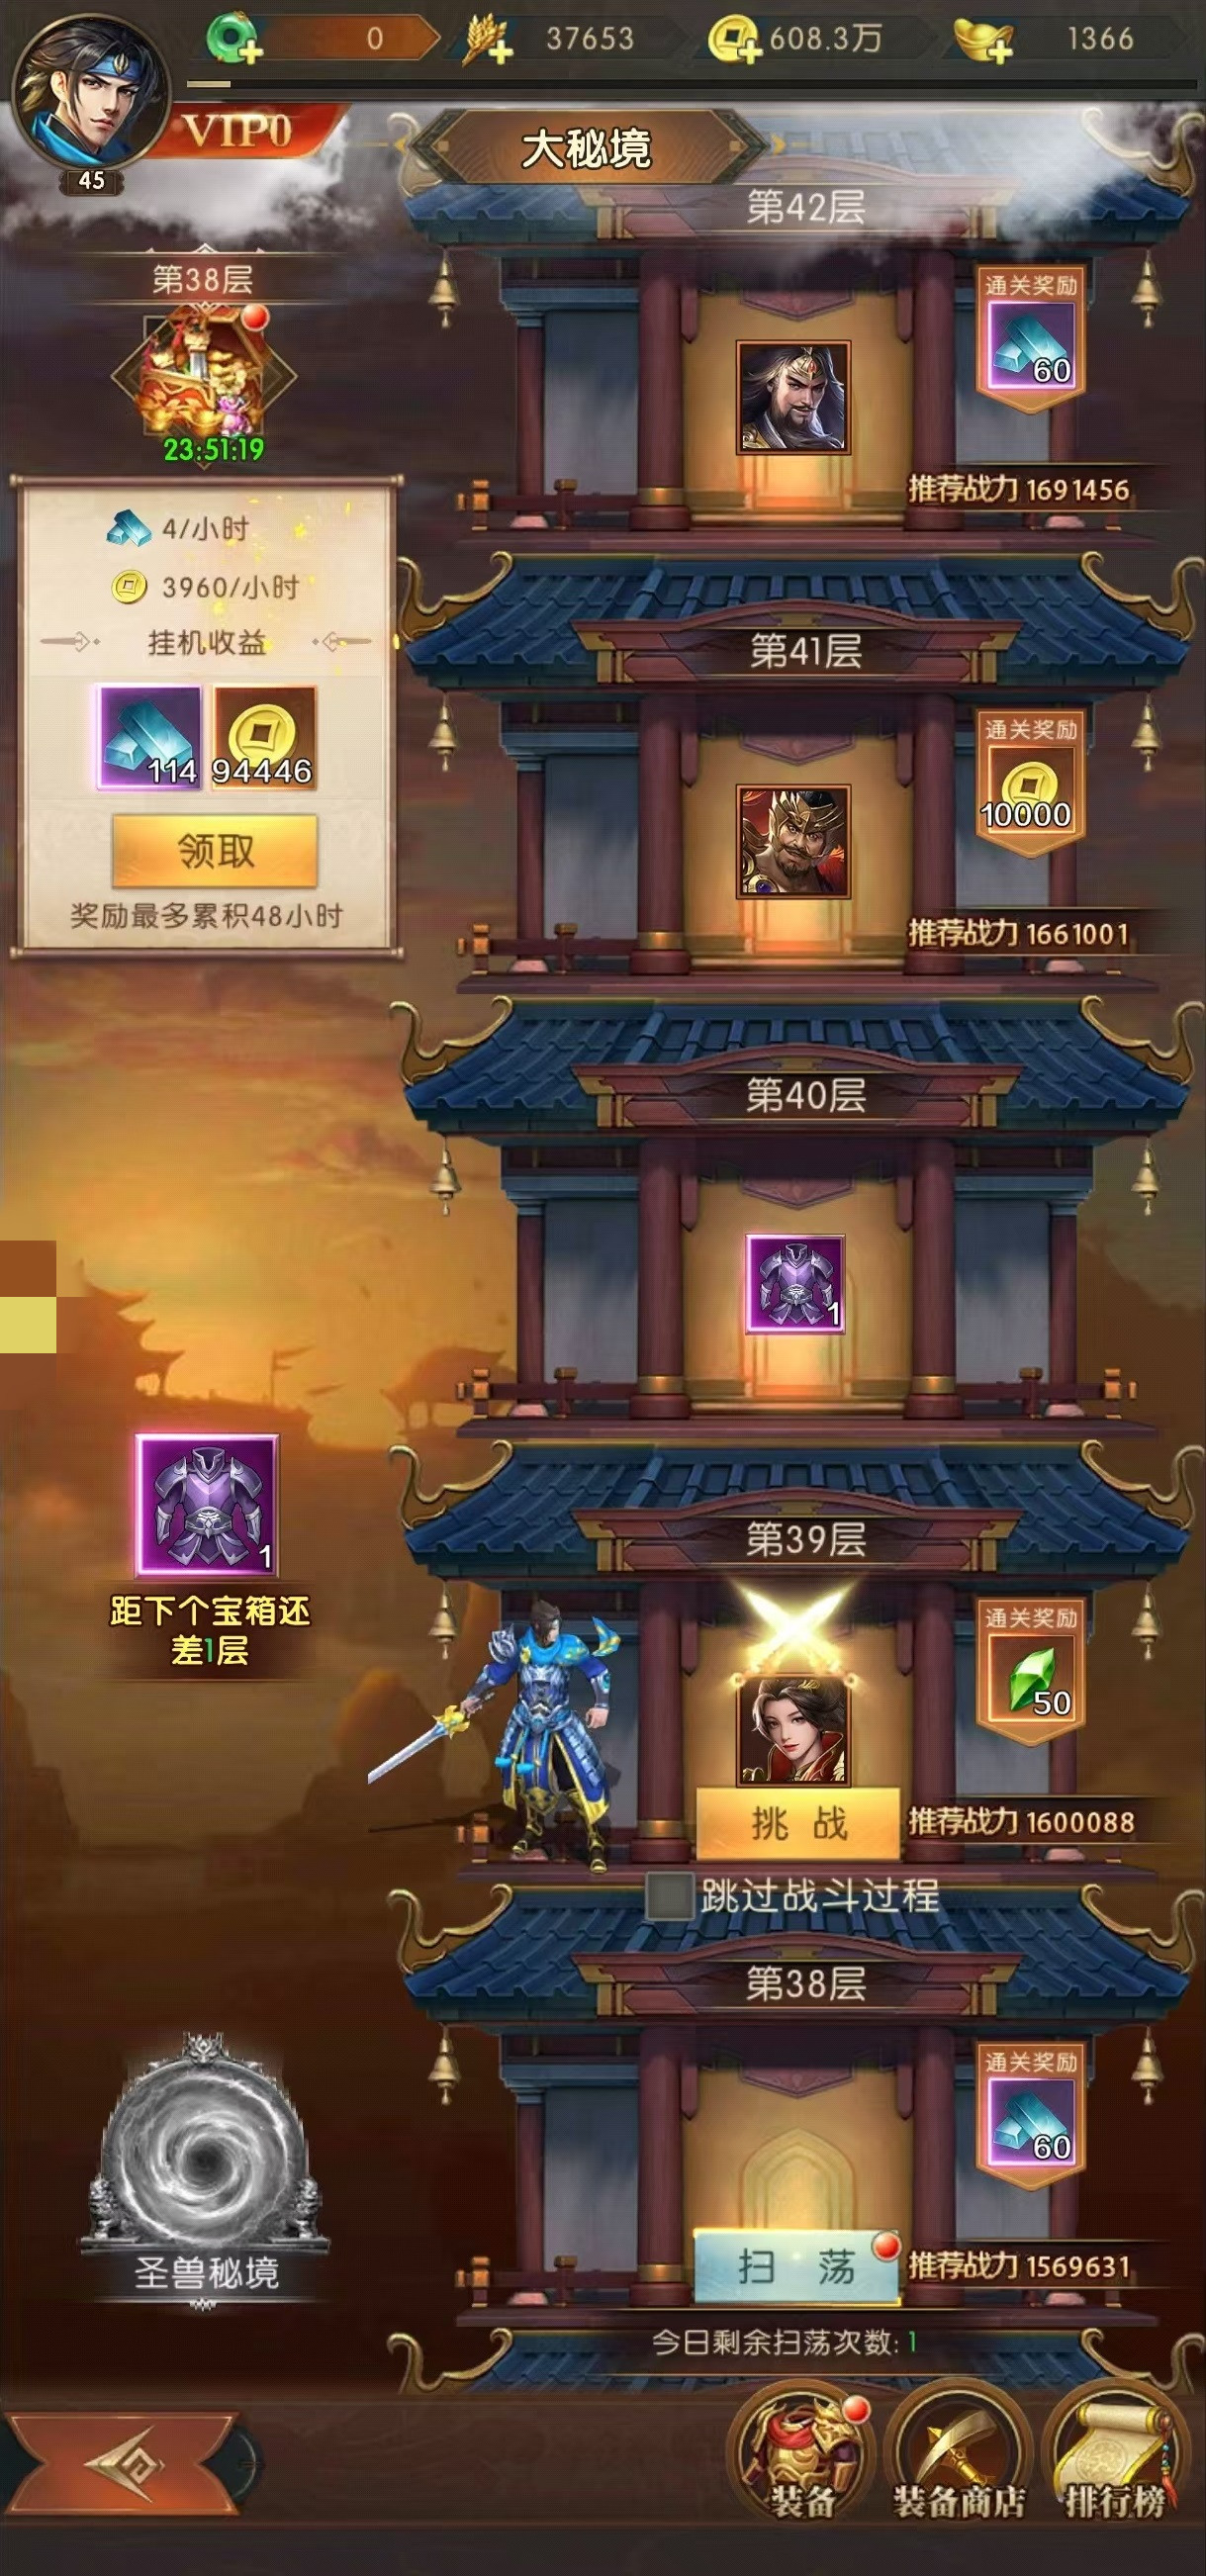
As for the Great Abyss activity, it is essentially a tower-climbing gameplay, primarily dropping equipment and enhancement items. There are no restrictions on generals here, so you just need to find your strongest team and keep challenging. Just remember to sweep through daily, and continue to advance after having high combat power. Peak Showdown is the source of obtaining divine weapons and corresponding enhancement materials. Each time, there will be 4 generals for you to challenge. You can choose different difficulties, but you can only challenge one stage at a time. The higher the difficulty of the stage, the richer the rewards, making it another activity that tests the player's hardware configuration.
After reading my introduction, everyone should now understand how to play the Illusionary Realm in Three Kingdoms Quest for Dominance. By continuously upgrading your level, you can unlock more gameplay, which is the most interesting part of this activity. Therefore, in the later stages of the game, there's no need to worry about the content of the activities, as there is plenty of content for everyone to enjoy in battles.
How to clear Stage 14-4 in "The Song of the Warhawk" in Fantasia Kingdoms: Three Kingdoms - A Guide for Stage 14-4
Three Kingdoms Fantasy Continent 2 is a turn-based game adapted from the Three Kingdoms theme. Players need to command different generals to attack various types of dungeons. Among them, the 14-4 dungeon has a higher difficulty, and many players find it challenging, thus they would ask how to clear 14-4 in Three Kingdoms Fantasy Continent 2: The Ballad of the Warlord. Here, the editor will provide the strategy for clearing 14-4, to improve players' clearance speed.
The boss in 14-4 is a mechanism monster that requires breaking its state based on the energy bar, and there's a limit of 15 turns to end the battle; otherwise, it will be considered a failure. Many players often fail due to running out of time. First, pay attention to the positioning, usually with two heroes standing in a row, a total of six heroes standing in three rows. This arrangement mainly targets its mechanism.
Sometimes, the boss's locking skill can significantly reduce damage, and it is area-based. If all are arranged in one row, it may lead to an overall decrease in the team's output, making it impossible to clear within 15 turns. Therefore, you can sacrifice two outputs to enhance the abilities of the other four, ensuring a clearance within 15 turns.

Skills can easily clear the early minions. When facing Sun Ce, pay attention to his energy bar. One energy bar means attack, at which point your attacking role should deal high damage. Two energy bars mean defense, during which all roles' damage decreases, but heroes with a defense emblem in the team can still deal normal damage. So, at this stage, let the heroes with a defense emblem attack to break the opponent's defense.
When the boss has three energy bars, it enters the slash form, targeting a specific row of heroes with very high damage. Generally, you need to have your healer add shields to the targeted row of teammates in advance, while the other two rows of heroes deal damage. This ensures that Sun Ce is defeated within 15 turns. Not following the mechanism will result in insufficient damage.
Currently, this is all the information provided by the editor on how to clear 14-4 in Three Kingdoms Fantasy Continent 2: The Ballad of the Warlord. The main challenge in 14-4 lies in the boss's mechanism. As long as you understand Sun Ce's energy mechanism and use the corresponding emblems, you can basically end the battle within 15 turns.
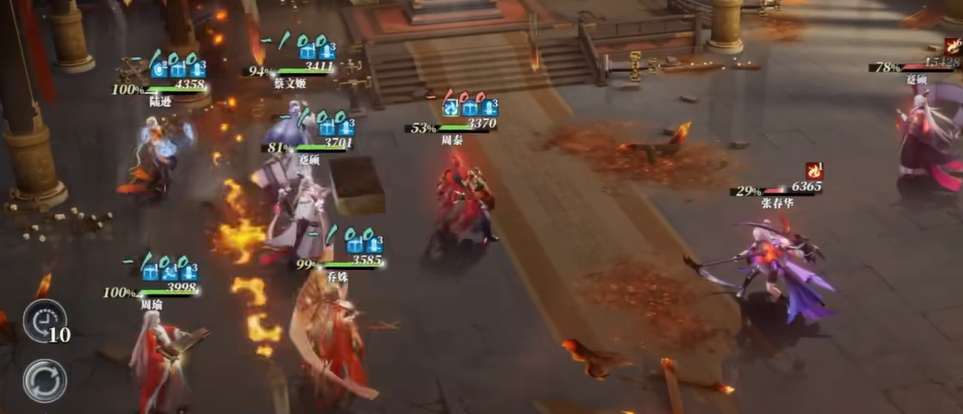
How to Defeat the Boss in Era of Stars: A Guide to World Leaders in Era of Stars
Era of Stars is a space-themed sci-fi SLG game. Unlike strategy games that emphasize planning, it focuses on real-time positioning and requires operational skills. The game also features bosses or world leaders, which are highly challenging. Many players have asked how to defeat the bosses in Era of Stars. Below, we will provide a detailed explanation and use one of the leaders as an example to illustrate the specific operations.
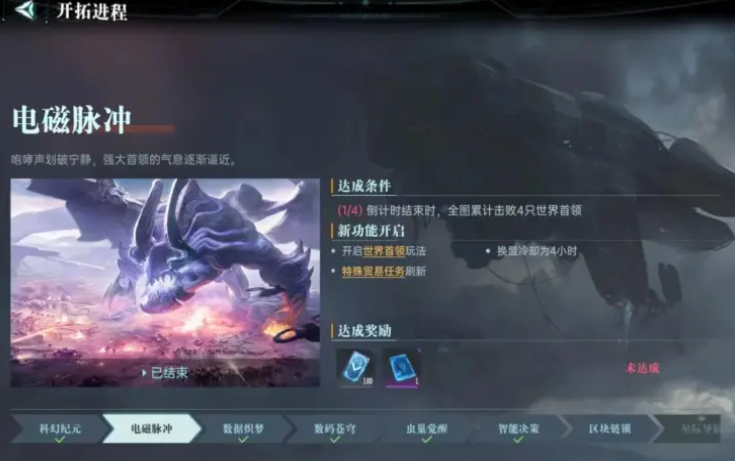
World Leader Open Period and Search Method:
To challenge the world leader, you first need to wait for the game to progress to a certain stage and unlock the "Electromagnetic Pulse" technology before the BOSS battle officially opens. Only after this can players enter the world leader battlefield.
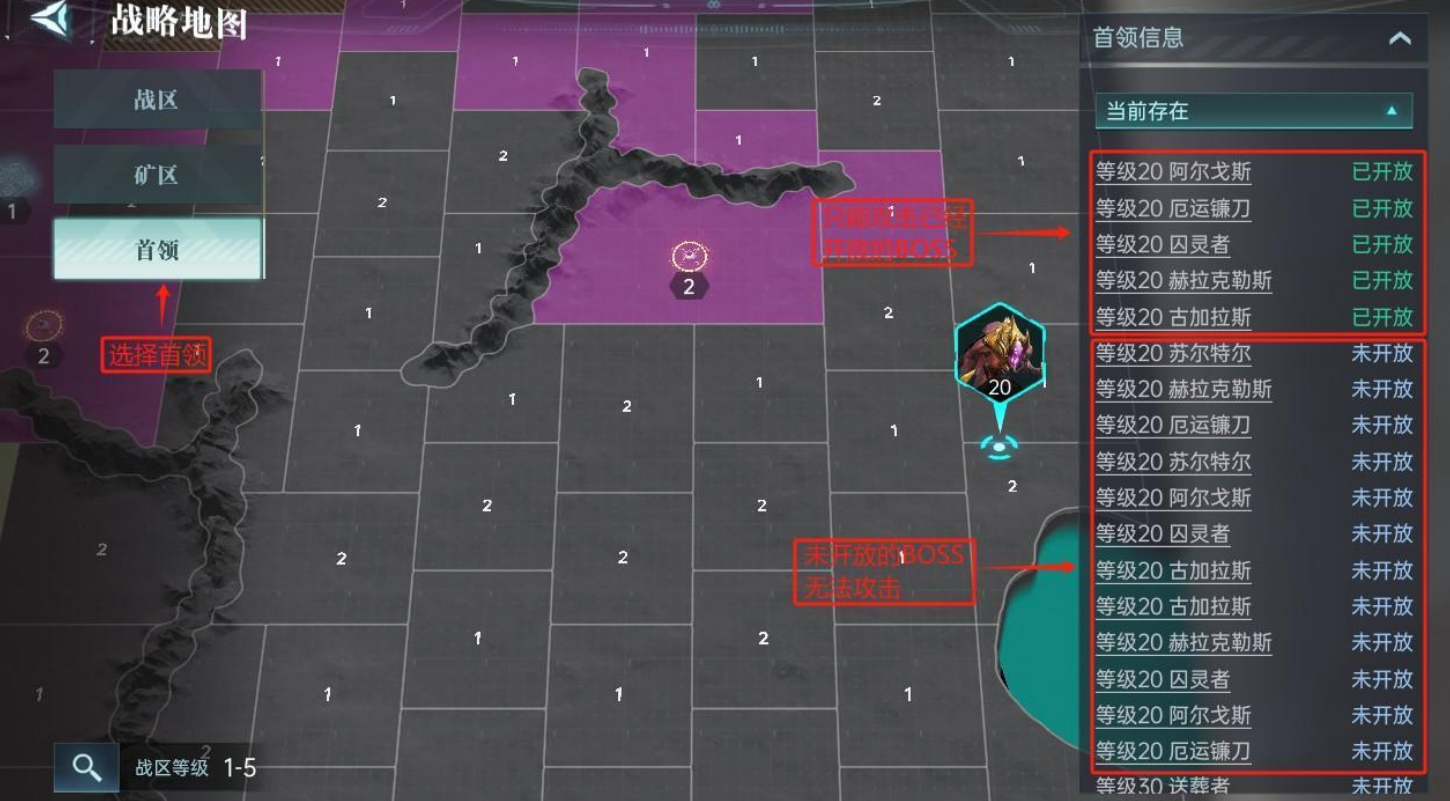
How do players find the BOSS once it's open? The method is very simple. After entering the map interface, zoom out, and multiple options will appear at the top of the interface, including "Battle Zone," "Mine Area," and "Leader." Select the "Leader" option, and the right side of the map will display the status of all BOSSes, including those that are already open and those that are not yet open. Only BOSSes in the "Open" state can be attacked by players, while "Not Open" BOSSes cannot be challenged temporarily. Usually, BOSSes that are not open are because the player has not yet entered the area where the BOSS is located, or the unlocking conditions for the BOSS have not been met.
Battle Strategy and Play Analysis:
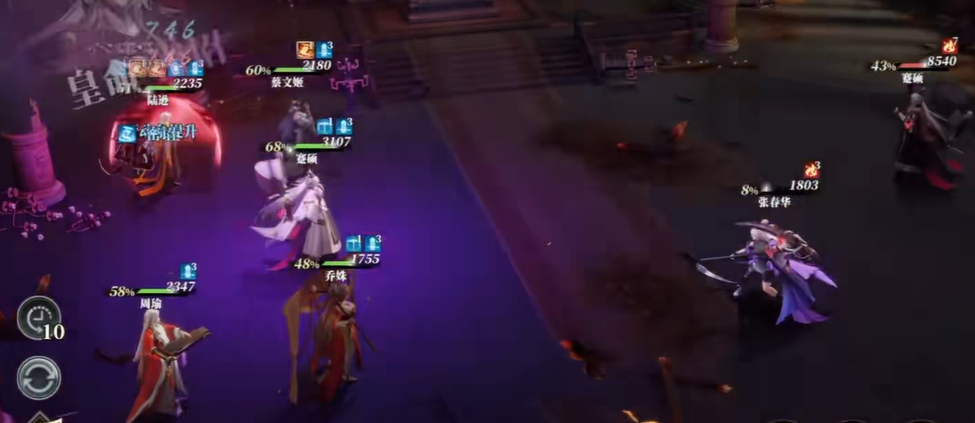
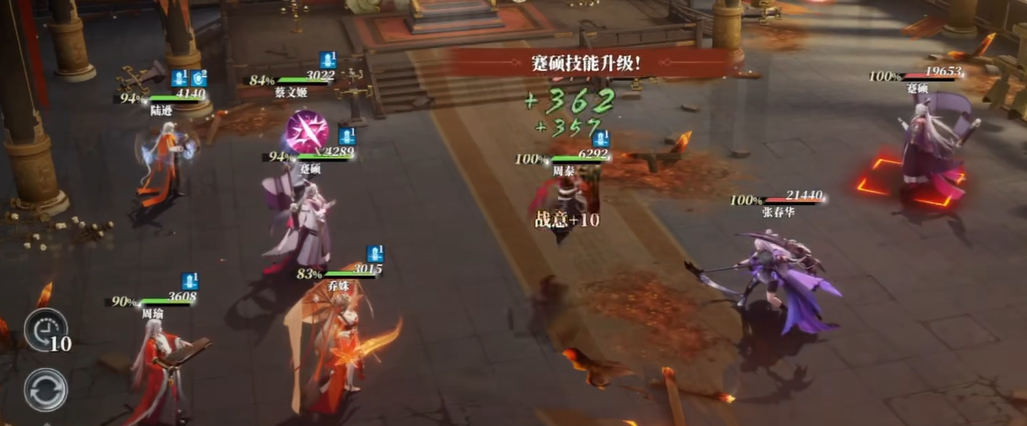
When challenging world leaders, the approach to most BOSSes is similar. The key lies in reasonably avoiding skills, choosing troops and heroes that counter the BOSS, and fully utilizing the combat environment to improve survival. The BOSS has extremely high attack power and health, so it's best to team up with alliance members to avoid excessive casualties due to prolonged battles.
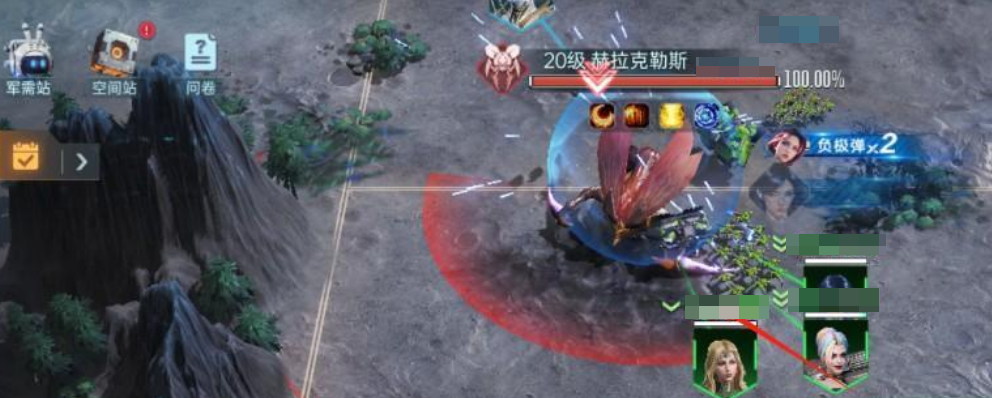
Taking the Hercules BOSS as an example, a detailed analysis of its skill characteristics and response strategies:
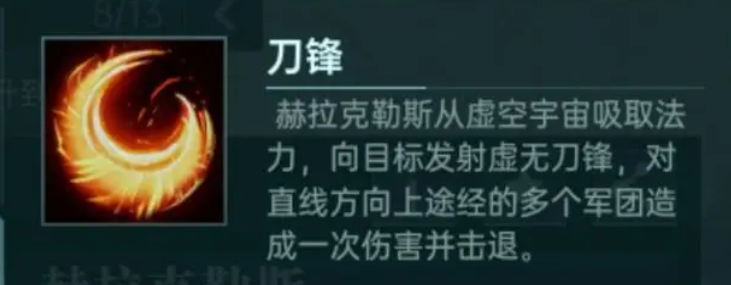
Blade (Straight Slash): Hercules releases a powerful slash forward, causing high damage. When the skill is cast, the BOSS will have a clear casting bar prompt. At this time, players should quickly move their troops to the sides to avoid the skill path, thus making the BOSS skill ineffective.
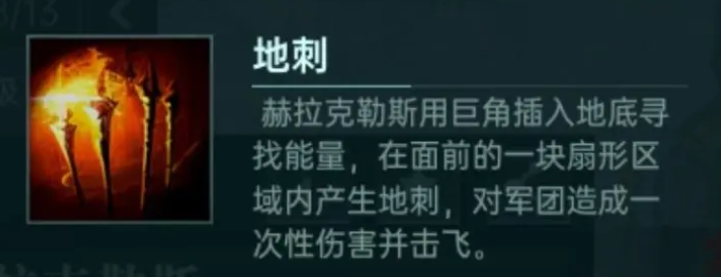
Ground Spikes (Fan-shaped AOE): This skill causes area damage in a fan-shaped region in front of the BOSS and knocks back all affected troops. Once the player sees the BOSS start casting, they should immediately adjust the troop marching route and retreat to the back of the BOSS to avoid being hit by the skill.
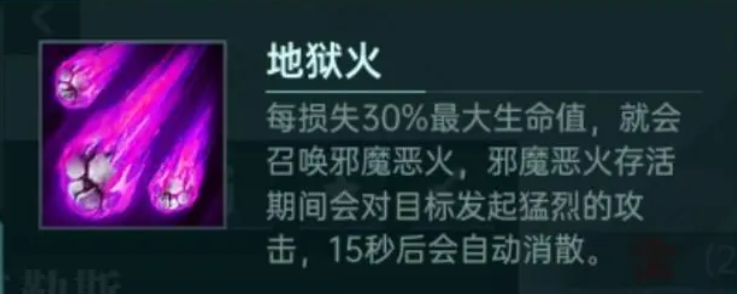
Hellfire (Summoning Evil Fire): This is a passive skill of Hercules. When the BOSS's health drops by 30%, it summons an evil fire that lasts for 15 seconds, dealing heavy attacks to our troops. Since this skill cannot be avoided through movement, it is recommended to dispatch high-durability tank-type troops like Titan Guards to draw aggro and protect the rear output troops when the BOSS triggers this skill.
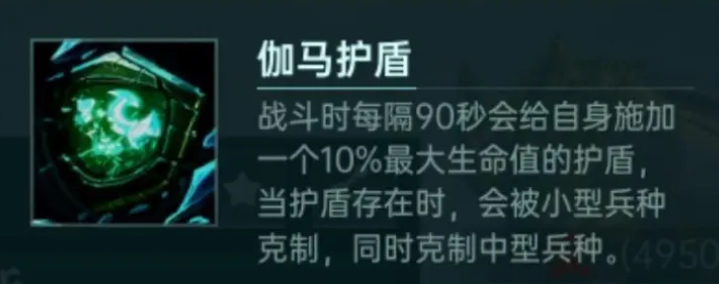
Gamma Shield (Periodic Shield): This skill triggers every 90 seconds, generating a shield equivalent to 10% of the BOSS's maximum health. During the shield's existence, the BOSS's defense significantly increases, and the shield counters medium-sized troops but is more vulnerable to small-sized troops. Therefore, when forming an output team, it is suggested to carry small-sized troops (such as light mechs, drone units) to take advantage of their counter effect to quickly destroy the shield and shorten the battle time.
In the course of the battle, in addition to mastering the BOSS's skill mechanics, players also need to make reasonable use of the battlefield environment, such as positioning, marching routes, and how to counterattack during the intervals of BOSS skills. Additionally, properly arranging troop combinations and choosing suitable heroes for support are also key to winning the battle.
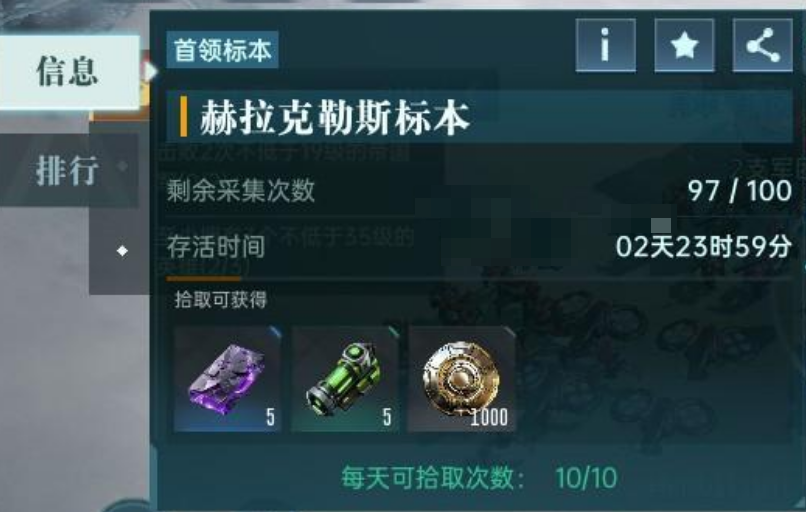
Finally, let's talk about the rewards for defeating the Era of Stars BOSS. Challenging the world leader BOSS not only tests the player's combat skills but is also a crucial way to obtain important game resources. Rewards are divided into two parts: one is the contribution ranking reward. During the BOSS battle, the system will tally the contributions of all participating players, including damage dealt, healing, and damage taken, among other factors, and distribute rewards based on the final rankings. The higher the player's rank, the richer the rewards. The other part is the BOSS marker collection reward. After successfully defeating the BOSS, players can send troops to the BOSS marker point to collect important resources such as source code fragments, supercomputer crystals, and alliance coins. Each BOSS marker can only be collected once, with a collection limit of 100 times. The BOSS marker exists for 3 days, during which all alliance members can participate in the collection. Therefore, it is recommended that players reasonably arrange their time and complete the collection task as soon as possible to avoid missing the opportunity. This is the complete sharing of the Era of Stars BOSS guide.
How to Play the Stellar Resonance Raid and Guide for the Stellar Resonance Raid
How should the Star Trace Resonance raid be played? When it comes to the strategy of the raid, you're probably asking about the highest difficulty dungeon, Kamanis, in the current version. After all, except for this one, the other dungeons are just low-level gear farming instances with no special mechanics; as long as your combat power is high enough, you can easily clear them. So, when it comes to the strategy for this highest difficulty dungeon, to help everyone learn how to play it, the following will provide a guide on the Kamanis raid. After reading it, you'll know how to play.
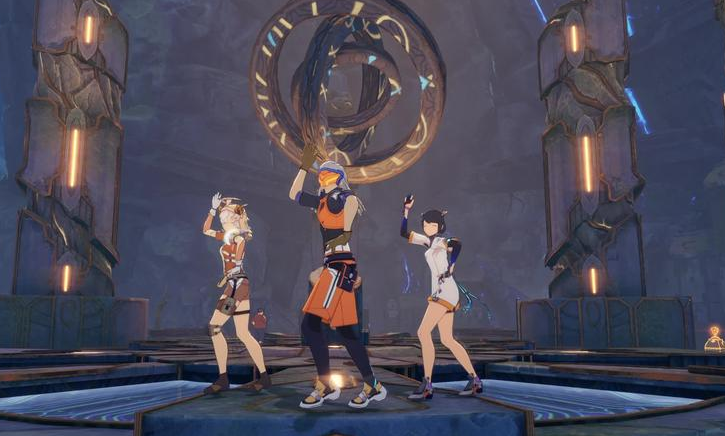
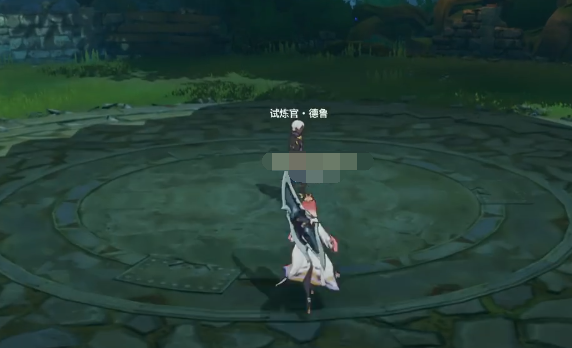
When it comes to playing the Kamanis raid, the first step if you want to do this raid is to form a group. You need to put together a team that can tackle this dungeon, and to form such a team, you need to find one tank, two DPS, and one healer. After forming the team, you can start. Once you enter the dungeon, you'll come to a scene that looks like an altar. In this scene, you'll see soul servants. You need to clear these soul servants first. They will spawn in four waves, and you need to clear all four waves continuously.
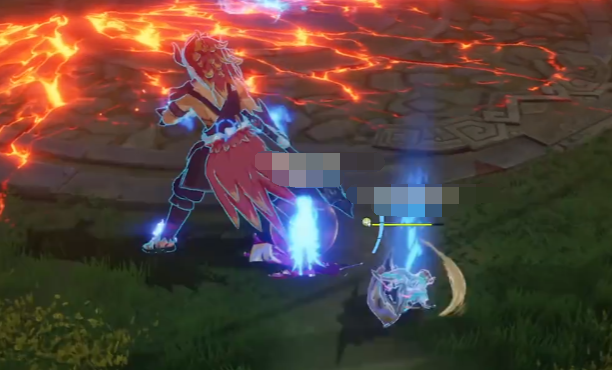
During this time, some of these soul servants will release a Chain Soul Burst. When they release it, their bodies will emit a purple light. You need to keep an eye on the purple light. As soon as the light appears, you need to quickly take them down, not allowing them to release the burst. If it is released, it will deal massive damage. In a situation with many monsters, the healer won't be able to keep up, and there's a risk of instant death, so you need to clear them quickly. After clearing them, the passage to the second area will open, and you can proceed to Area 2.
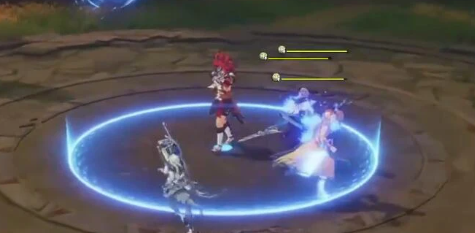
After entering the second area, you'll come to a floating platform, and then the boss, Maximus, will appear. After appearing, he will use a skill called Soul Split, which will separate the souls and bodies of all players. During the separation, a large number of soul remnants will attack the players' souls. At this point, what you need to do is clear these soul remnants and prevent the soul from taking too much damage. Although the soul is separated from the body, the damage it takes is still shared, which will increase the player's HP loss rate. Therefore, you must avoid the soul taking too much damage.
During this process, you also need to maintain a certain distance from your own soul because being too close will generate a debuff. This debuff has an explosive effect that stacks with proximity. Once it reaches its limit, it will explode. This means that when clearing the soul remnants near your soul, you need to coordinate with your teammates, have them attack yours while you attack theirs. This way, you can perfectly counter the boss's skill. After a while, the soul will return to the player's body.
After entering, the boss will enter the second phase. In this phase, the boss will release a large-area ground AOE skill. The direction of the skill is random. After it is released, you need to dodge the skill in time to avoid taking damage and putting pressure on the healer. This skill depends on your reaction speed. Generally, as long as you are not too close, you can dodge it. After that, the boss will randomly target players in the field and release a Flame Slash at the targeted player.
When you find yourself targeted, you must run to an open area and call for your teammates to stay away from you, as the slash has a wide range and can easily hit your teammates if they are too close. After the targeted slash, the boss will enter a brief 3-second stun, during which it will expose a weak spot. You need to take advantage of this time to deal damage. After dealing the damage and reducing the boss's HP further, you will enter the final phase.
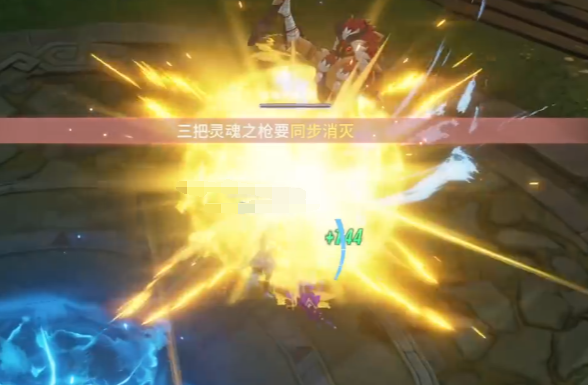
In the final phase, the boss will summon three soul weapons. These three weapons will automatically attack the players in the field. At this point, you need to have the tank in your team hold the aggro of the three weapons and gather them together for output. You need to ensure that all three weapons are killed at the same time because these weapons have a respawn mechanism. If they are not killed within the specified time, they will revive. Therefore, you must calculate the HP well and focus fire to take them down. After that, the boss will enter a 30-second stun state, during which you can freely deal damage. It usually takes about three rounds to kill the boss.
The above is the complete guide for the Star Trace Resonance raid. The strategy for the highest difficulty raid in the game has been explained in the text above. After reading the above, once you understand the method, you can go and tackle it yourself.
How to Play Treasure Hunting in Blade & Soul 2: A Guide to Treasure Hunting in the Blade & Soul 2 Mobile Game
Blade & Soul 2 has garnered significant attention from players, not only due to its well-designed combat classes and other features but also because of its treasure hunting gameplay. Today, I'll explain how to play the treasure hunting in Blade & Soul 2. Thanks to the game's free trading system, all kinds of items obtained in the game can be traded, which greatly motivates players to hunt for treasures.
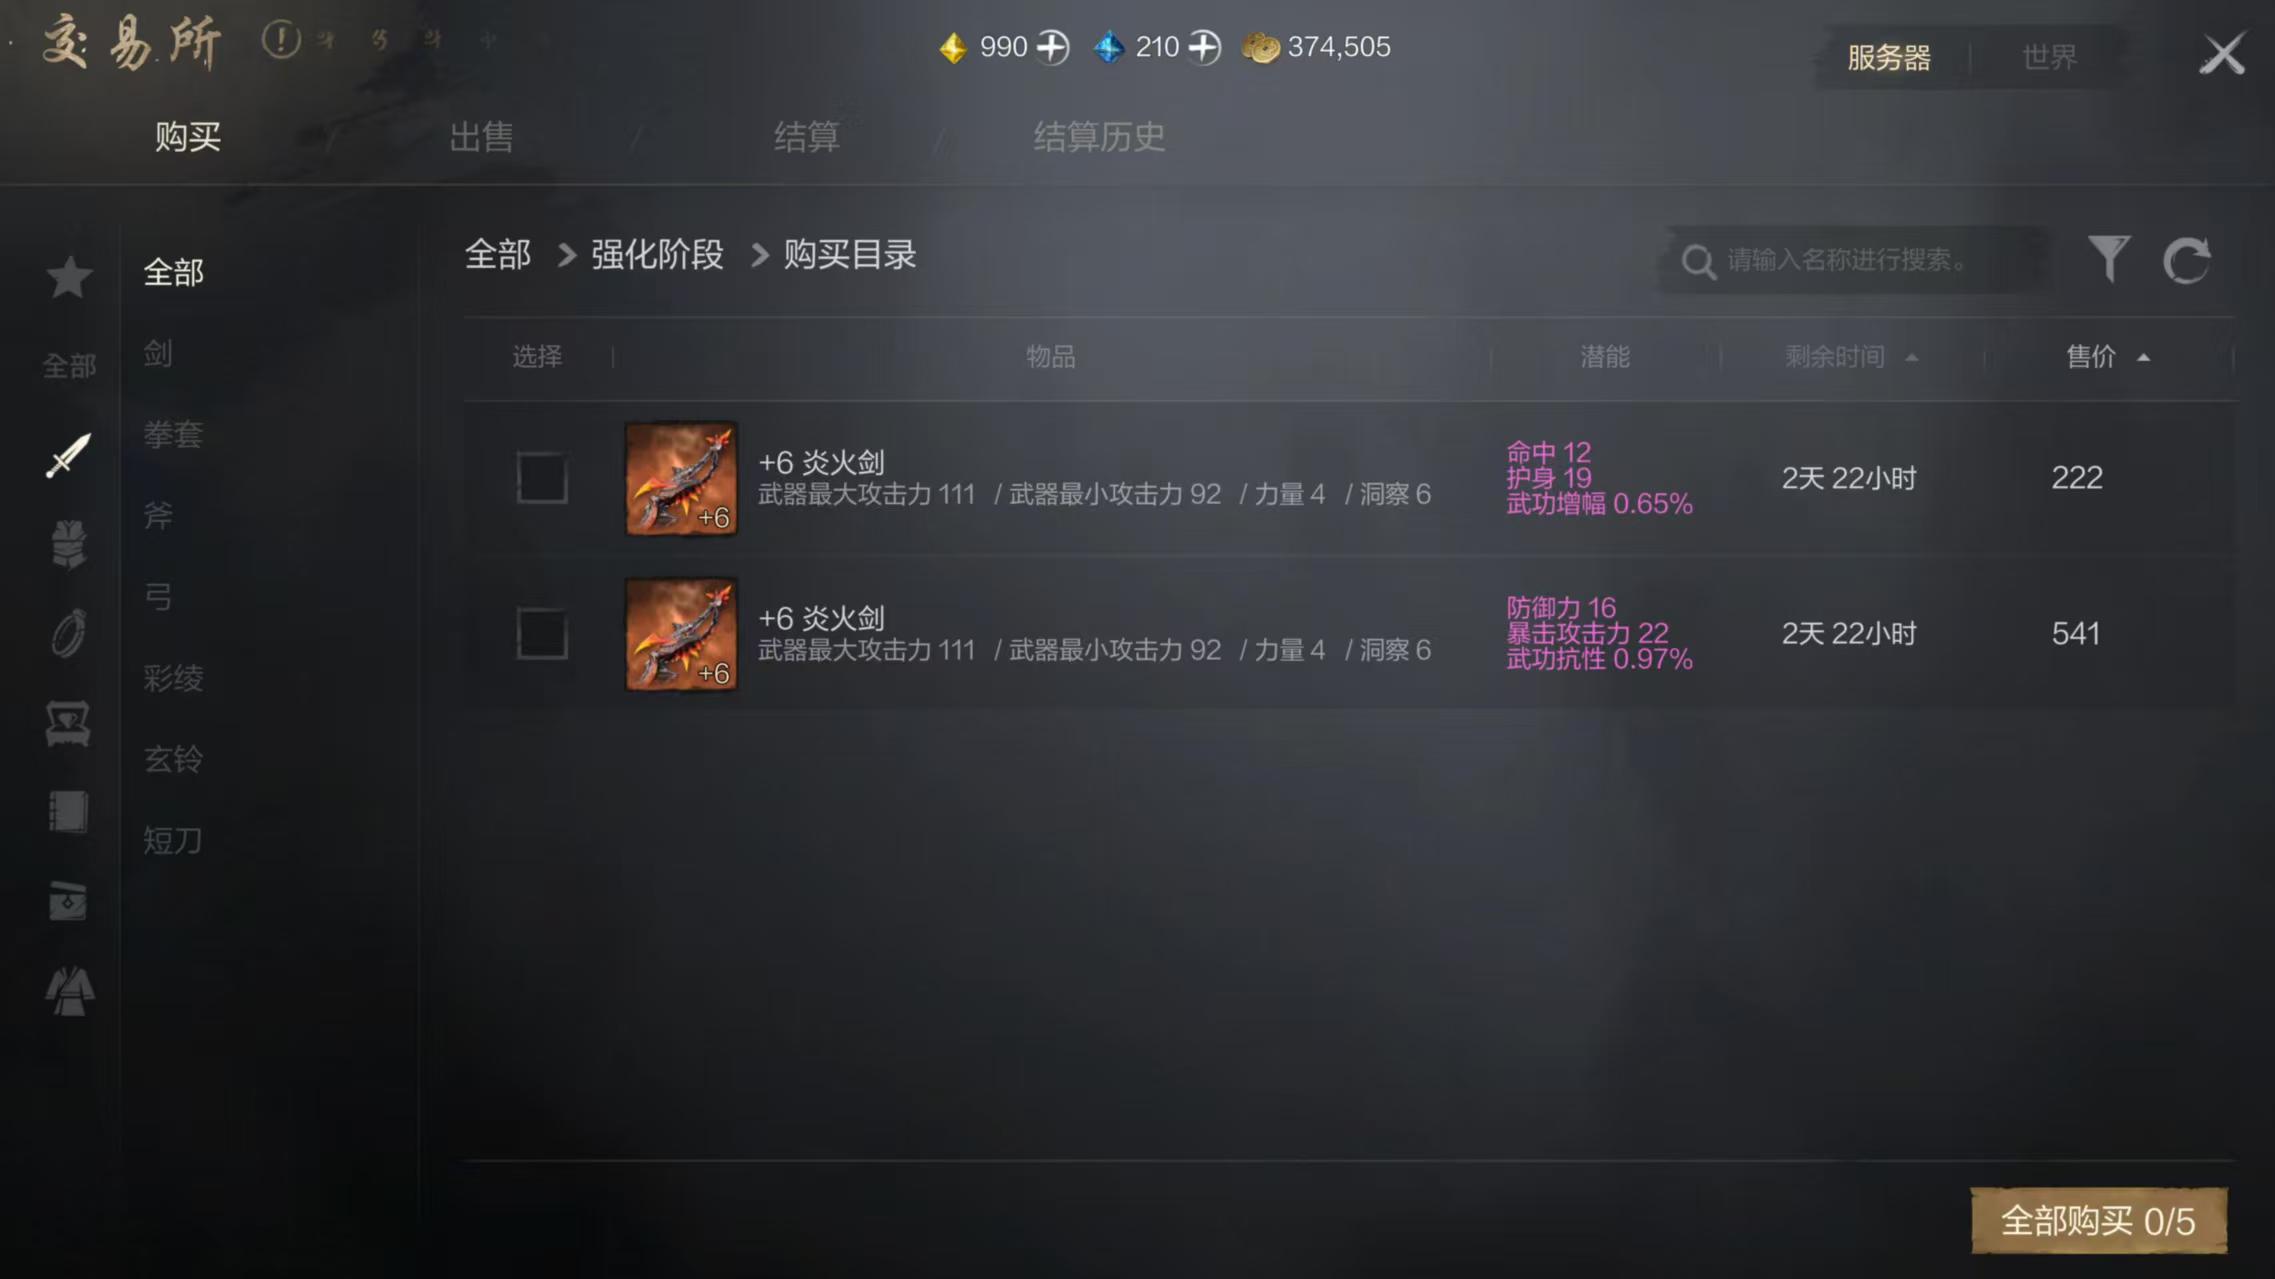
To fully leverage the game's free trading system and achieve substantial gains, it's important to plan your treasure hunting process well. This allows you to use limited time to acquire as many items and treasures as possible. The most valuable items in the game are equipment. In Blade & Soul 2, top-tier equipment is obtained through drops. Therefore, by participating in high-level dungeons of the current version, you can definitely obtain the strongest equipment. The game does not sell equipment, so any top-tier equipment you get can be sold.
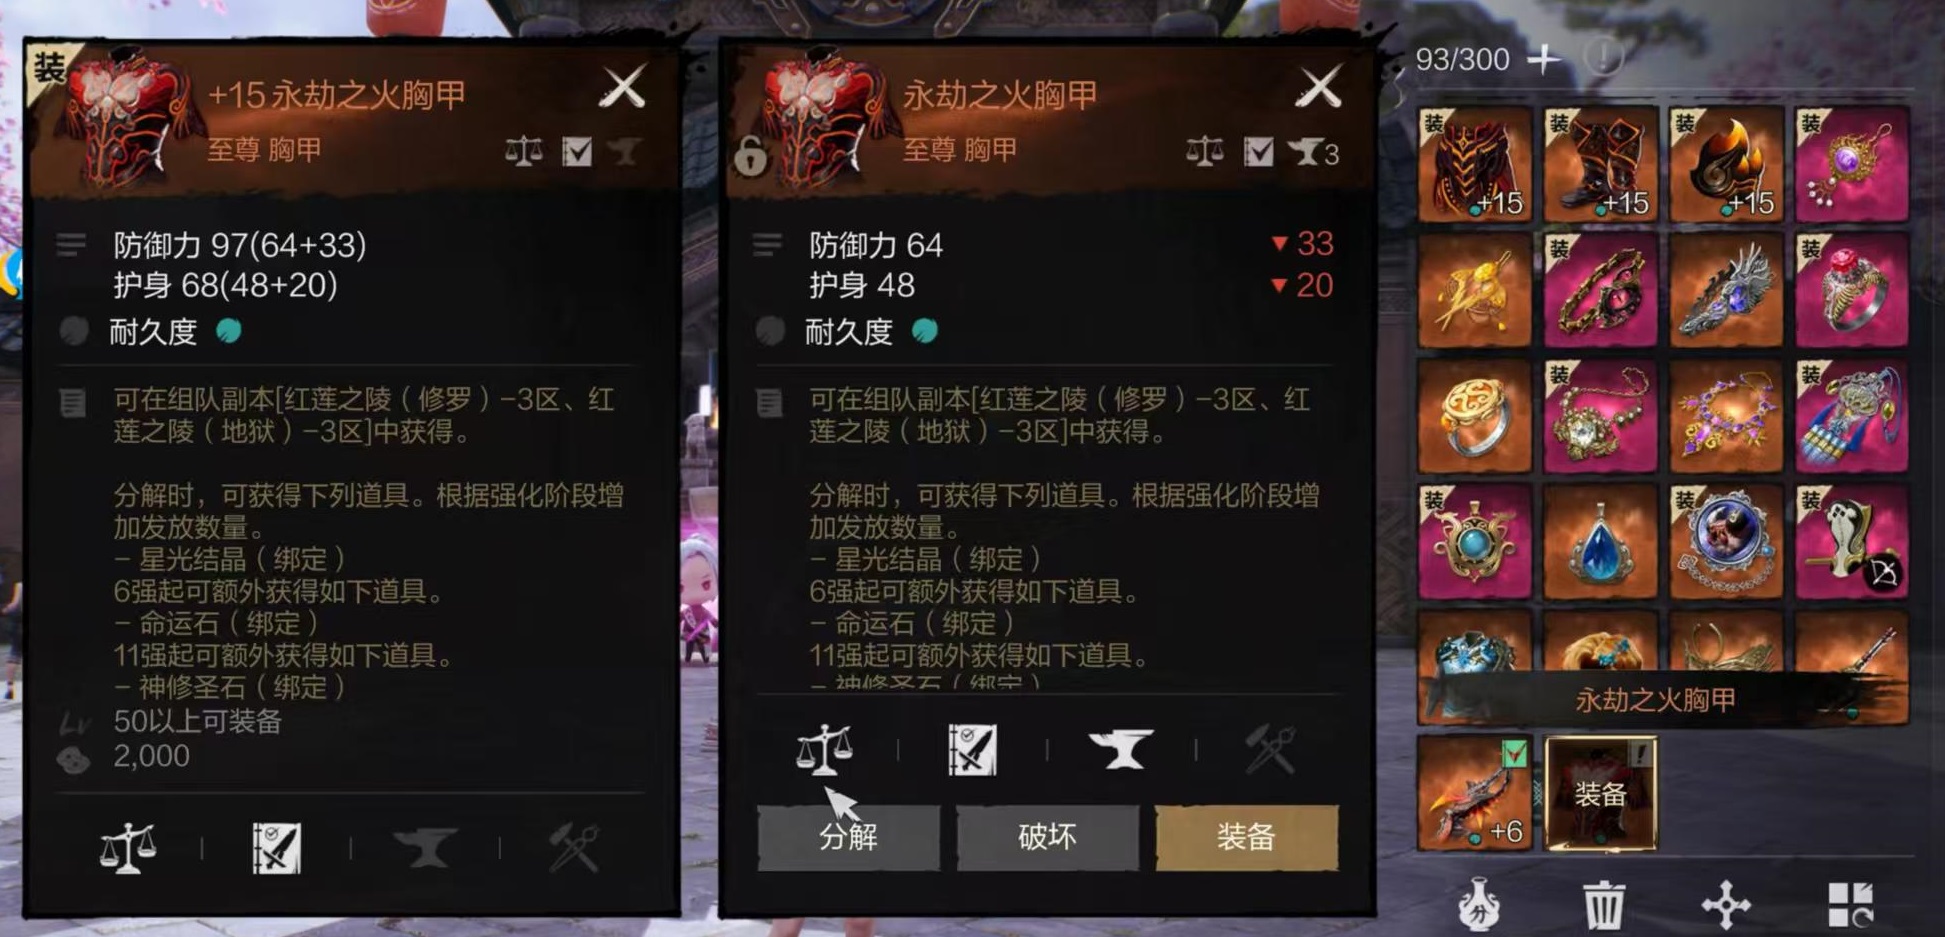
The main methods for treasure hunting include teaming up for dungeons, participating in world boss battles, and more. These activities can yield high-value, top-tier equipment, which can then be directly sold at the marketplace for wealth. Additionally, when engaging in world boss fights, raids, and world dungeon challenges, an auction system is also activated. This auction system is part of the trading mechanism, allowing you to earn extra income through auction dividends. In previous tests, the highest-level dungeon was the Red Lotus Tomb. Players could team up to tackle the Inferno difficulty of the Red Lotus Tomb and obtain the strongest equipment, such as the Flame series weapons, Eternal Fire armor, and Trigram cards.
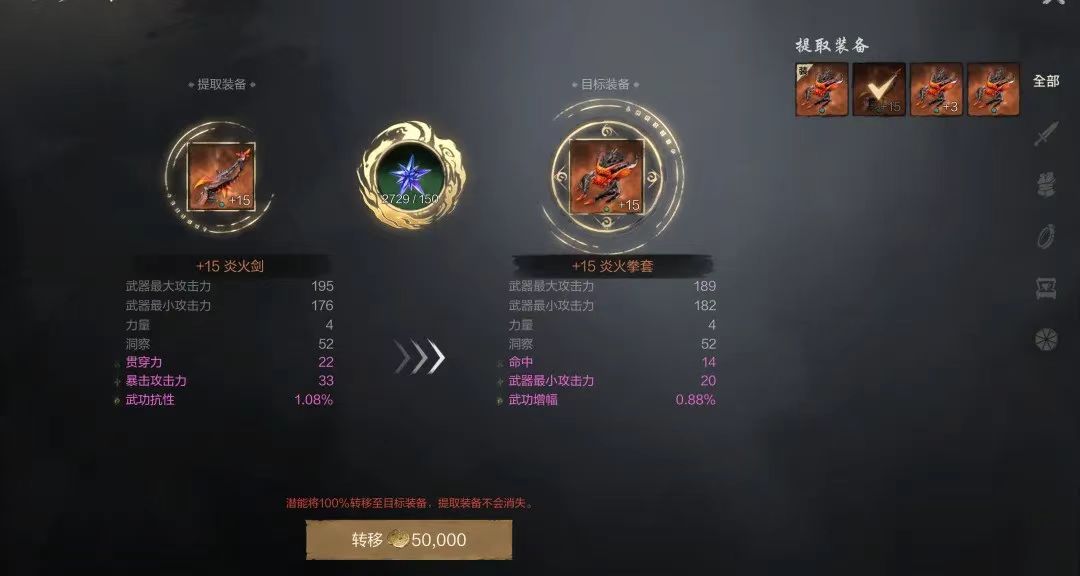
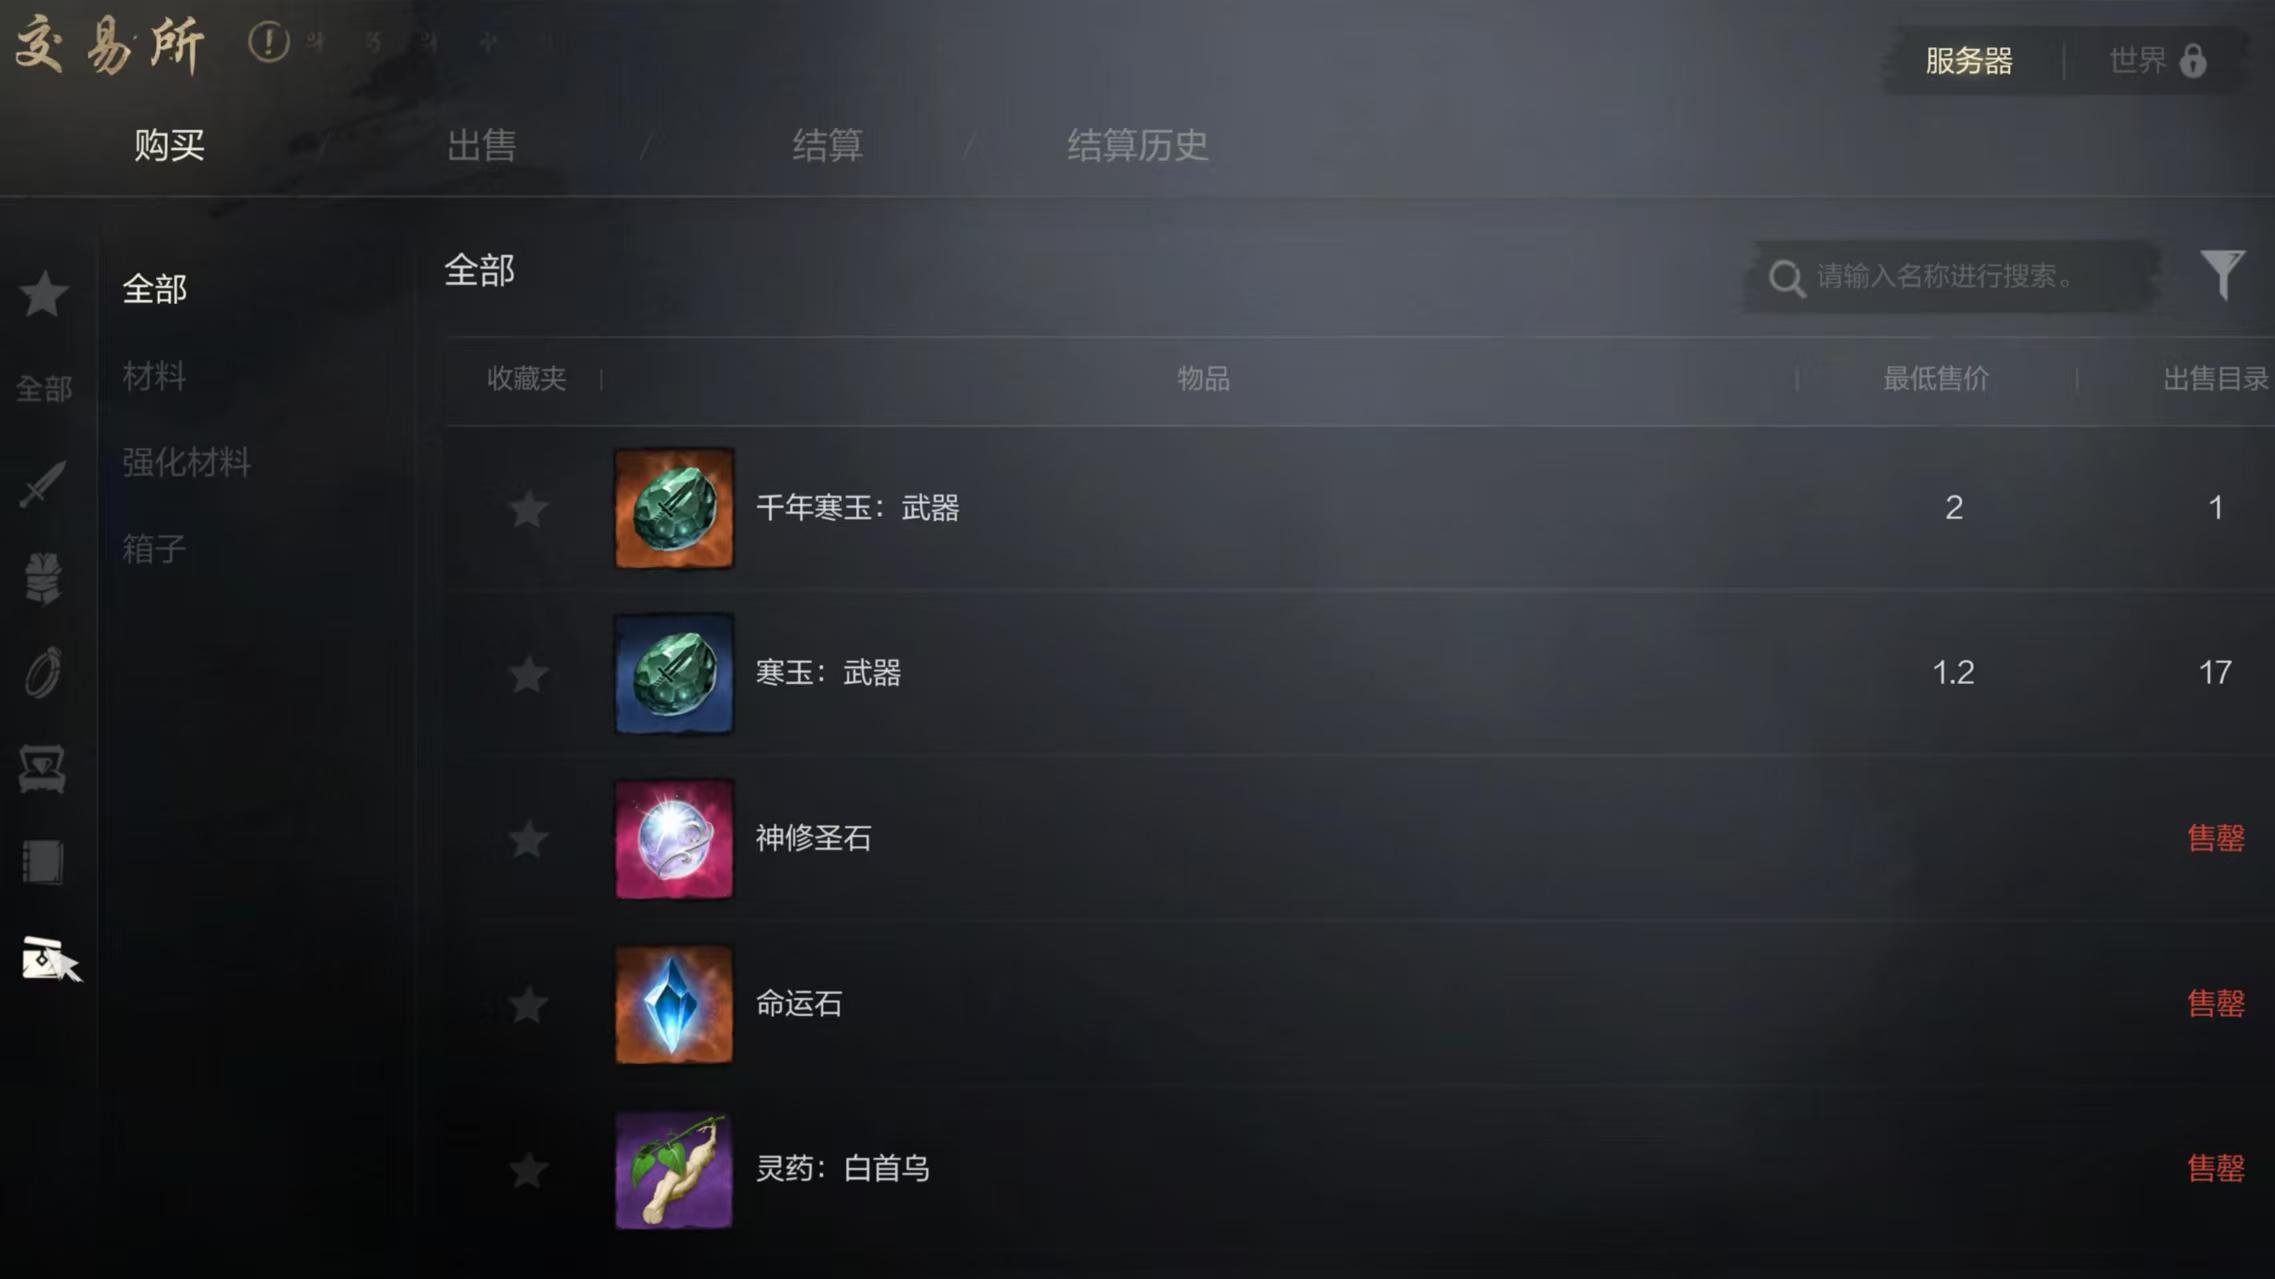
These items significantly boost character strength and feature unique designs, all of which can be directly sold on the marketplace. The earlier you obtain top-tier equipment, the higher the selling price, as equipment depreciates over time. You can also enhance and upgrade the equipment, with upgraded items easily fetching double or more in price. Besides equipment, it's beneficial to collect materials used for enhancement, as these are also in high demand.
The above content answers the question of how to play the treasure hunting in Blade & Soul 2. If you want to maximize your earnings, focus on the most advanced gameplay. Ordinary tasks that reward general equipment have no market value; only the top-tier items can generate sufficient profit.
Recommend


Strategy
CSGO skin trading platform sharing how to trade CSGO skins
Introduction to the Complete Collection of Contained Objects in the Seven-day World What are the contained objects in the Seven-day World?
Recommended Skill Pairings for Captain Seal in洛克王国世界 (Rock Kingdom World) and How to Train Captain Seal
Analysis of Skill Pairing for the Sinking Iron Beast in the World of洛克王国世界画间沉铁兽技能搭配解析洛克王国世界画间沉铁兽极品性格 Translation: Analysis of Skill Pairing for the Sinking Iron Beast in the World of Rock Kingdom and the Best Nature of the Sinking Iron Beast
Sword侠情缘Zero System Requirements Sharing How to Choose the Configuration for Sword侠情缘Zero It seems there was a slight mix-up in the translation. Here is the corrected version: Sword and Fairy Zero System Requirements Sharing How to Choose the Configuration for Sword and Fairy Zero
Sword侠情缘Zero Class Skills Sharing Sword侠情缘Zero Class Overview Note: The term "Sword侠情缘" seems to be a brand or game name, which is typically not translated but transliterated. A more accurate translation, keeping the original flavor, would be: JXQY Zero Class Skills Sharing JXQY Zero Class Overview